System Settings
The System Settings page is used to configure CueMate's system preferences, floating window behavior, account information, and server deployment configuration. The page is divided into four sections: System Preferences, Floating Window Settings, Account Information, and Server Deployment Configuration (only displayed in distributed deployment mode).
1. Enter Settings Page
1.1 Open System Settings
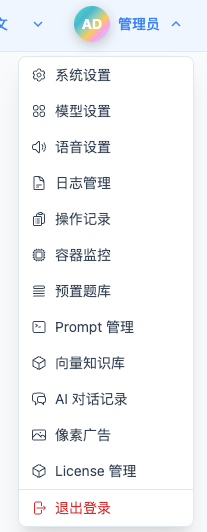
Click "System Settings" in the top dropdown menu to enter the settings page.
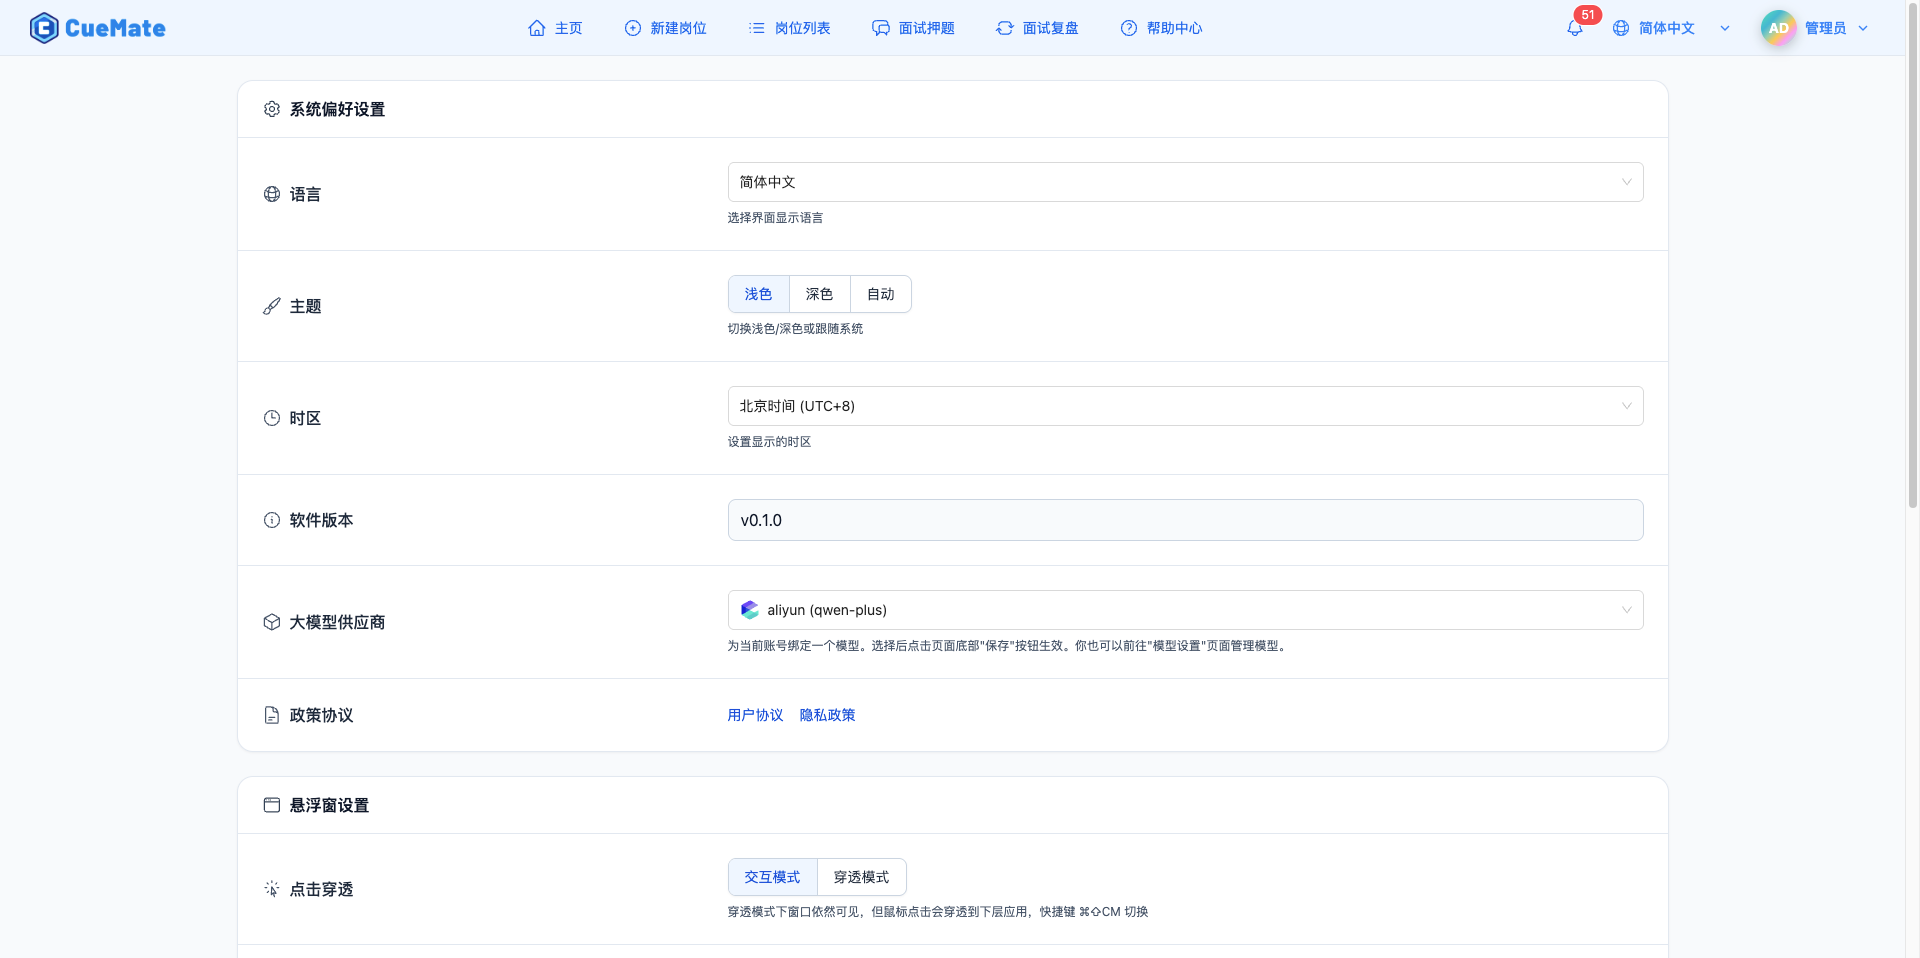
2. System Preferences
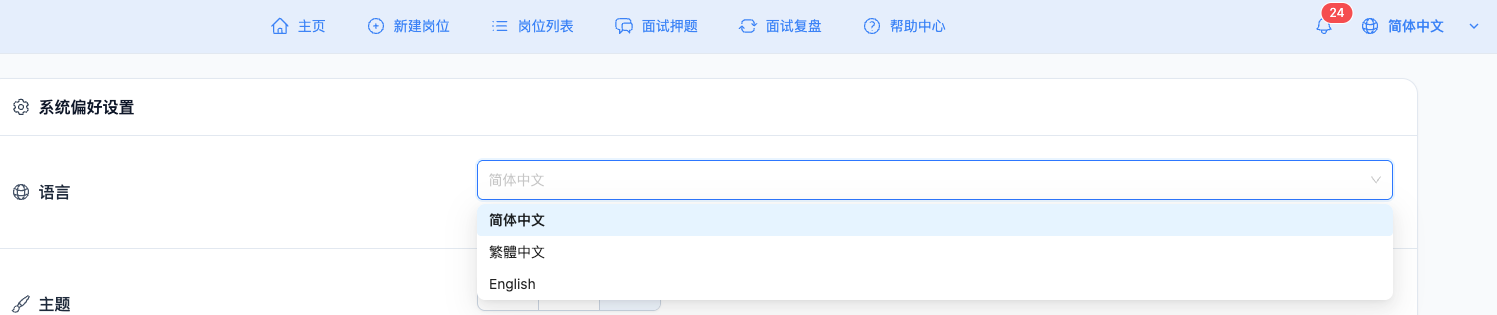
2.1 Language Selection
Select interface display language from the "Language" dropdown.
Supported Languages:
- Simplified Chinese (zh-CN): Users in mainland China
- Traditional Chinese (zh-TW): Users in Taiwan, Hong Kong regions
- English (en-US): English users
Scope of Impact:
- All interface text display
- System notification messages
- AI answer language preference
- Desktop client TTS voice selection
Use Cases:
- Switch to your preferred language
- Configure interface for users in different regions
- Match TTS voice selection with language
NOTE
Instant Save Note: System preferences (language, theme, timezone, LLM model) take effect immediately and are automatically saved to the database after modification, no need to click save button. The language selection here shares the same data source as the language selection in the top right corner. Changing either one will automatically refresh the other.
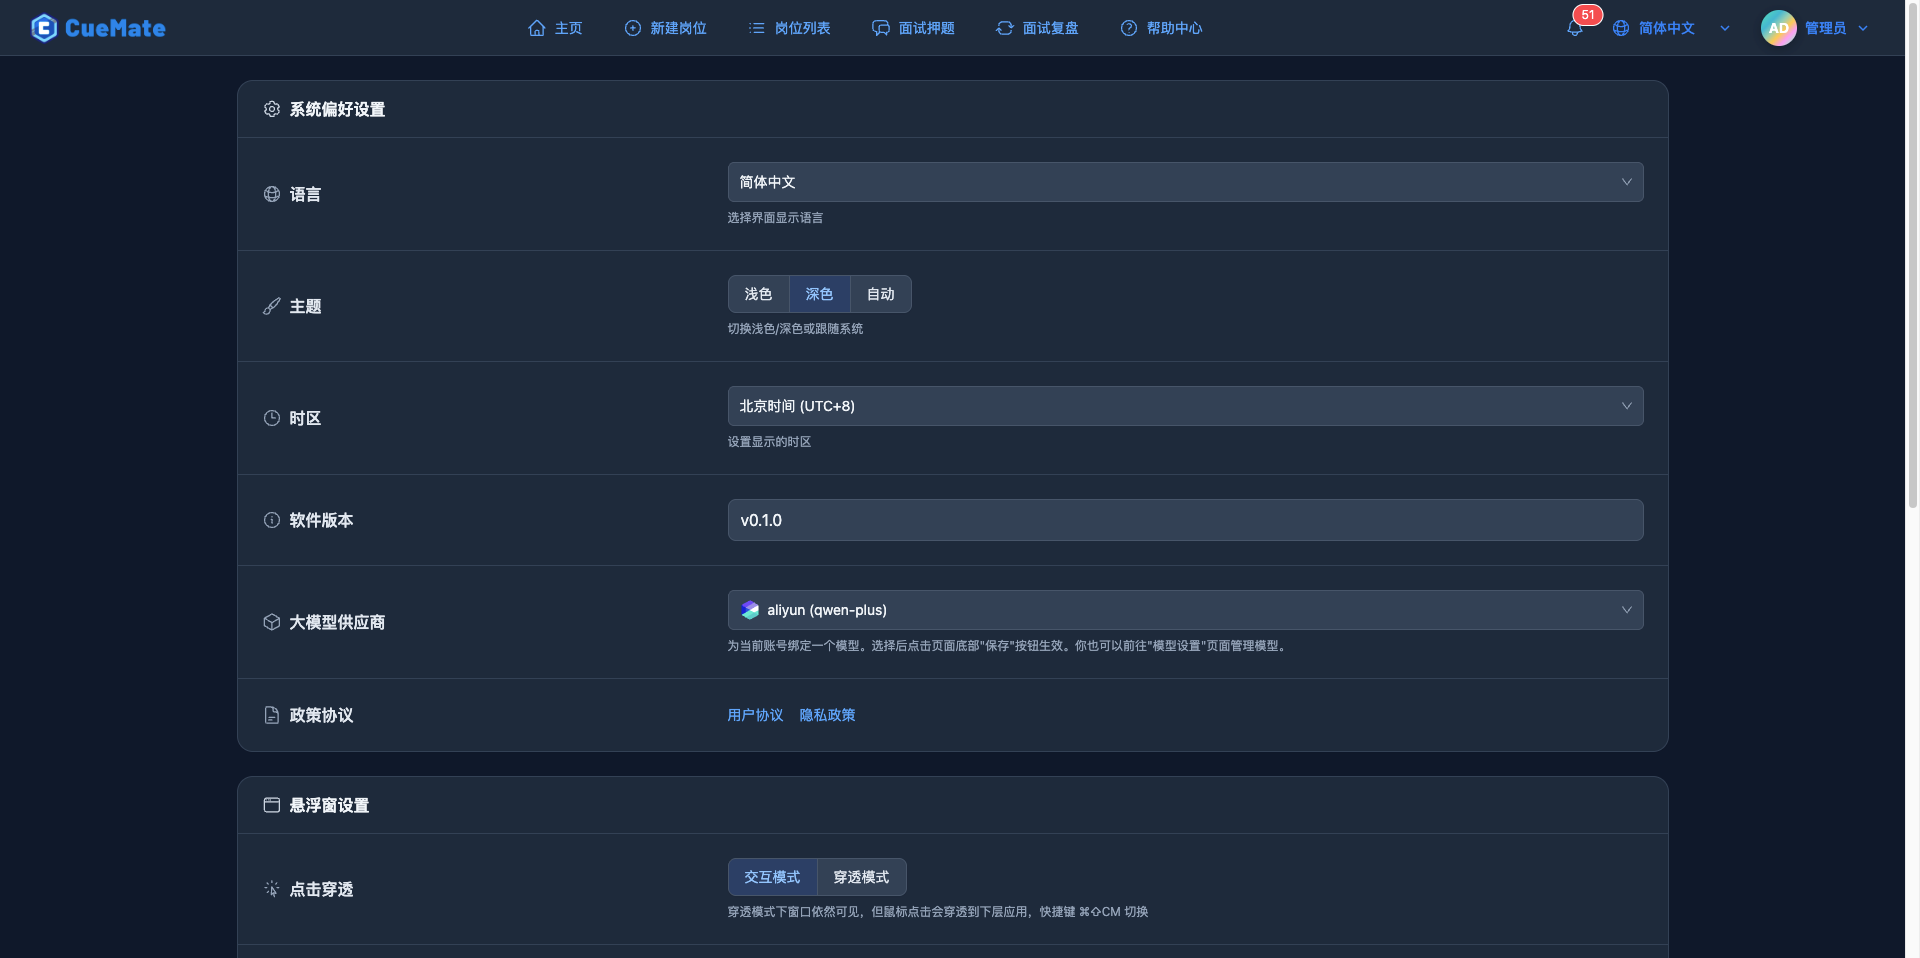
2.2 Theme Switching
Click the "Theme" button group to switch interface theme.
Theme Options:
- Light: White background, suitable for daytime use
- Dark: Dark background, suitable for nighttime use, reduces eye strain
- Auto: Automatically switches following system theme
Switching Method:
- Click corresponding button for immediate effect
- Selected button is highlighted (blue background)
- Auto mode switches automatically based on system time or theme settings
Use Cases:
- Switch to dark theme at night
- Adjust theme based on ambient light
- Keep consistent with system theme
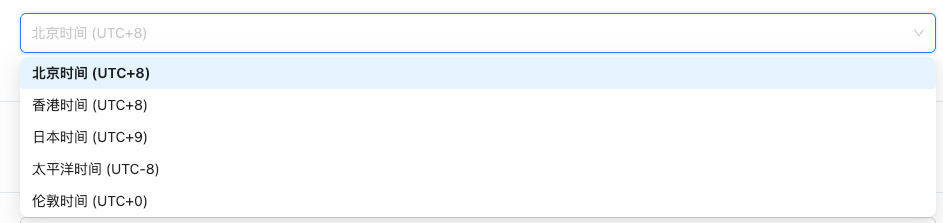
2.3 Timezone Settings
Select display timezone from the "Timezone" dropdown.
Supported Timezones:
- Beijing Time (Asia/Shanghai, UTC+8): Mainland China
- Hong Kong Time (Asia/Hong_Kong, UTC+8): Hong Kong region
- Japan Time (Asia/Tokyo, UTC+9): Japan
- Pacific Time (America/Los_Angeles, UTC-8): US West Coast
- London Time (Europe/London, UTC+0): UK
Scope of Impact:
- Interview record creation time display
- Notification push time display
- Log timestamp display
Use Cases:
- Adjust timezone when working in different regions
- Accurately record interview times
2.4 Software Version
Displays current CueMate software version number (read-only).
Version Information:
- Shows current installed version number (e.g., v0.1.1)
- Not editable
- Used for technical support and troubleshooting
Use Cases:
- Check current version
- Provide version info when reporting issues
- Confirm if update is needed
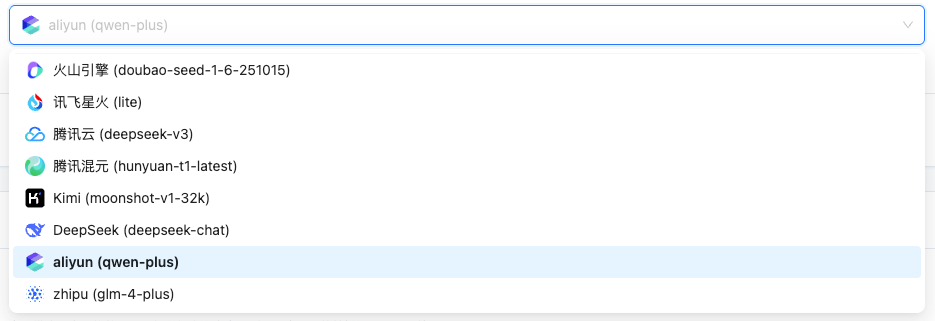
2.5 LLM Provider
Select the LLM model bound to current account from the "LLM Provider" dropdown (created on model settings page).
Model Settings - Manage and configure LLM models
Model Selection:
- Dropdown displays all configured LLM models
- Format: Model Name (Model ID)
- Examples: OpenAI GPT-4 (gpt-4-turbo), Xunfei Spark (generalv3.5)
Use Cases:
- Call LLM to generate optimized text when optimizing resume
- Generate interview questions and answers during mock interview
- Generate answers to interviewer questions during interview training
- Generate interview review summary based on interview data
Important Notes:
- Model selection takes effect immediately and is saved automatically, no need to click save button
- You can also go to "Model Settings" page to manage and add new models
- Ensure selected model has API Key and parameters properly configured
2.6 Policy Agreements
View user agreement and privacy policy links.
Agreement Links:
- User Agreement: CueMate terms of use and service agreement
- Privacy Policy: Data collection, usage, and protection policy
Use Cases:
- Understand CueMate service terms
- View privacy and data protection policies
- Confirm user rights and responsibilities
Service Agreement: 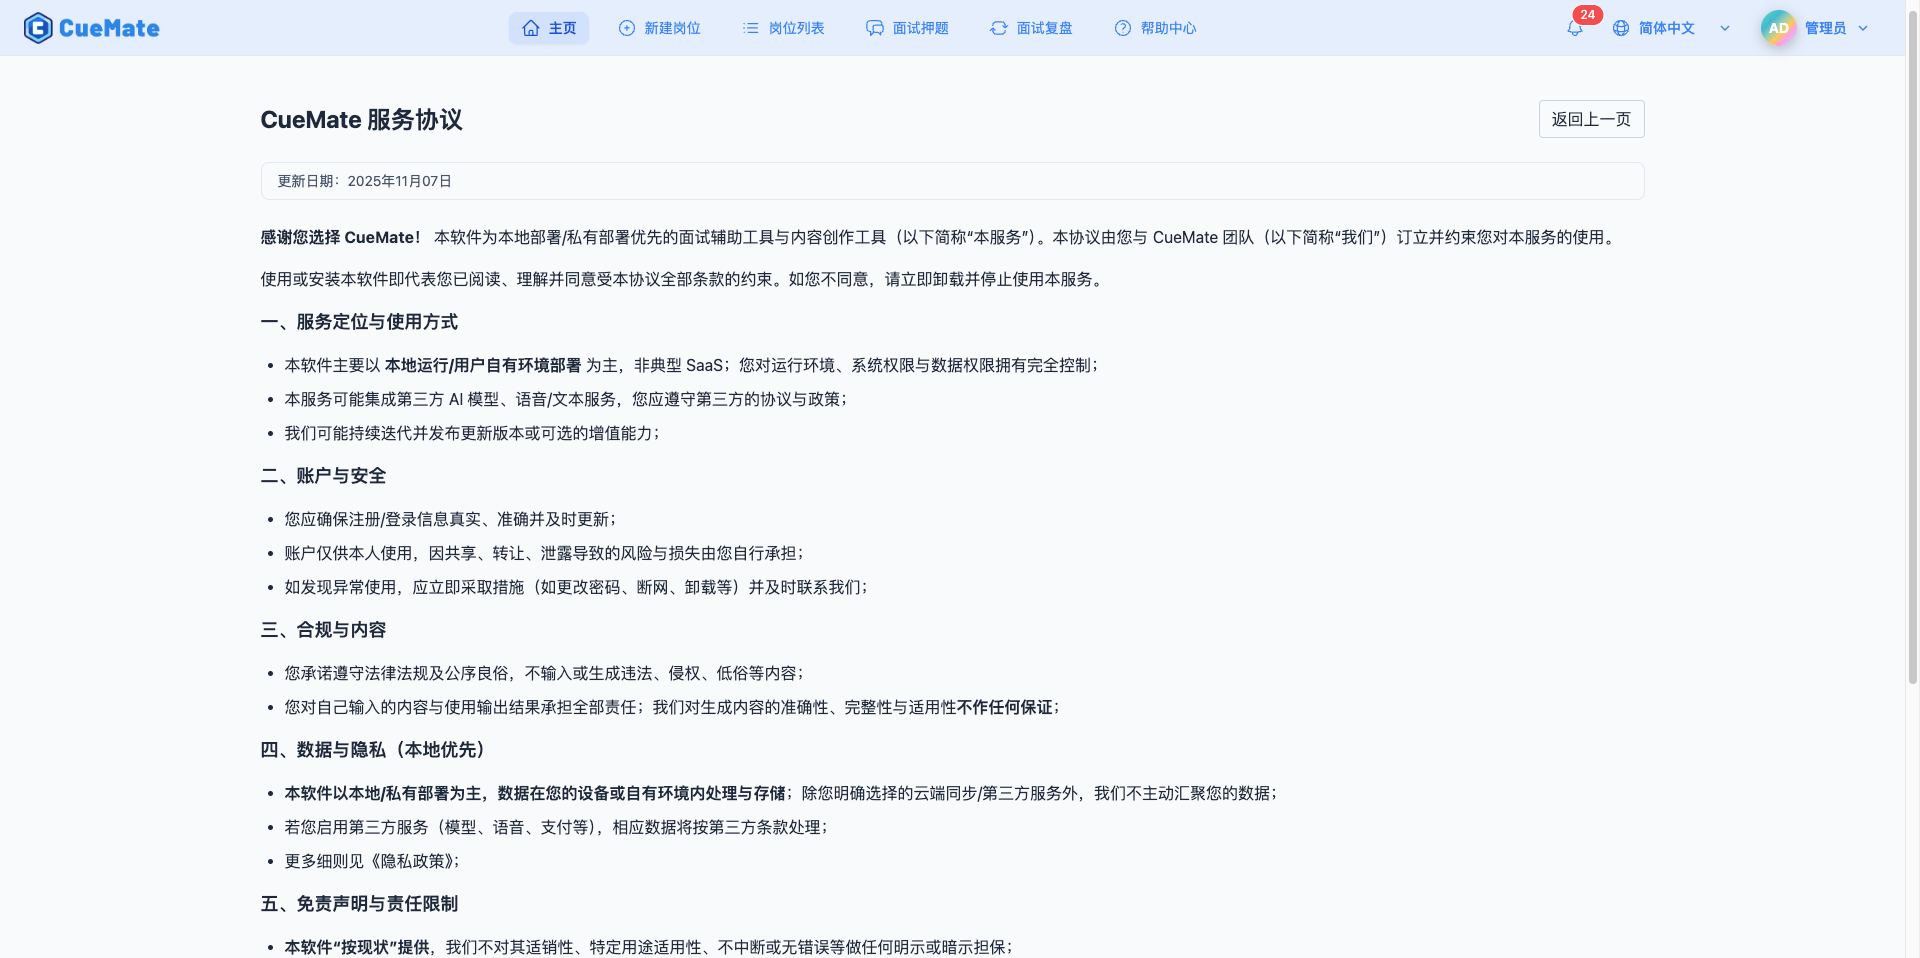
Privacy Policy: 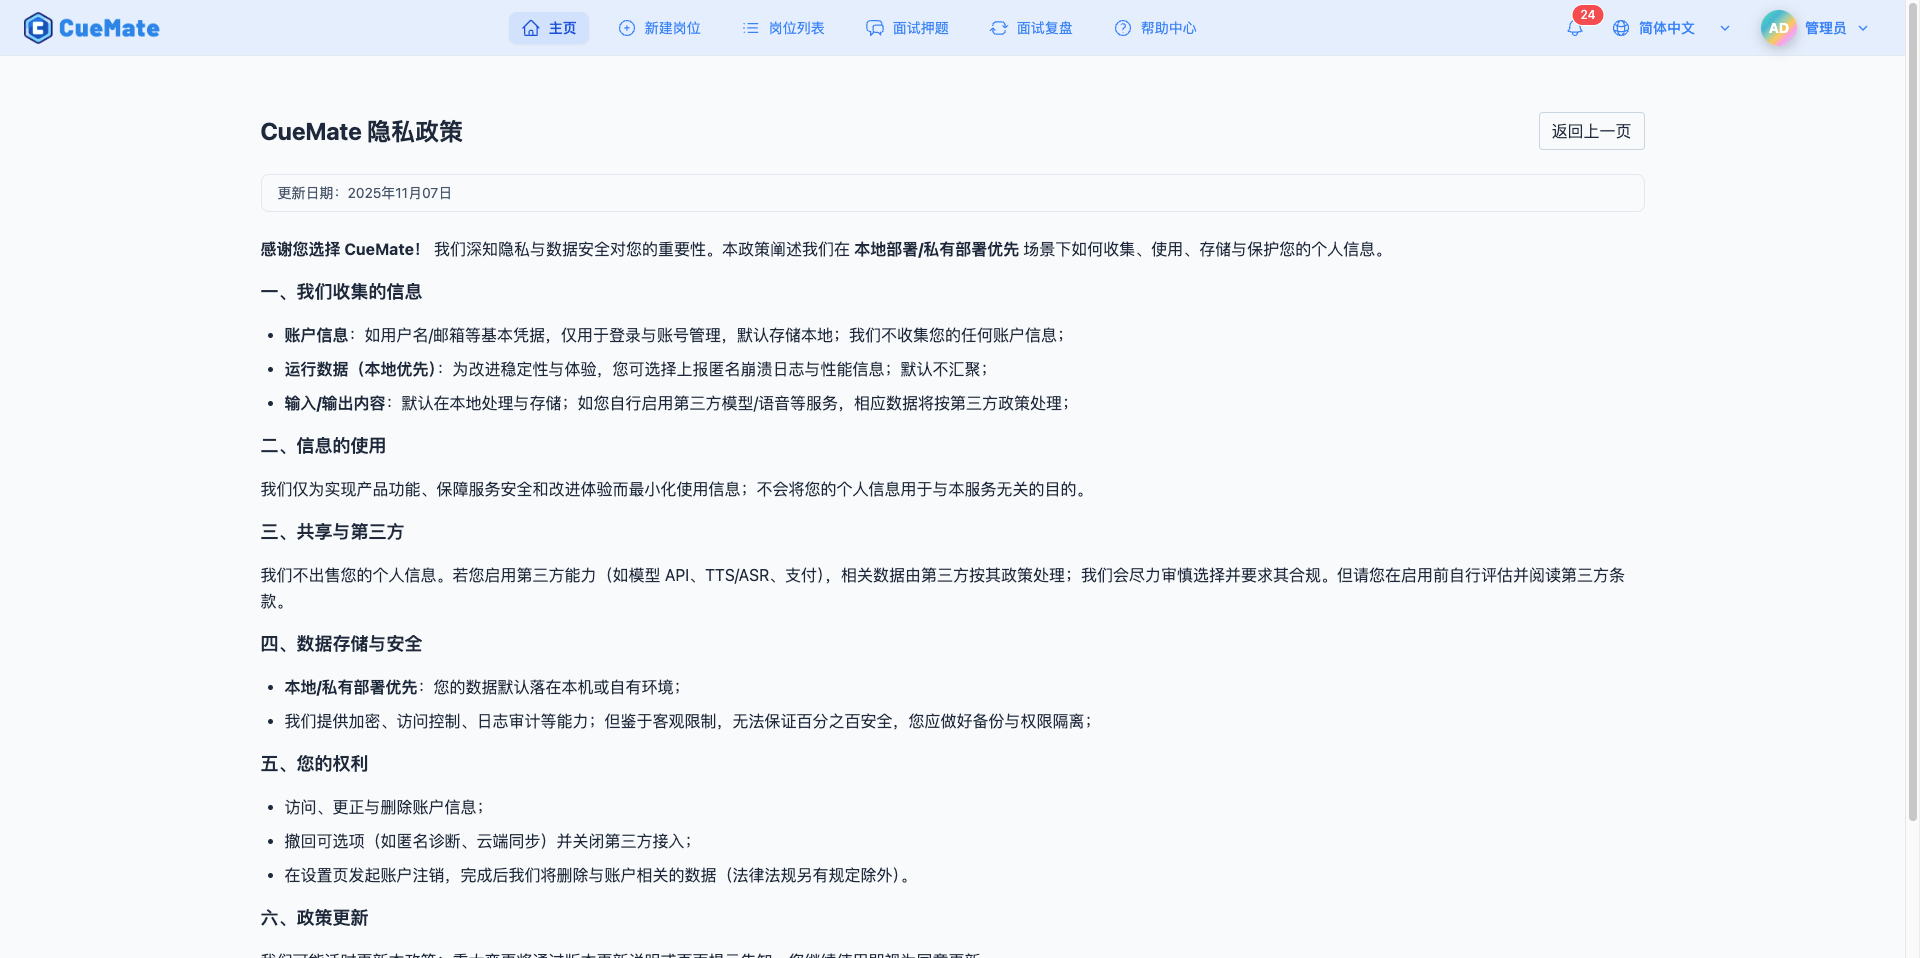
3. Floating Window Settings
3.1 Click-through Mode
Switch desktop client floating window interaction mode.
Mode Options:
- Interactive Mode (floating_window_visible = 1):
- Floating window can be clicked and interacted with
- Can be dragged, resized
- Mouse clicks do not pass through
- Click-through Mode (floating_window_visible = 0):
- Floating window remains visible
- Mouse clicks pass through to underlying applications
- Does not interfere with other application operations
Shortcut Key Switching:
- macOS: ⌘⇧CM (Command + Shift + C + M, to avoid conflicts with hotkeys in other software)
- Quick switch between the two modes
Use Cases:
- Need to view answers during interview but don't want to block screen, e.g., online coding
- View prompts in click-through mode while operating interview or other software
- Switch to interactive mode when need to interact with floating window
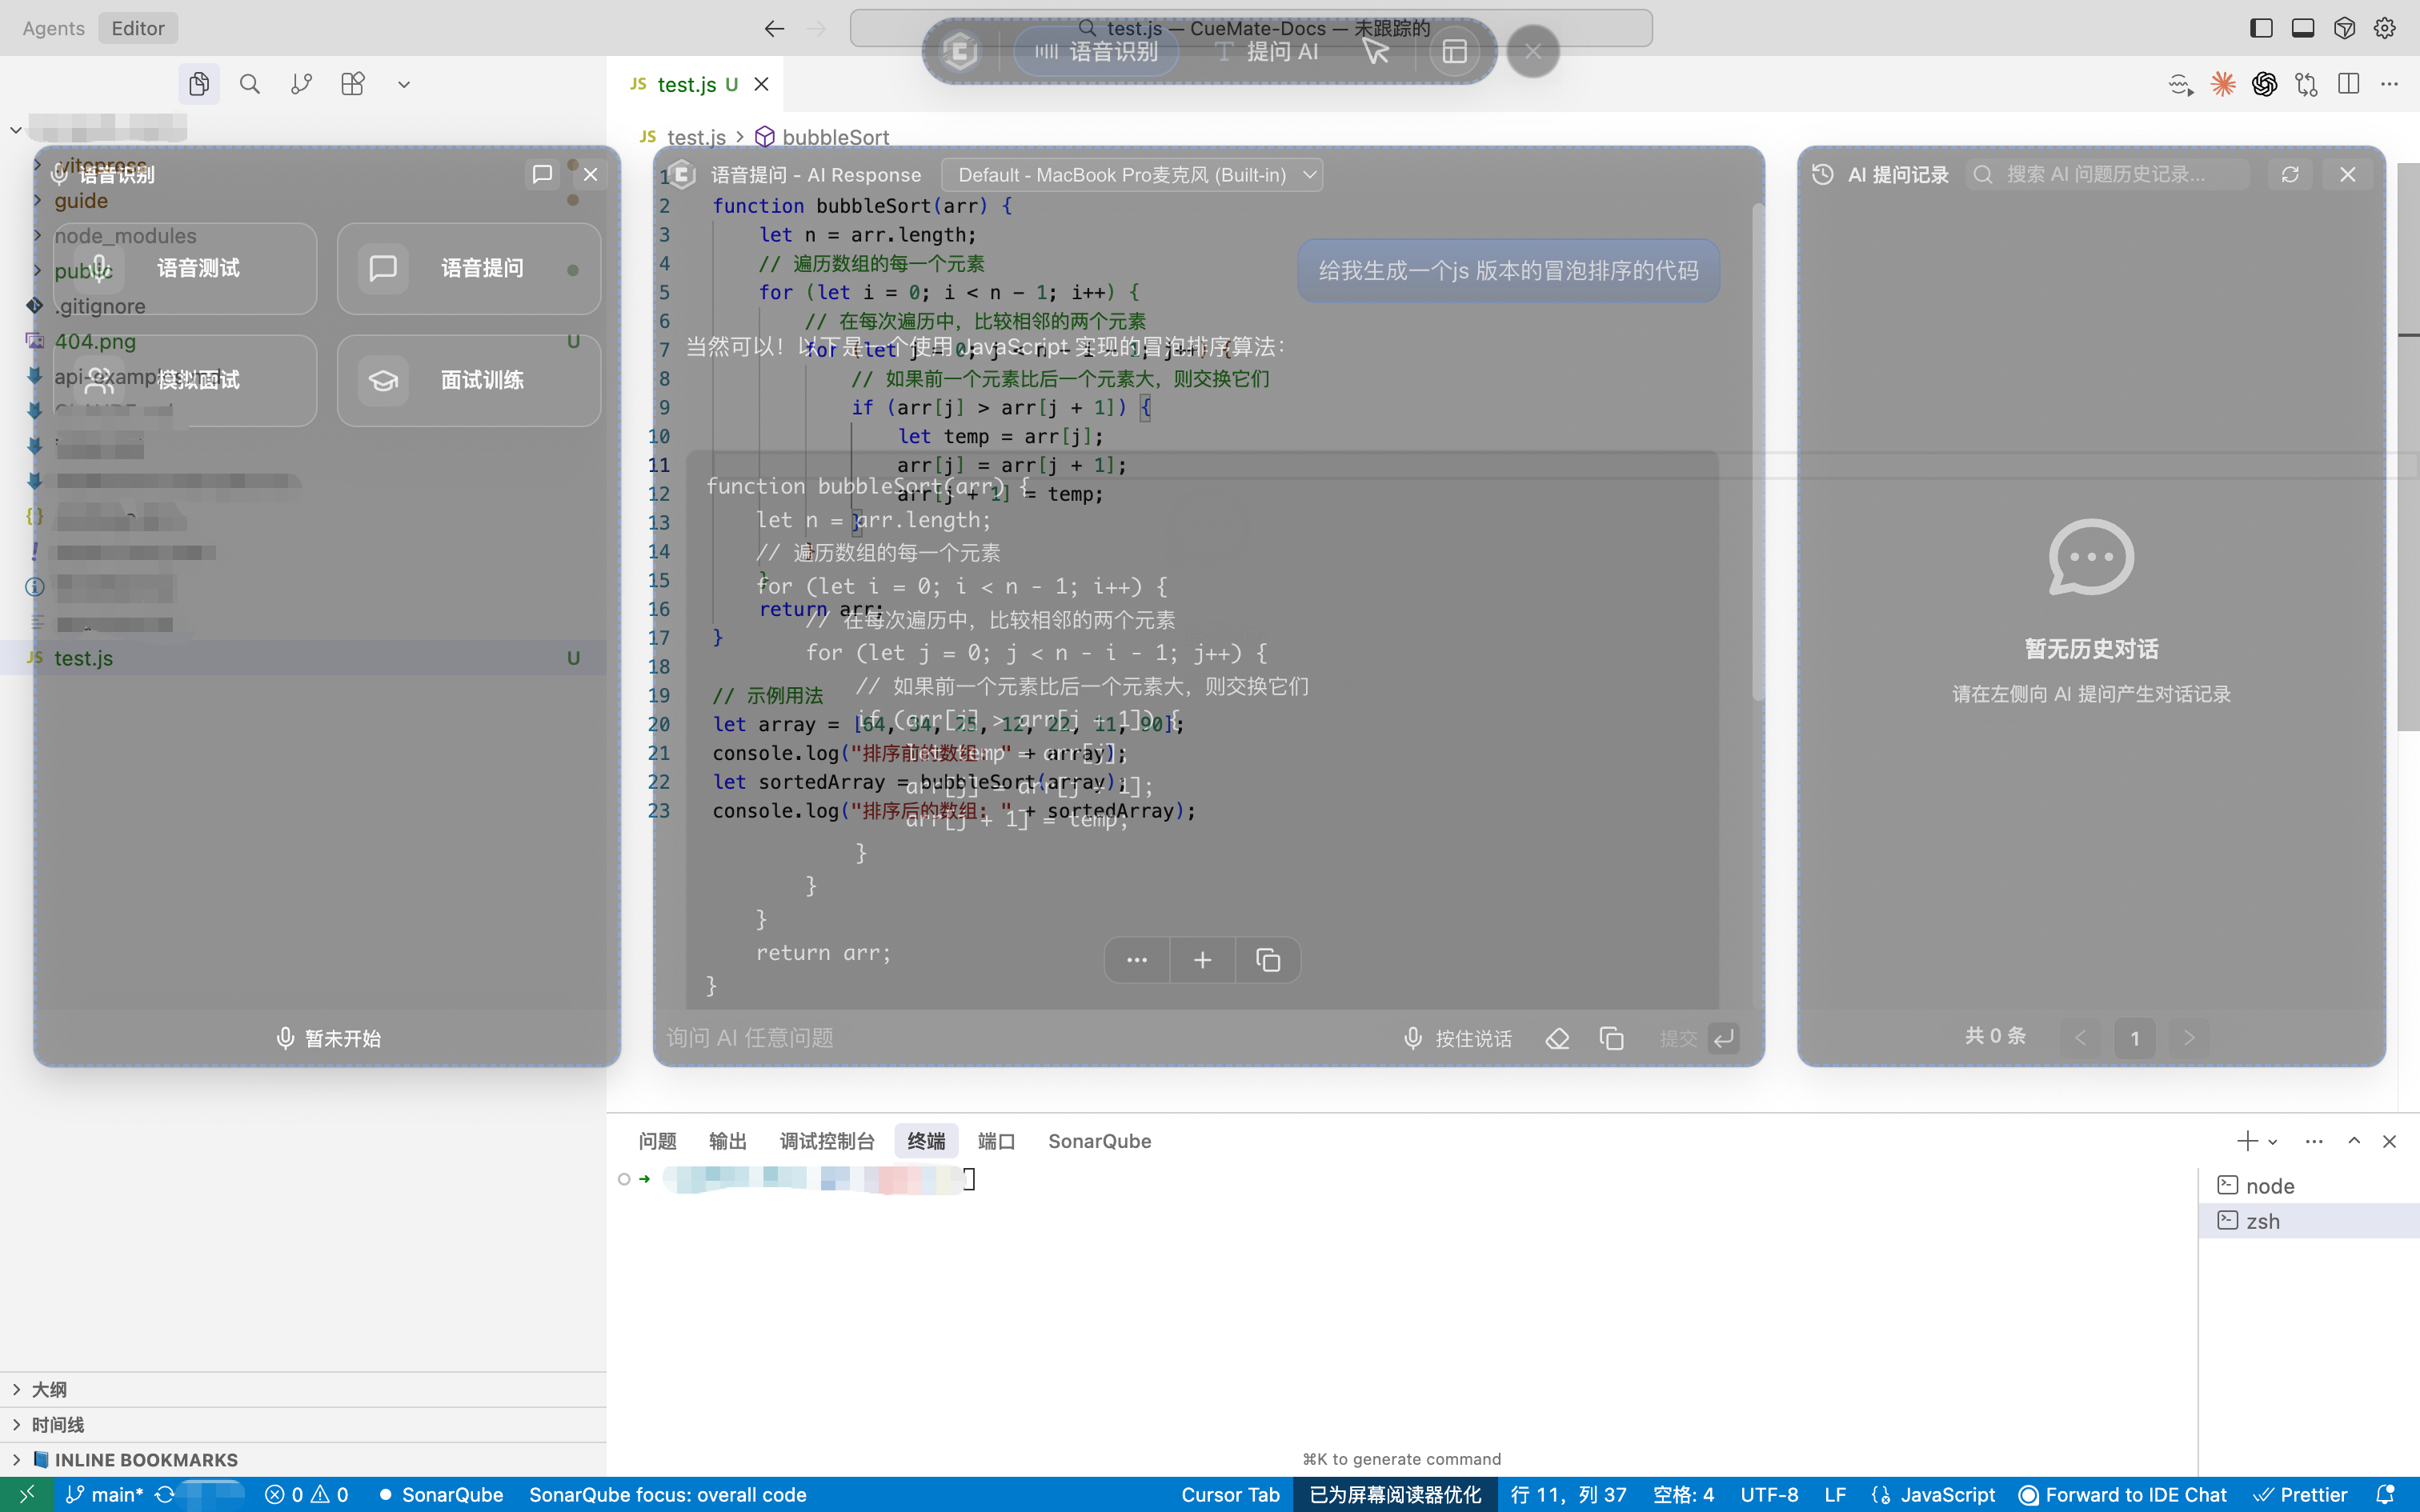
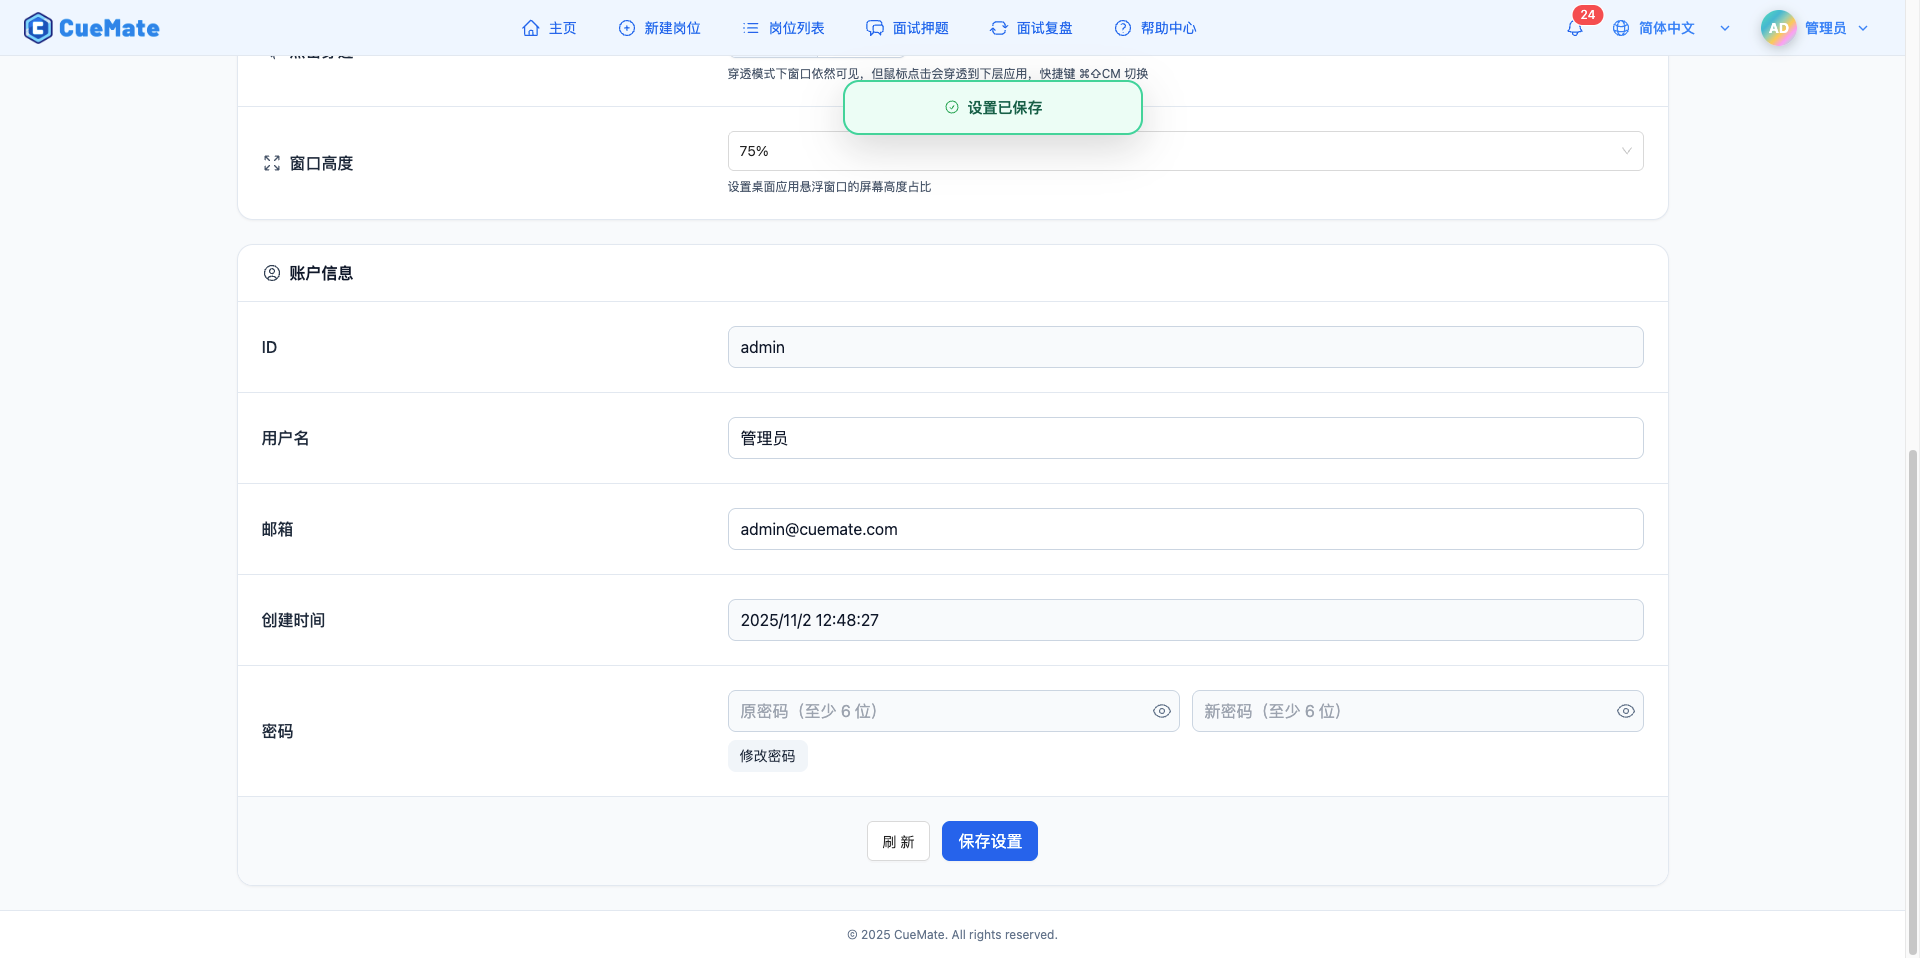
3.2 Window Height
Set desktop client floating window screen height ratio.
Height Options:
- 50%: Floating window takes half of screen height
- 75%: Floating window takes 3/4 of screen height
- 100%: Floating window fills entire screen height
Adjustment Suggestions:
- 50%: Suitable for small screens or when viewing multiple windows
- 75%: Balances field of view and screen space (recommended)
- 100%: Maximizes content display, suitable for large screens
Use Cases:
- Adjust floating window size based on screen dimensions
- Optimize answer display area
- Avoid floating window blocking other important content
50% Window Height: 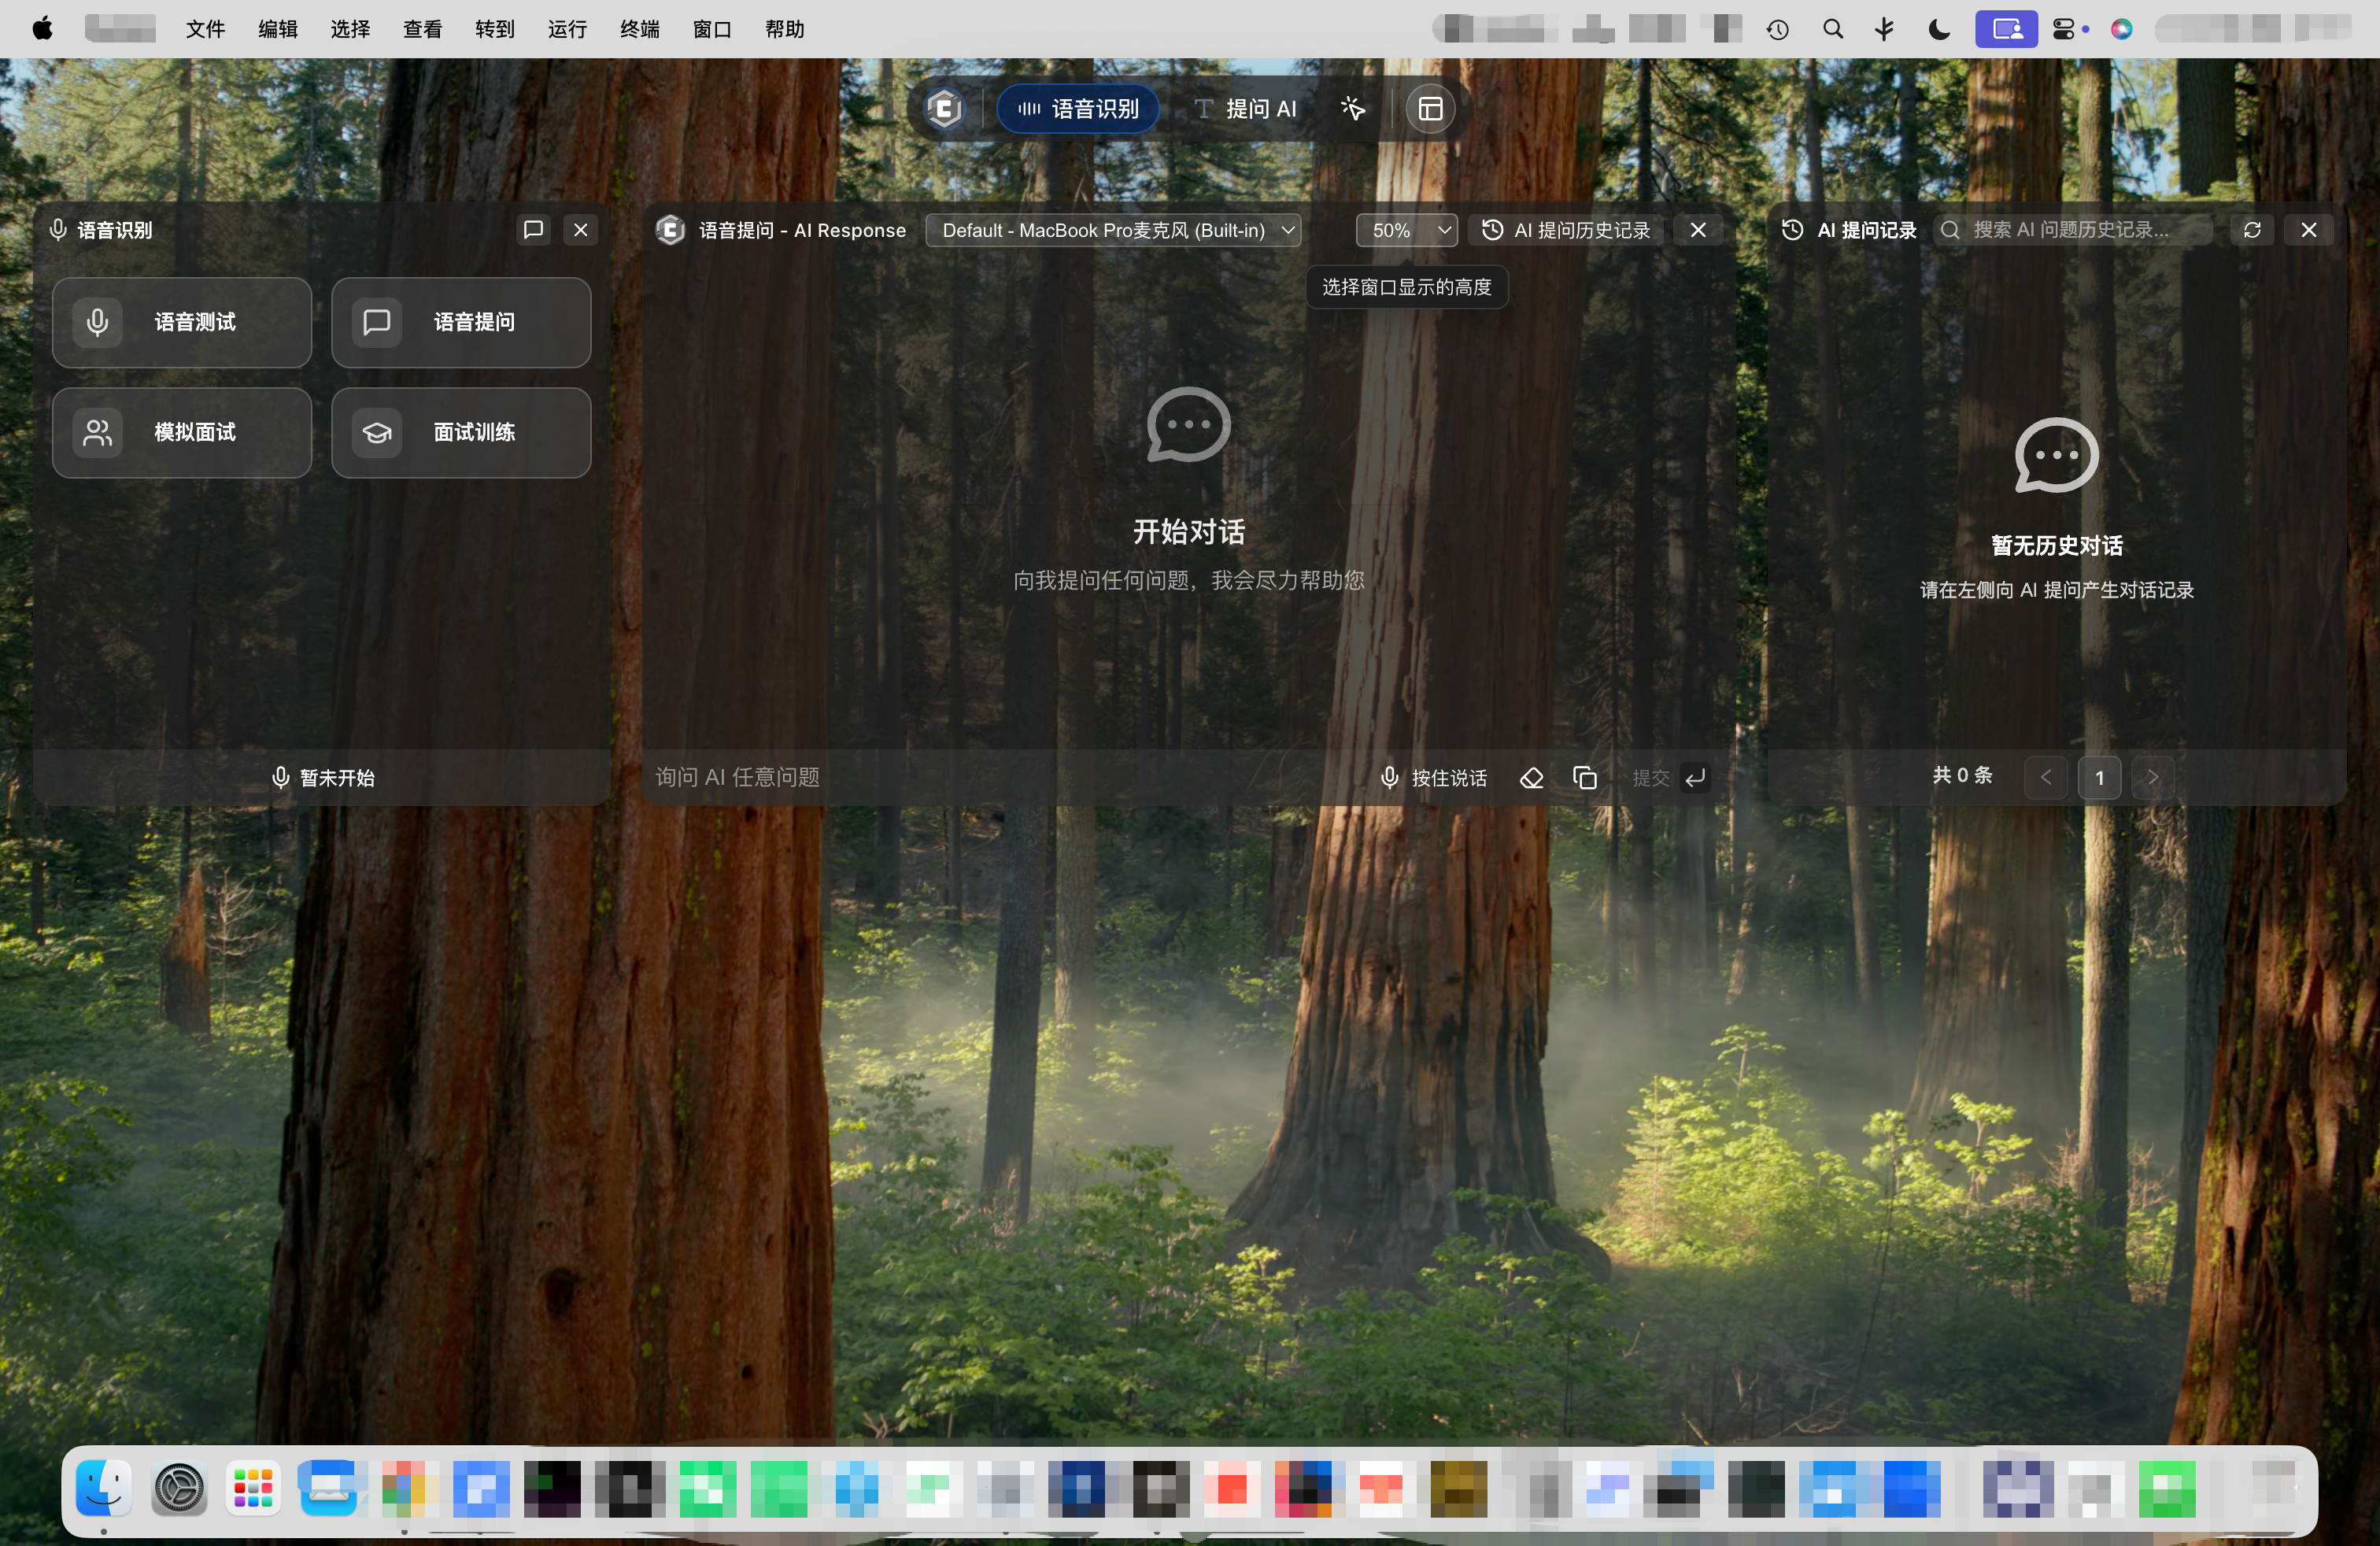 75% Window Height:
 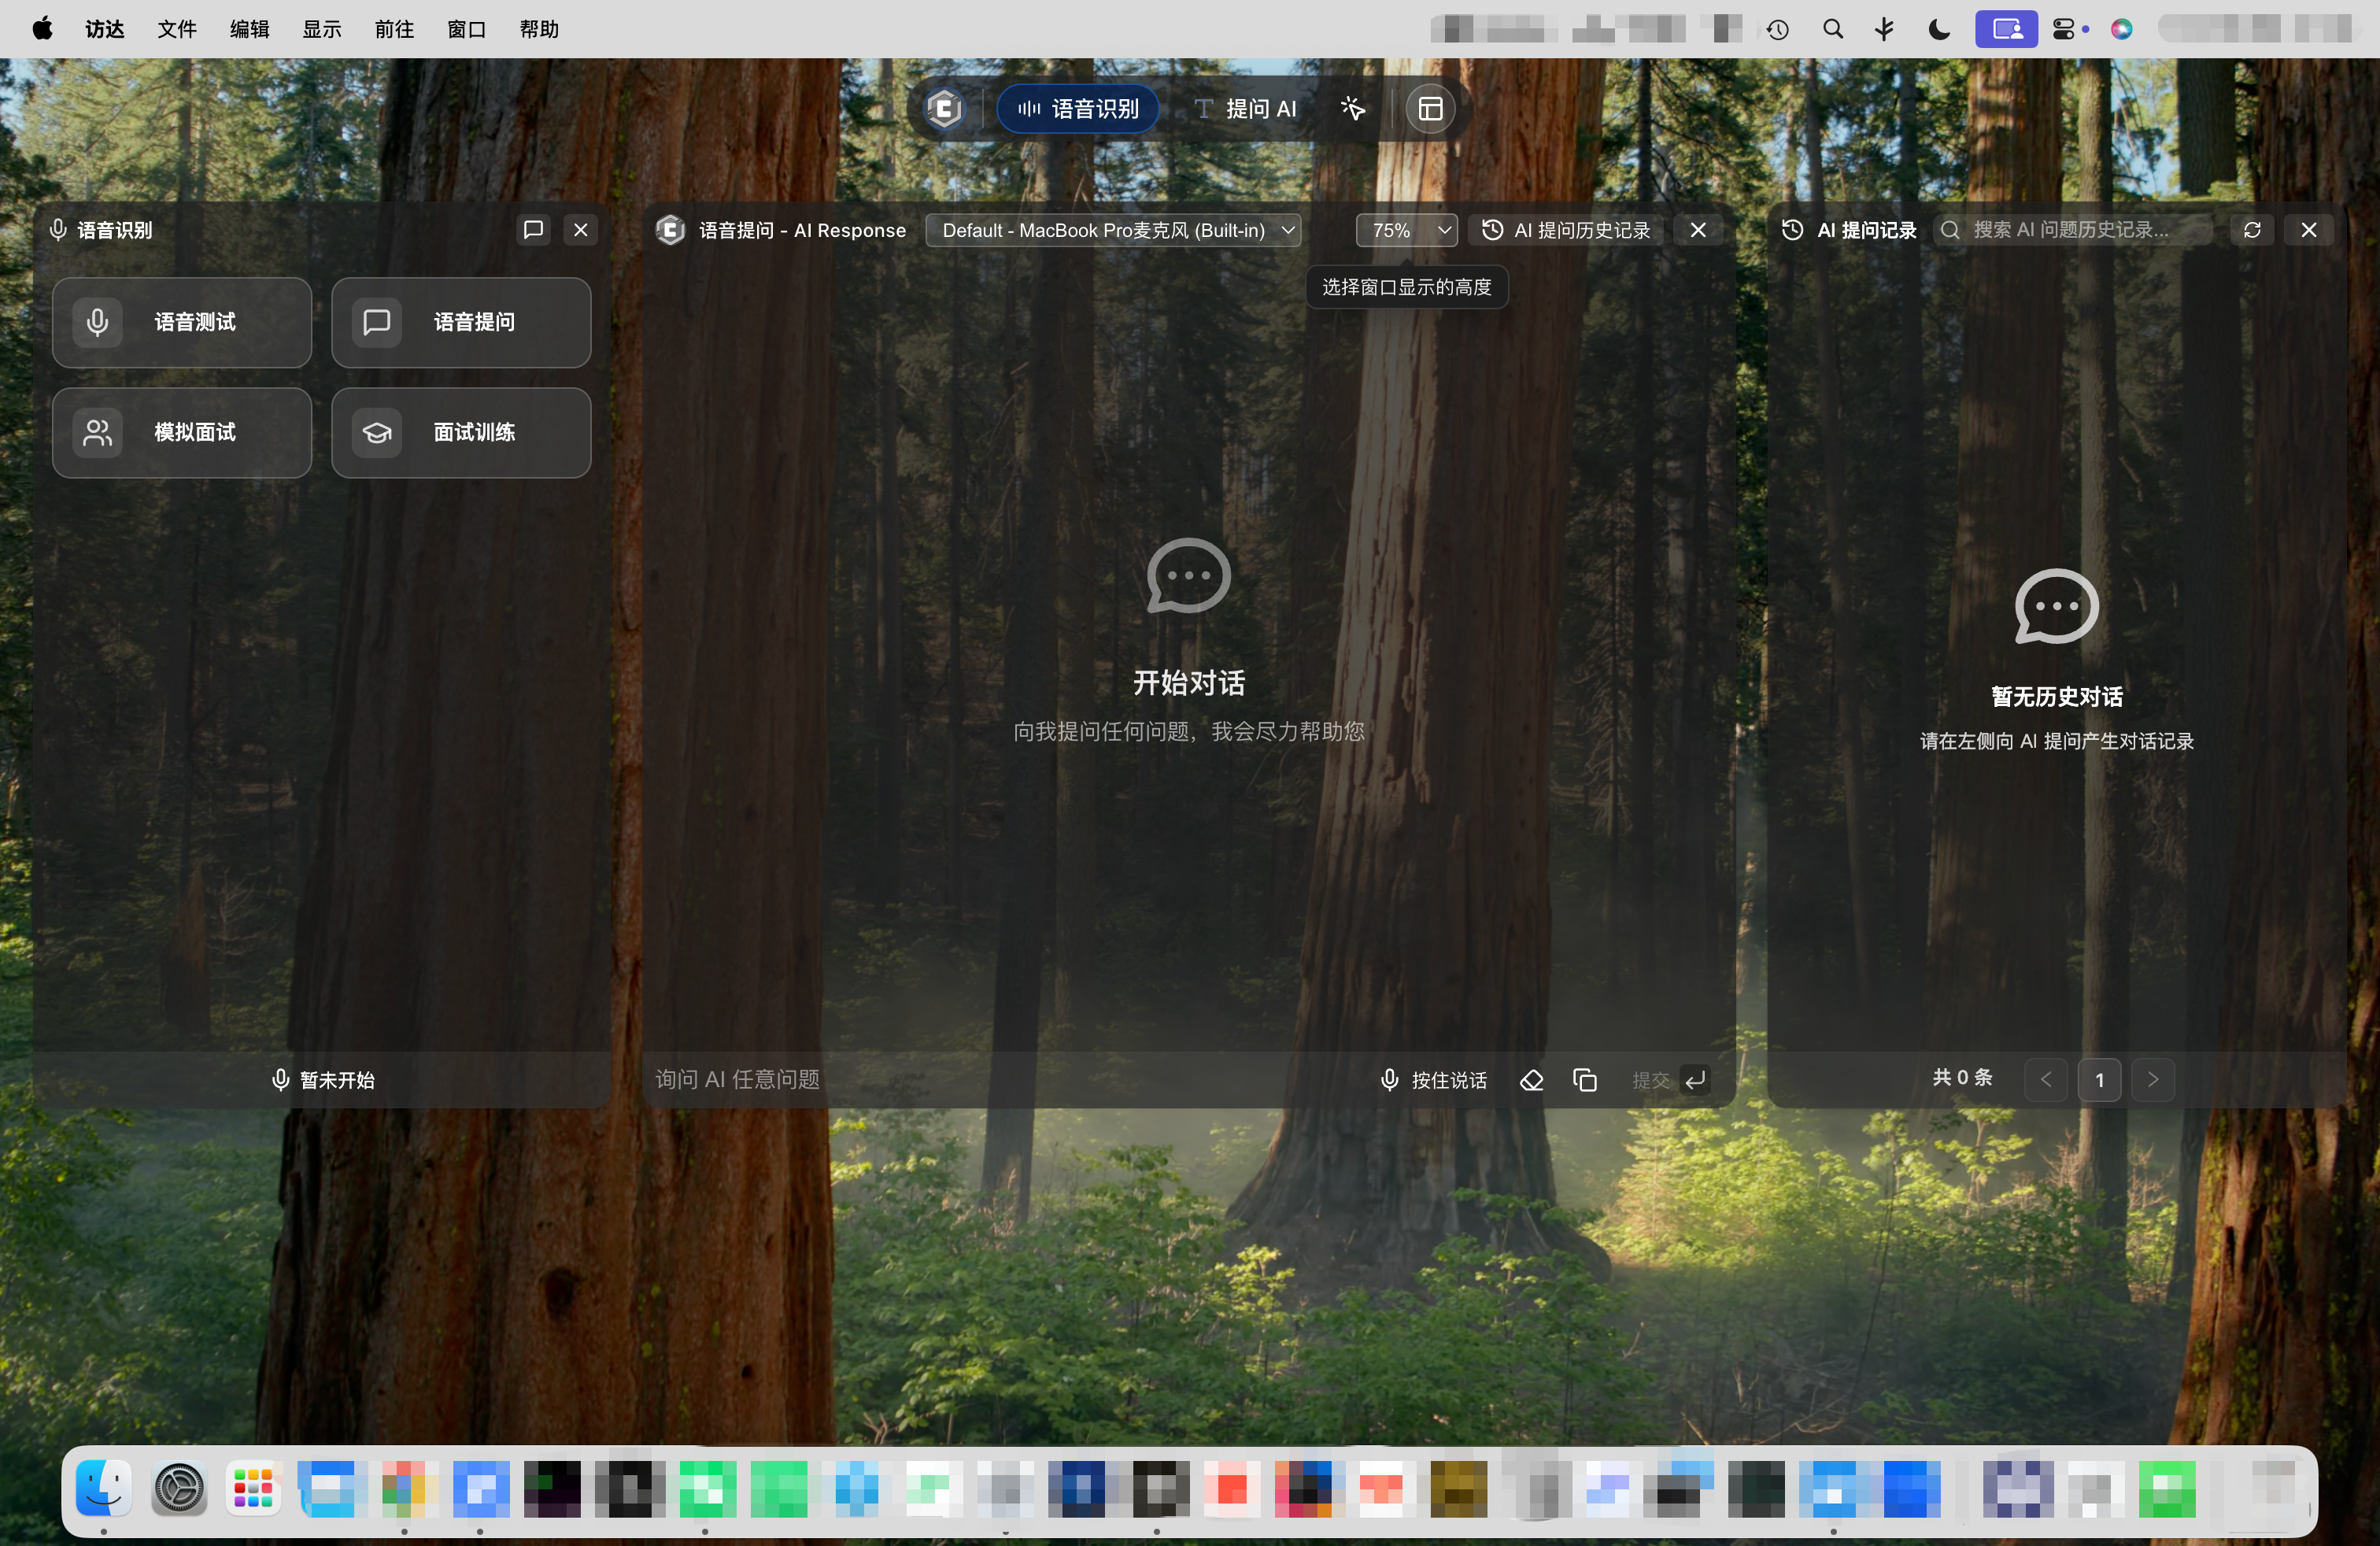 100% Window Height:
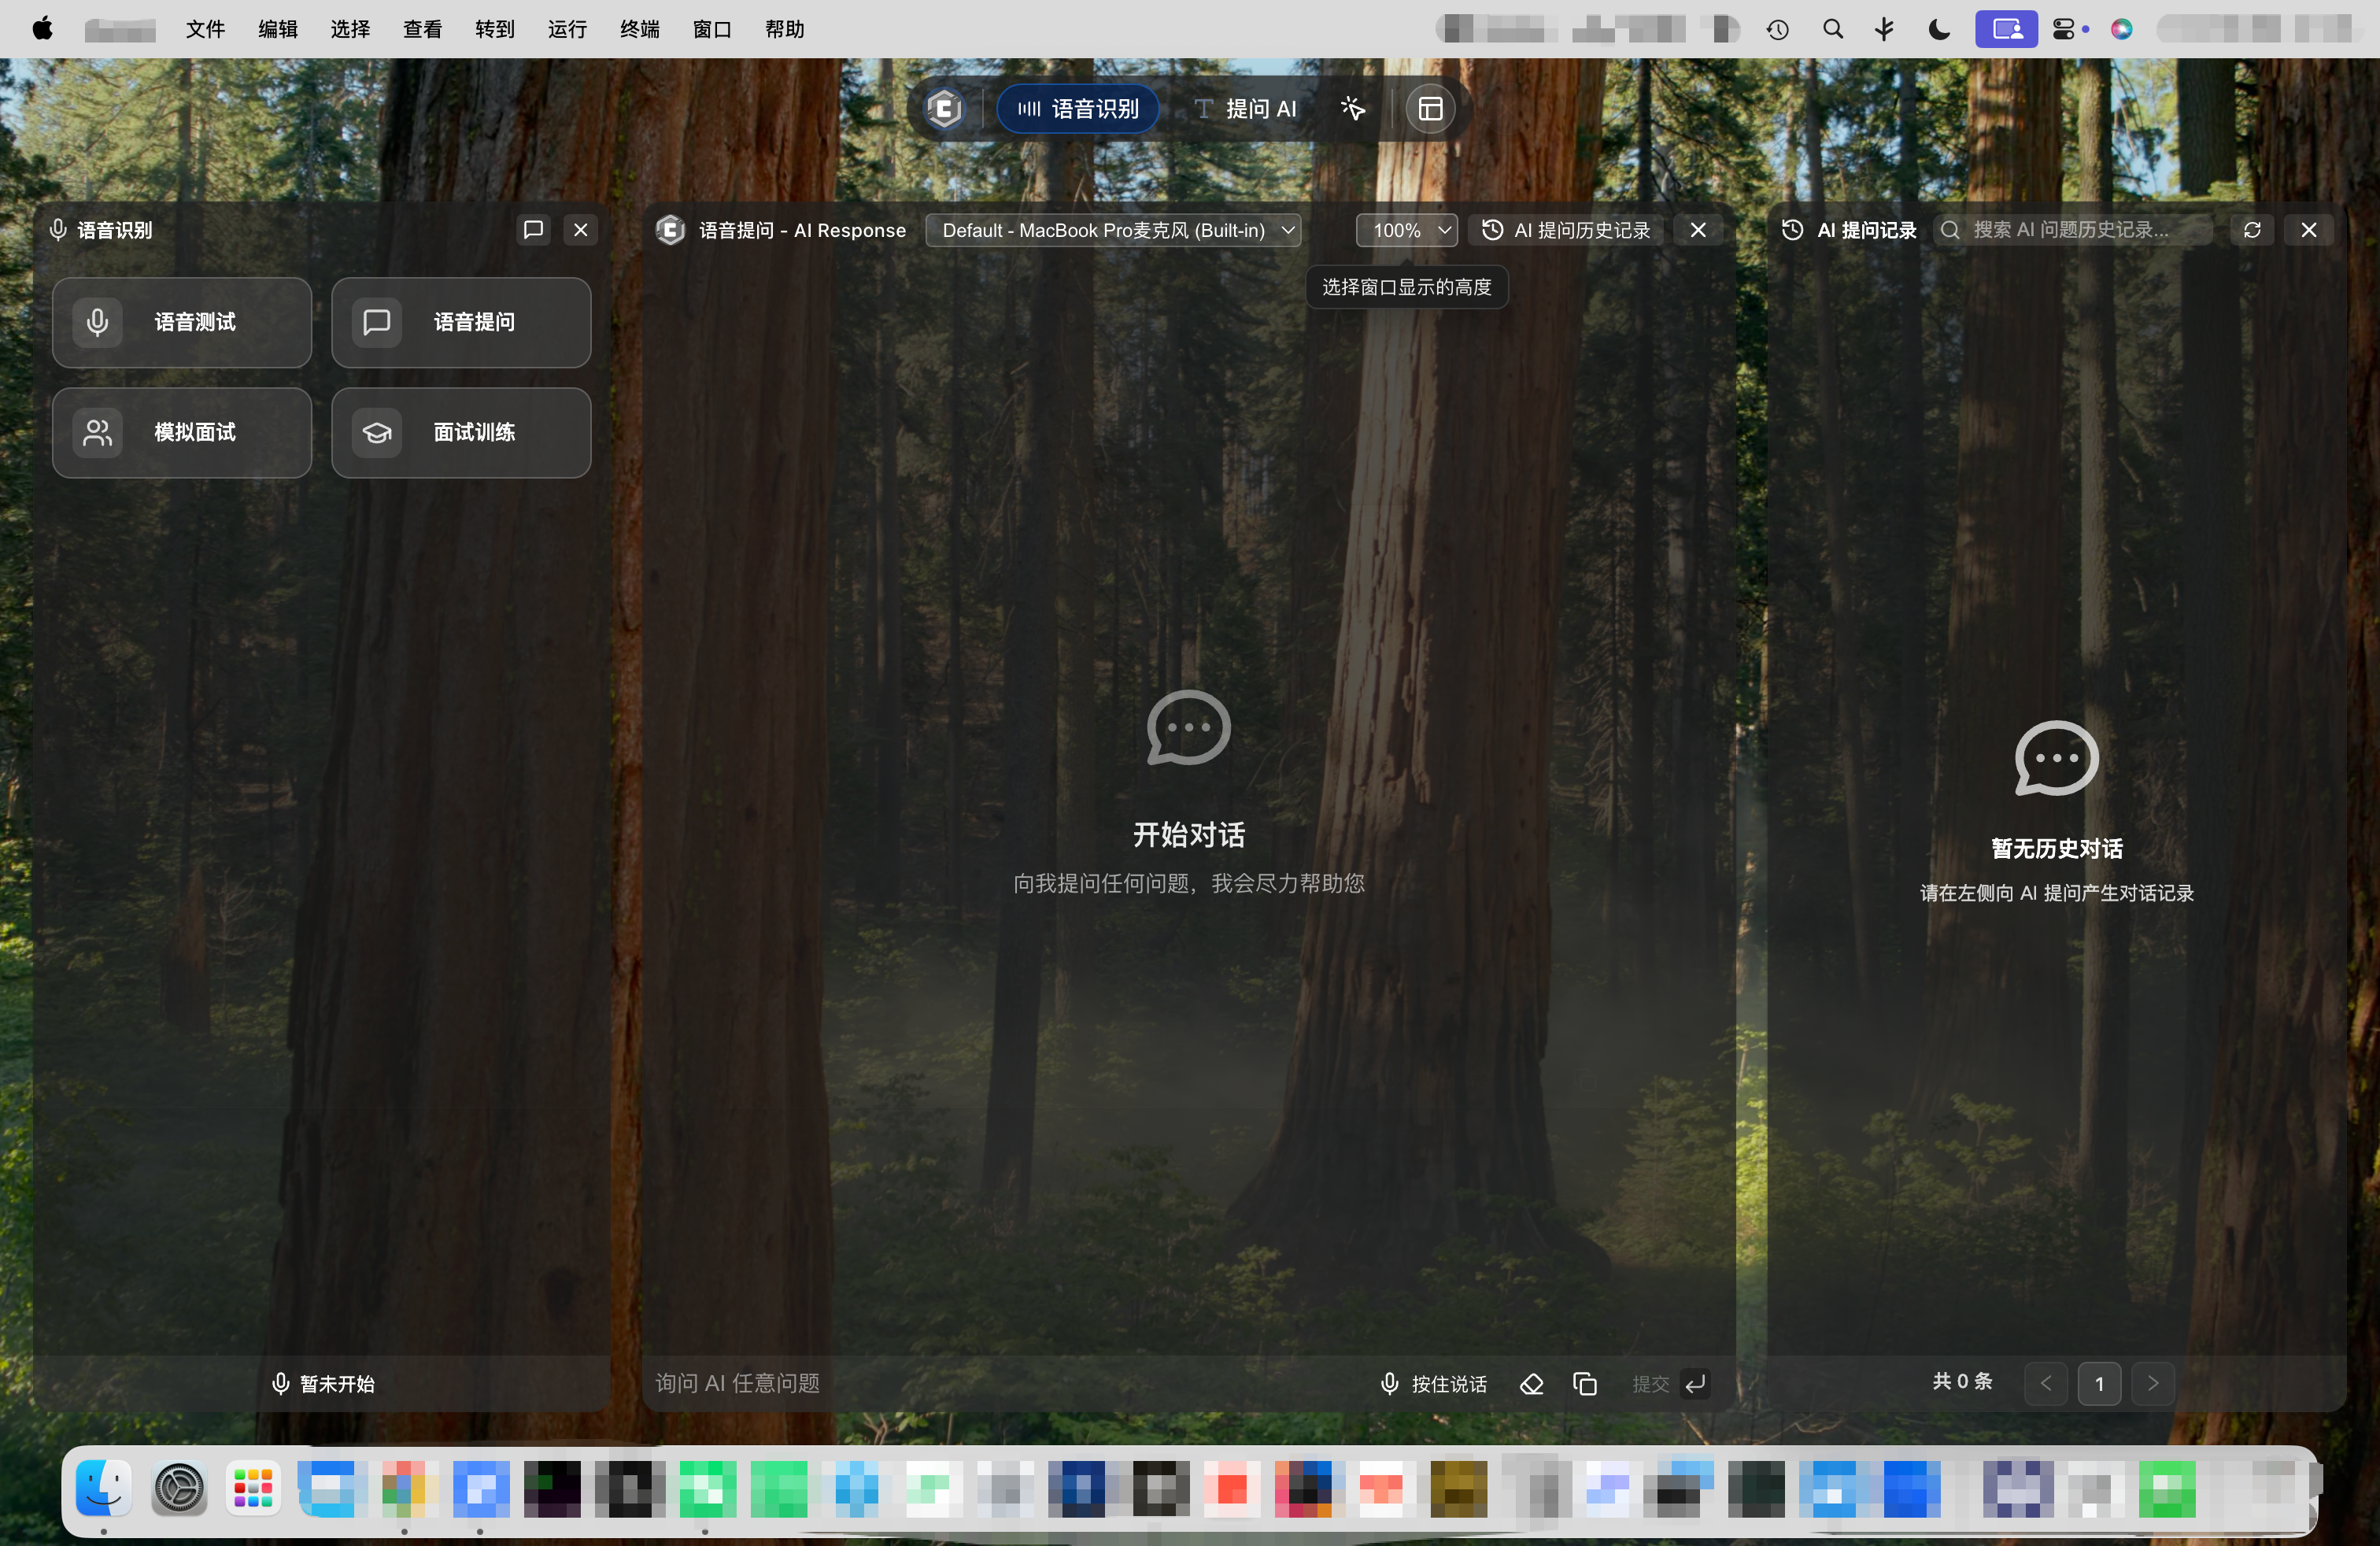
4. Account Information
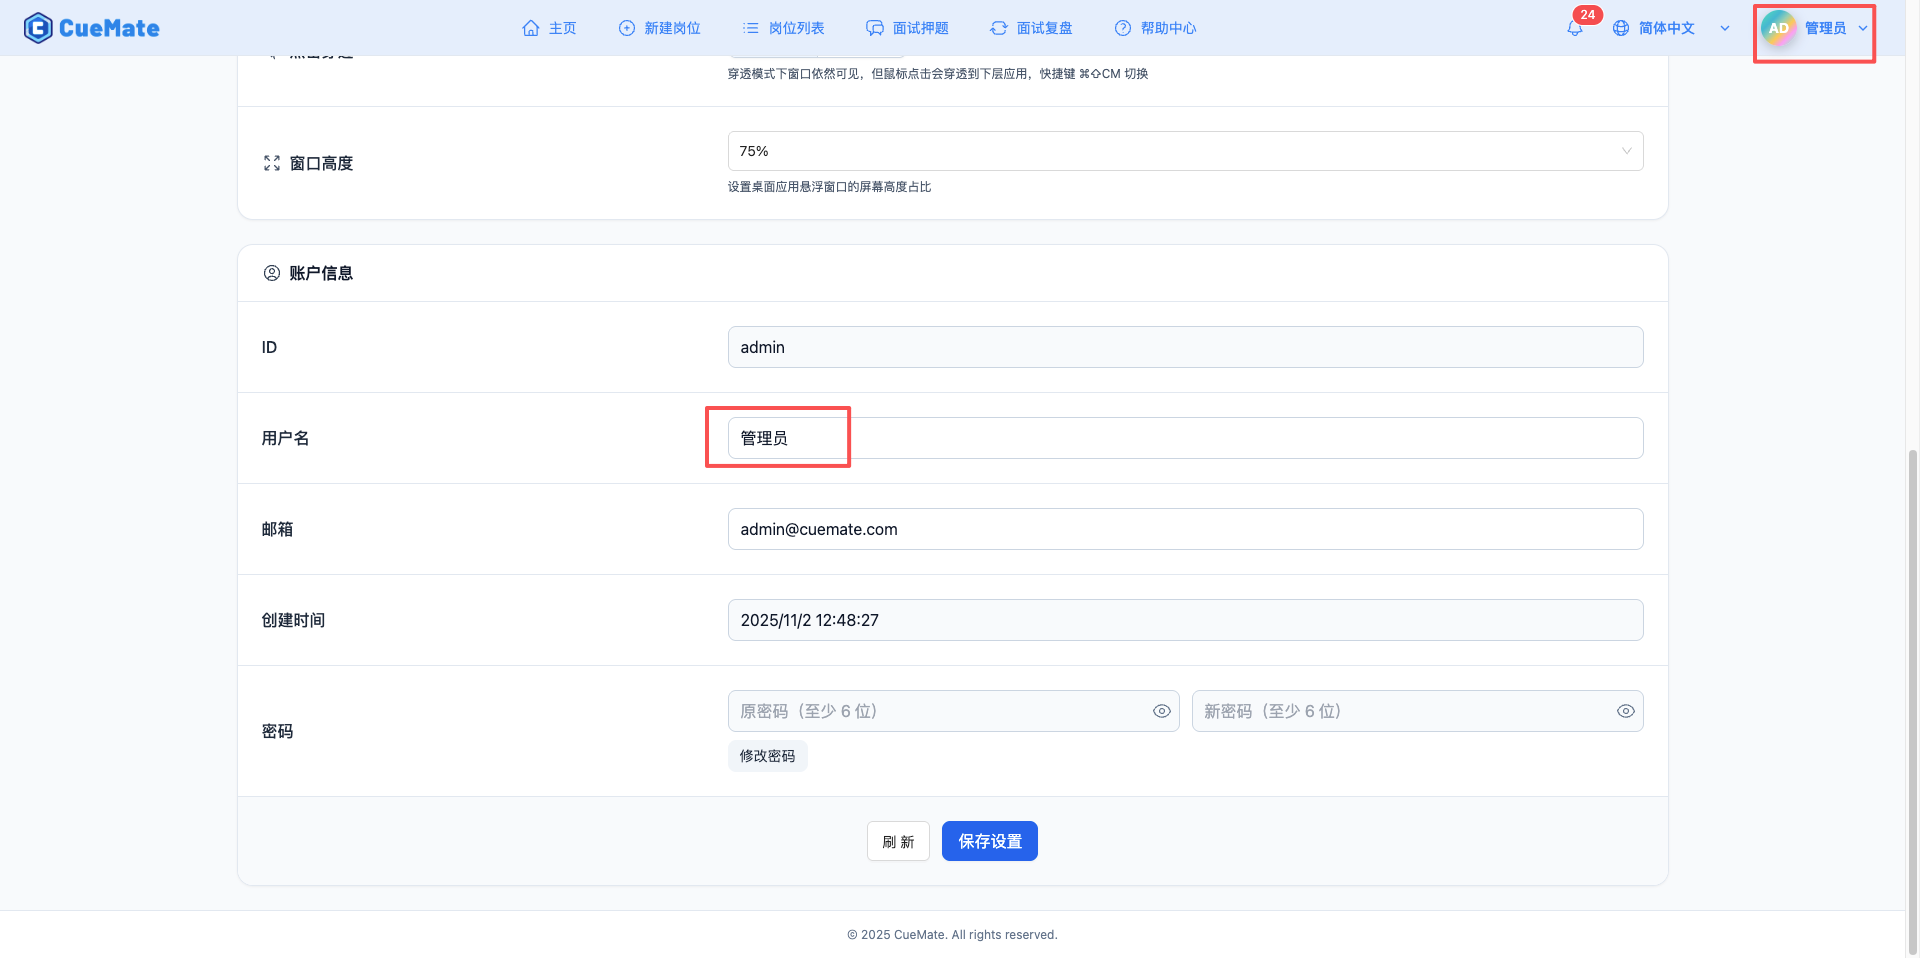
4.1 ID and Username
View and edit account ID and username, displayed in top right corner.
ID Field (read-only):
- Displays unique account identifier
- UUID format
- Used for technical support and log tracking
Username Field (editable):
- Displays current username
- Can be modified to any name
- Click "Save Settings" button after modification
Use Cases:
- View account ID for troubleshooting
- Modify username to personalized name
4.2 Email
Edit account email address.
Email Field (editable):
- Displays currently bound email address
- Can be modified to new email
- Click "Save Settings" button after modification
Use Cases:
- Update email address
- Receive system notifications and important information
- Used for account recovery and verification
4.3 Creation Time
View account creation time (read-only).
Creation Time Field:
- Displays account registration date and time
- Not editable
- Local time format display
Use Cases:
- View account age
- Confirm account creation date
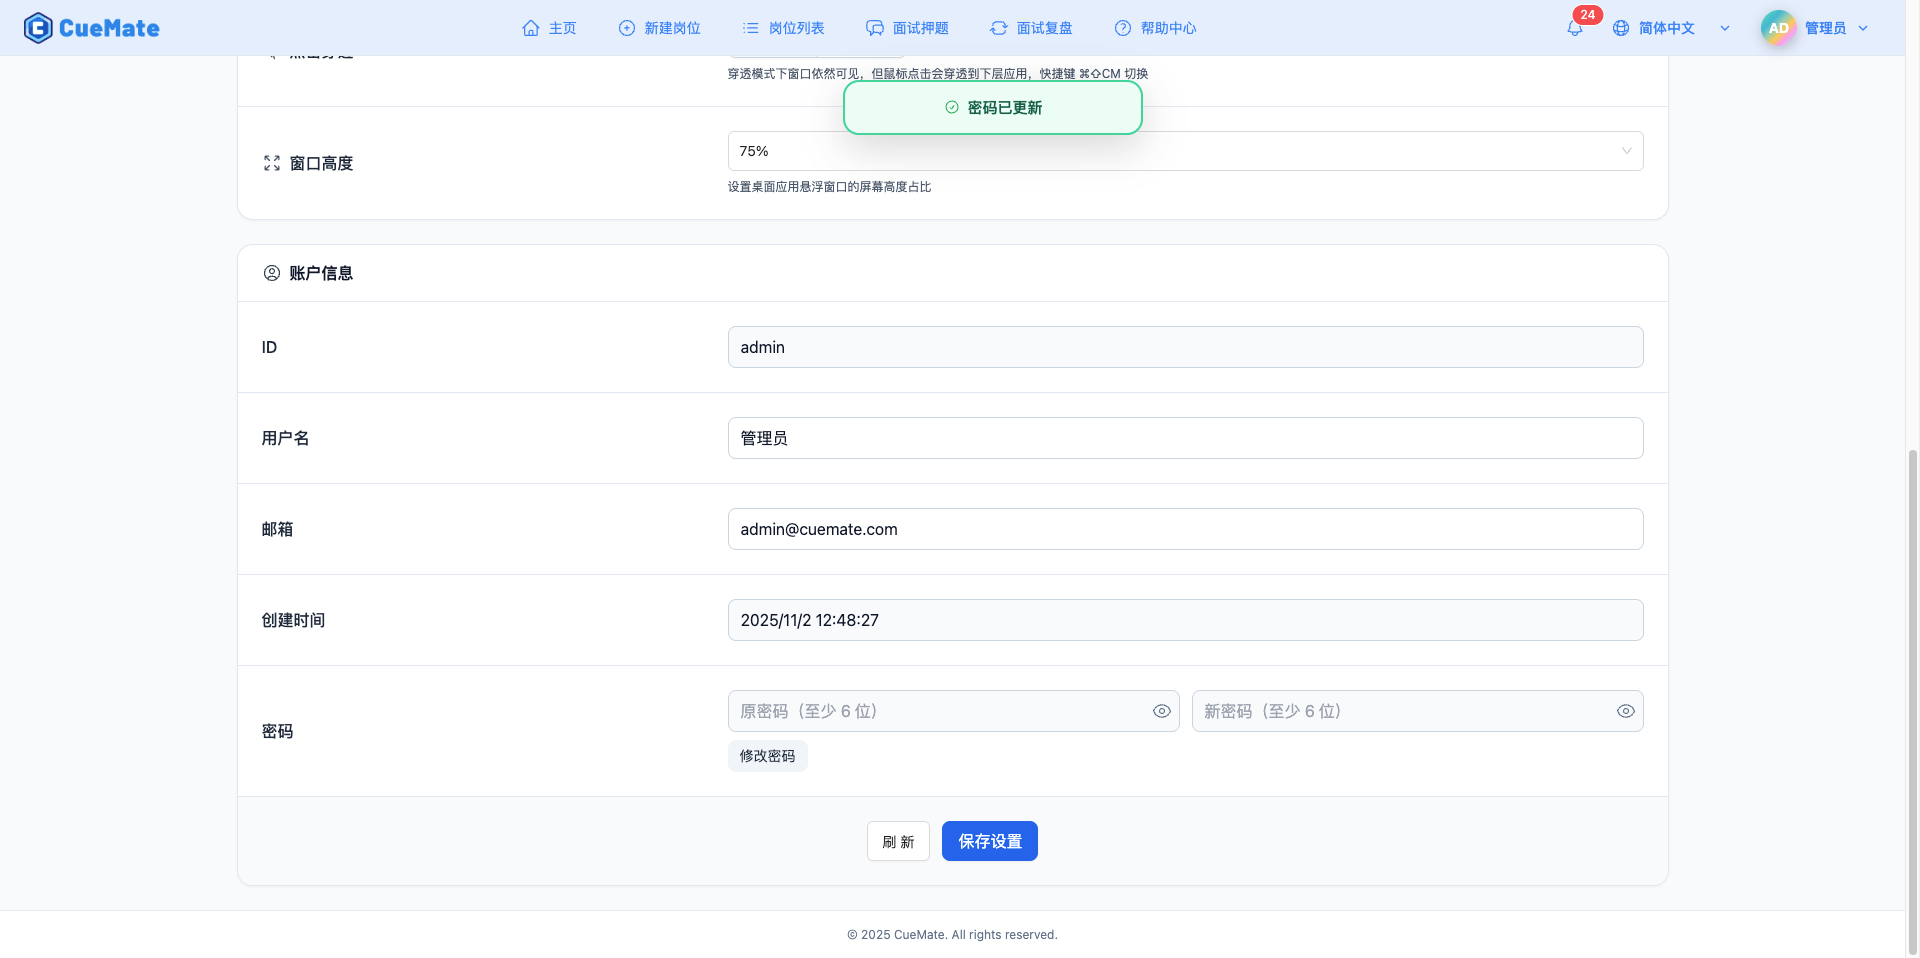
4.4 Change Password
Click the "Change Password" button to edit and save new password.
NOTE
Default Login Credentials:
- Default Username: admin
- Default Password: cuemate
- Recommend changing password immediately after first login to ensure account security
Change Process:
- Click "Change Password" button to enter edit mode
- Enter original password in left input box (at least 6 characters)
- Enter new password in right input box (at least 6 characters)
- Click eye icon to show/hide password
- Red error message appears if password length is insufficient
- Click "Save Password" button to submit password change request separately
- After password change succeeds, click "Save" button at page bottom to apply other settings
Password Requirements:
- Minimum length: 6 characters
- Original password must be correct
- New password cannot be same as original password
Security Tips:
- Change password regularly to improve security
- Use strong passwords (including uppercase and lowercase letters, numbers, special characters)
- Do not share passwords with other websites
5. Server Deployment Configuration
NOTE
Display Condition: This card is only displayed in distributed deployment mode. When the mode in server.json configuration file is set to "server", this configuration card will be shown on the settings page. It will not be displayed in local mode (mode: "local").
Server deployment configuration is used to manage remote server connection information and service port configuration.
WARNING
Important Note: If server configuration errors prevent connection to the Web service, this page will not be accessible. In this case, please use Tray Window - Server Configuration to modify the configuration, as the tray window is rendered locally and is not affected by remote server connection status.
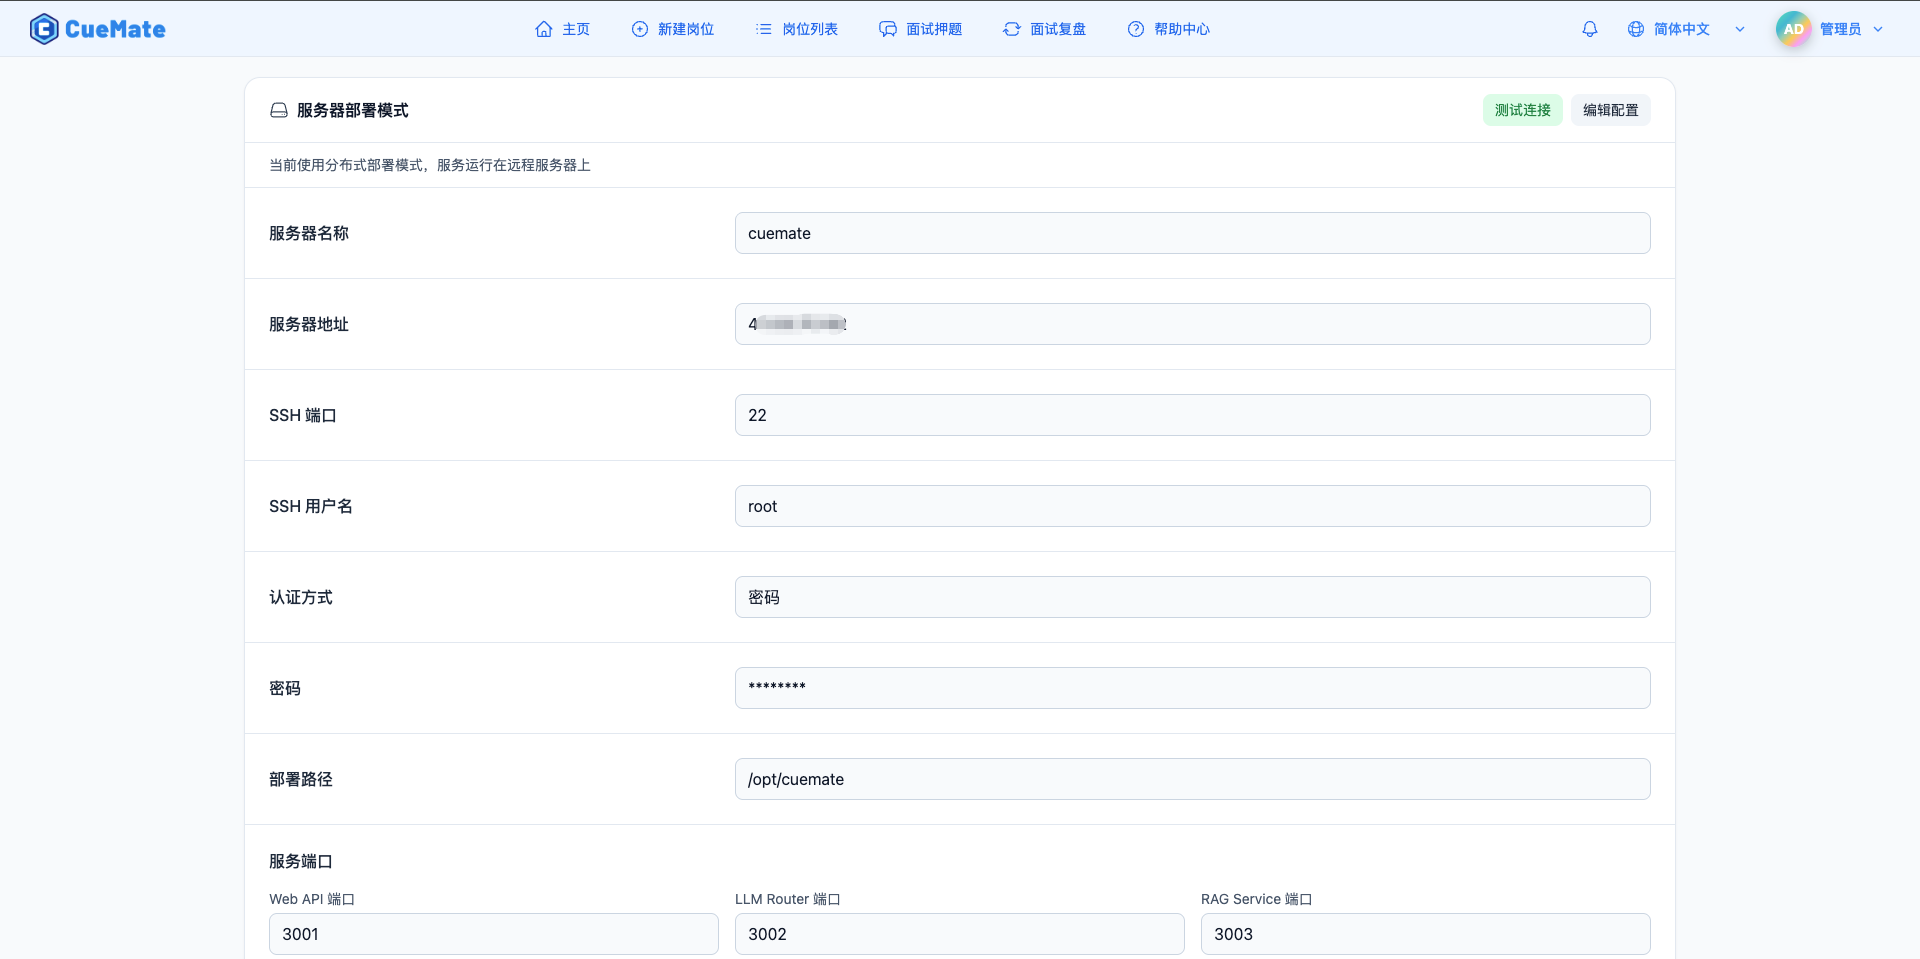
5.1 Server Basic Information
Server Name:
- Custom server identification name
- Easy to distinguish between multiple server configurations
- Examples: Production Server, Test Server
Server Address:
- Remote server IP address or domain name
- Examples: 192.168.1.100 or server.example.com
SSH Port:
- SSH connection port, default is 22
- Used for remote management and deployment
5.2 Authentication Information
SSH Username:
- Username for SSH connection
- Usually root or a user with sudo privileges
Authentication Method:
- Password Authentication: Use password for SSH authentication
- Private Key Authentication: Use SSH private key for authentication (more secure)
Password/Private Key:
- Displayed as
********(when set) or "Not Set" in non-edit mode - Click "Edit Server Configuration" button to view and modify actual values
- For private key authentication, paste the complete private key content
5.3 Deploy Path
Deploy Path:
- CueMate service installation directory on the remote server
- Default is
/opt/cuemate - All service components will be deployed to this directory
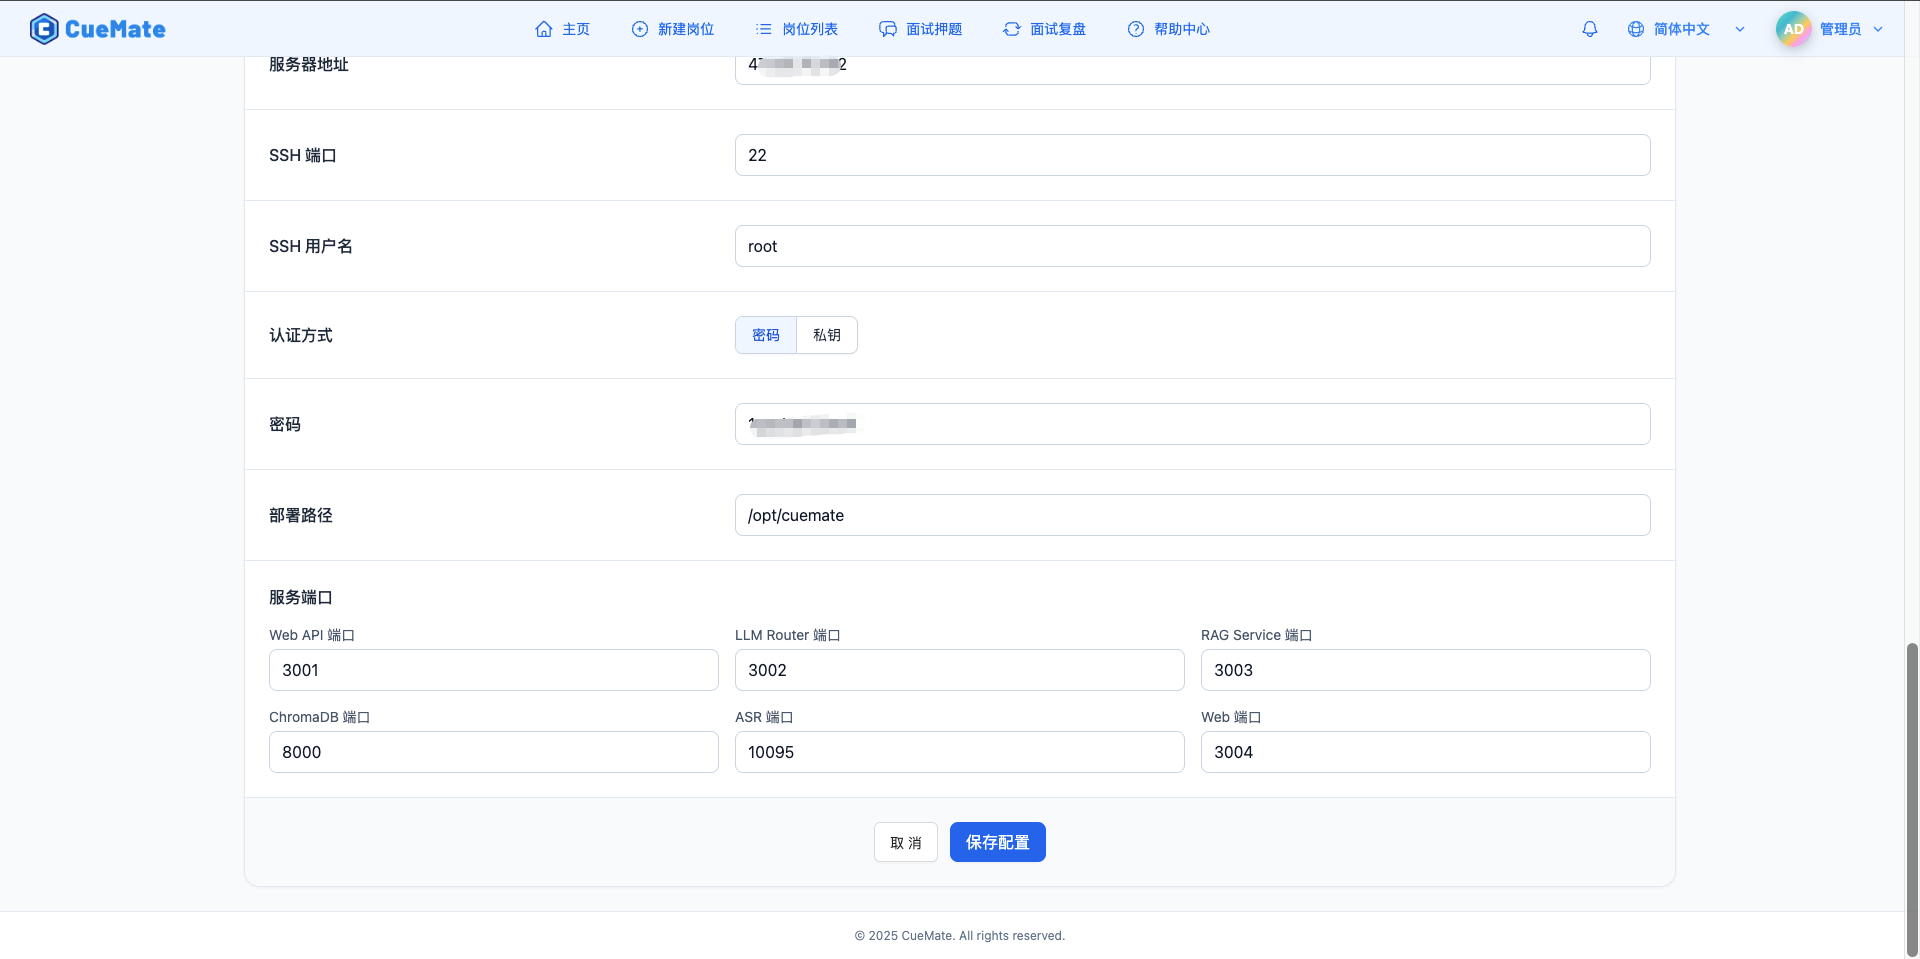
5.4 Service Port Configuration
Configure port numbers for each service component:
| Service Name | Default Port | Description |
|---|---|---|
| Web API | 3001 | Backend API service port |
| LLM Router | 3002 | LLM routing service port |
| RAG Service | 3003 | RAG retrieval service port |
| Web | 3004 | Web frontend service port |
| Chroma | 8000 | Vector database port |
| ASR | 10095 | Speech recognition service port |
Port Configuration Suggestions:
- Ensure ports are not occupied by other services
- Firewall must allow corresponding ports
- HTTPS (port 443) is recommended for production environments
5.5 Last Connection Time
Displays the last successful connection time to the server (read-only).
Use Cases:
- Confirm server connection status
- Reference when troubleshooting connection issues
5.6 Save Server Configuration
Click "Save Server Configuration" button to save modifications to local configuration file.
Save Process:
- Click "Edit Server Configuration" button to enter edit mode
- Modify fields that need to be updated
- Click "Save Server Configuration" button
- Success message appears after configuration is saved
Important Notes:
- Server configuration is saved in local
server.jsonfile - After modifying ports, you need to redeploy services for changes to take effect
- Ensure server address and authentication information are correct
5.7 Test Connection
Before saving configuration, you can click "Test Connection" button to verify if SSH connection is working properly.
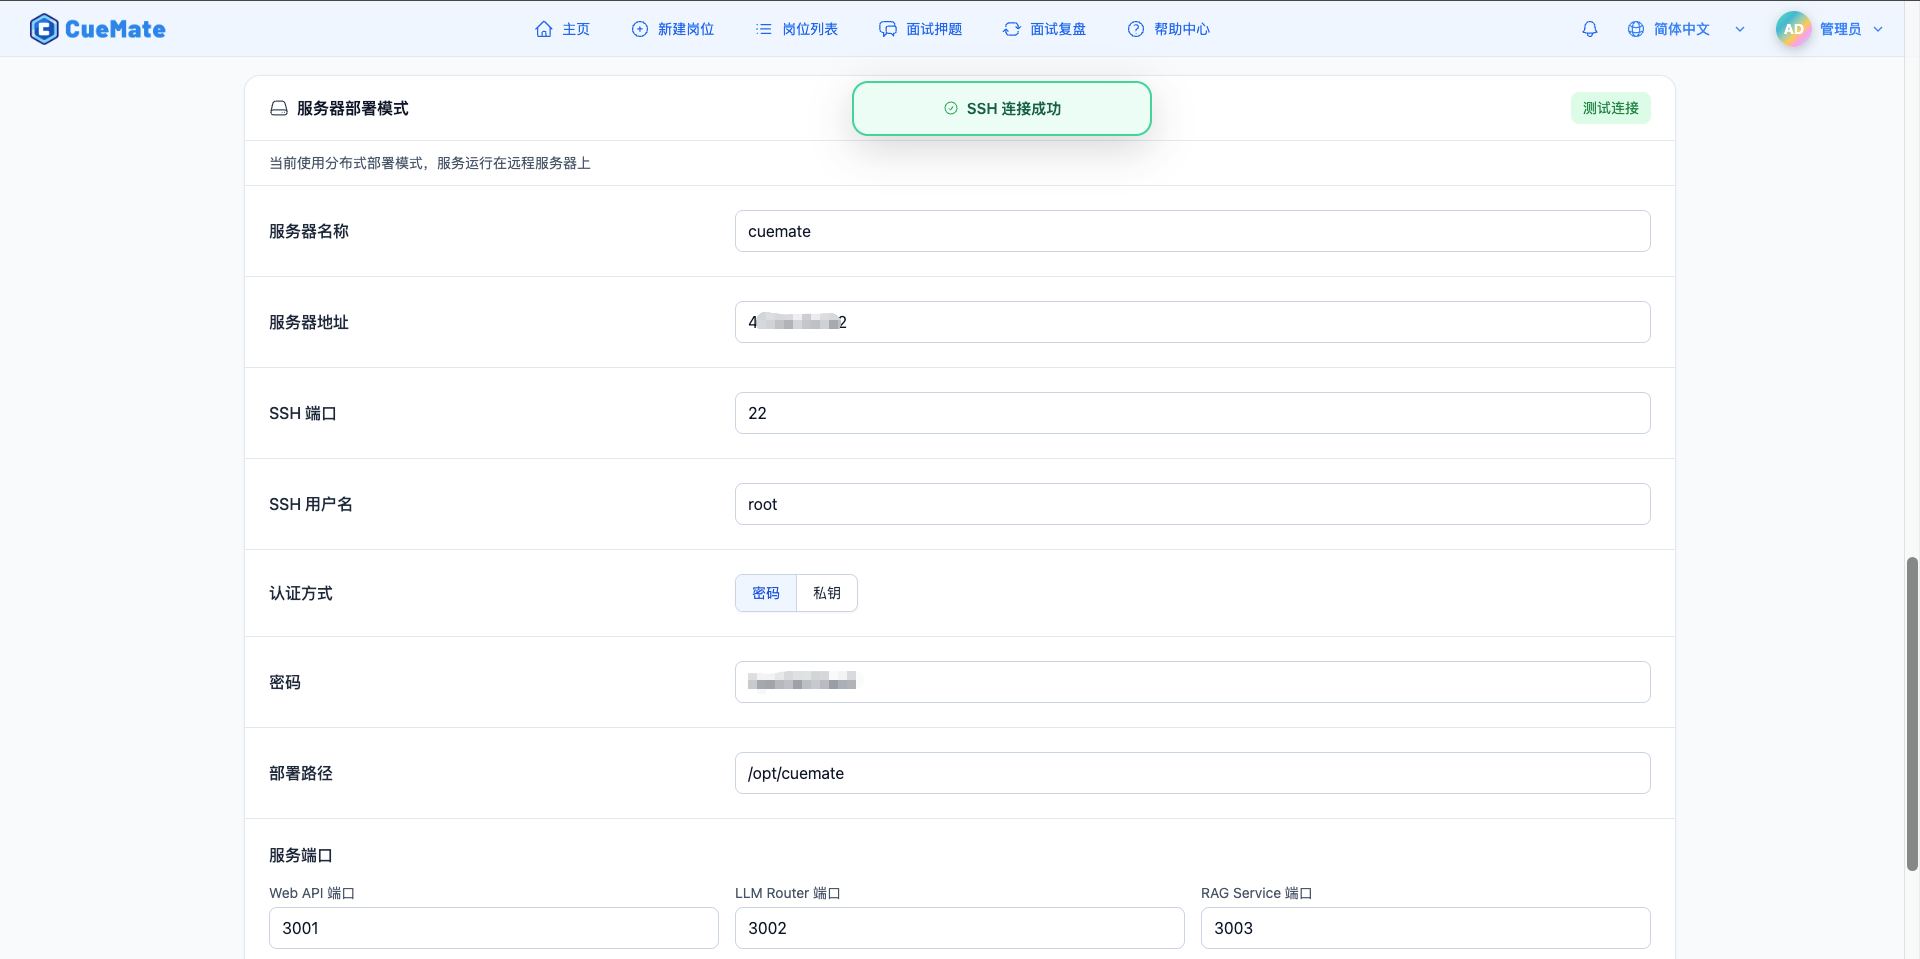
Test Process:
- Fill in server address, port, username, and authentication information
- Click "Test Connection" button
- System attempts to establish SSH connection
- Green message indicates success, red indicates error
Test Content:
- Whether SSH connection is reachable
- Whether username and password/private key are correct
- Whether port is open
Use Cases:
- Verify connection information before first-time server configuration
- Confirm configuration is correct after modifying authentication information
- Locate error causes when troubleshooting connection issues
TIP
It is recommended to test the connection before saving the configuration to ensure server connection information is correct. Click "Save Server Configuration" button after successful test.
5.8 Web System Settings vs Tray Window
Server configuration can be modified in two locations, with same functionality but different availability:
| Comparison | Web System Settings (This Page) | Tray Window |
|---|---|---|
| Rendering Location | Remote server | Local desktop client |
| Dependency | Requires normal server connection | Does not depend on any remote service |
| Availability | May not be accessible if configuration is wrong | Always available |
| Applicable Scenarios | Daily configuration changes | Emergency fixes, first-time configuration |
| Recommendation | Normal | Recommended |
TIP
Recommended to use tray window to modify server configuration. The tray window runs on the local desktop client and is the most reliable configuration entry. The Web System Settings page may not be accessible when:
- Server address is filled incorrectly
- CueMate service is not started on the remote server
- Network connection issues
- Firewall blocking access
In these cases, you can only fix it through the tray window or by manually editing the configuration file. For details, refer to Tray Window - Server Configuration.
Manually Modify Configuration File
If both interfaces cannot operate normally, you can directly edit the configuration file:
# macOS configuration file location
~/Library/Application Support/cuemate-desktop-client/config/server.json

# Open with editor
code ~/Library/Application\ Support/cuemate-desktop-client/config/server.json
WARNING
After manually modifying the configuration file, you need to restart the CueMate application for changes to take effect.
6. Save Settings
6.1 Instant Save vs Manual Save
CueMate system settings use a hybrid save mechanism:
Instant Save (Automatic):
- System preferences: language, theme, timezone, LLM provider
- Floating window settings: click-through mode, window height
- Changes take effect immediately and are automatically saved to server, no need to click save button
Manual Save (Requires Button Click):
- Account information: username, email
- Requires clicking "Save Settings" button to save to server after modification
6.2 Refresh Settings
Click "Refresh" button to reload latest settings from server.
Refresh Function:
- Re-fetch user information from server
- Update model list
- Restore form to server-saved state
Use Cases:
- Abandon local changes, restore to server state
- Sync after changing settings on other devices
- Confirm if settings are properly saved
6.3 Save Settings
Click "Save Settings" button to save account information to server.
Saved Content:
- Username
Save Process:
- Click "Save Settings" button
- "Saving settings..." fullscreen loading prompt appears
- Submit data to server
- "Settings saved" prompt appears after successful save
- Update local cache
Important Notes:
- Password change is saved separately, not included in this button
- System preferences and floating window settings are already saved instantly, this button is only for saving account information
- Ensure username and email are filled correctly before clicking save
Best Practices
Regular Maintenance
Recommended Actions:
- Check and update email address monthly
- Change password regularly to improve security
- Adjust theme and language based on usage habits
- Confirm LLM configuration is correct
Floating Window Optimization
Optimization Suggestions:
- Test floating window settings before interviews
- Master shortcut keys for switching click-through mode
- Adjust window height based on screen size
- Ensure answer content is visible in click-through mode
Model Selection
Selection Tips:
- Choose appropriate model based on task type
- OpenAI or Alibaba Cloud Bailian recommended for technical interviews
- Test answer quality from different models
- Go to "Model Settings" page to configure and manage models
Timezone and Language
Configuration Suggestions:
- Adjust timezone promptly when working in different regions
- Keep language selection consistent with TTS voice
- Ensure time display is accurate to avoid confusion
Related Pages
- Model Settings - Manage and configure LLM models
- Home - Start new mock interview
- Notifications - View system notifications