Create Position
The Create Position page is a 3-step wizard that guides you through creating an interview position, uploading your resume, and completing the configuration. Creating a position is the first step in using CueMate. The system will generate targeted interview questions and answer suggestions based on the position's JD description and resume content.
1. Fill in Position Information
1.1 Enter Position Information Page
Click "Create Position" in the top menu to enter Step 1 of the creation wizard.
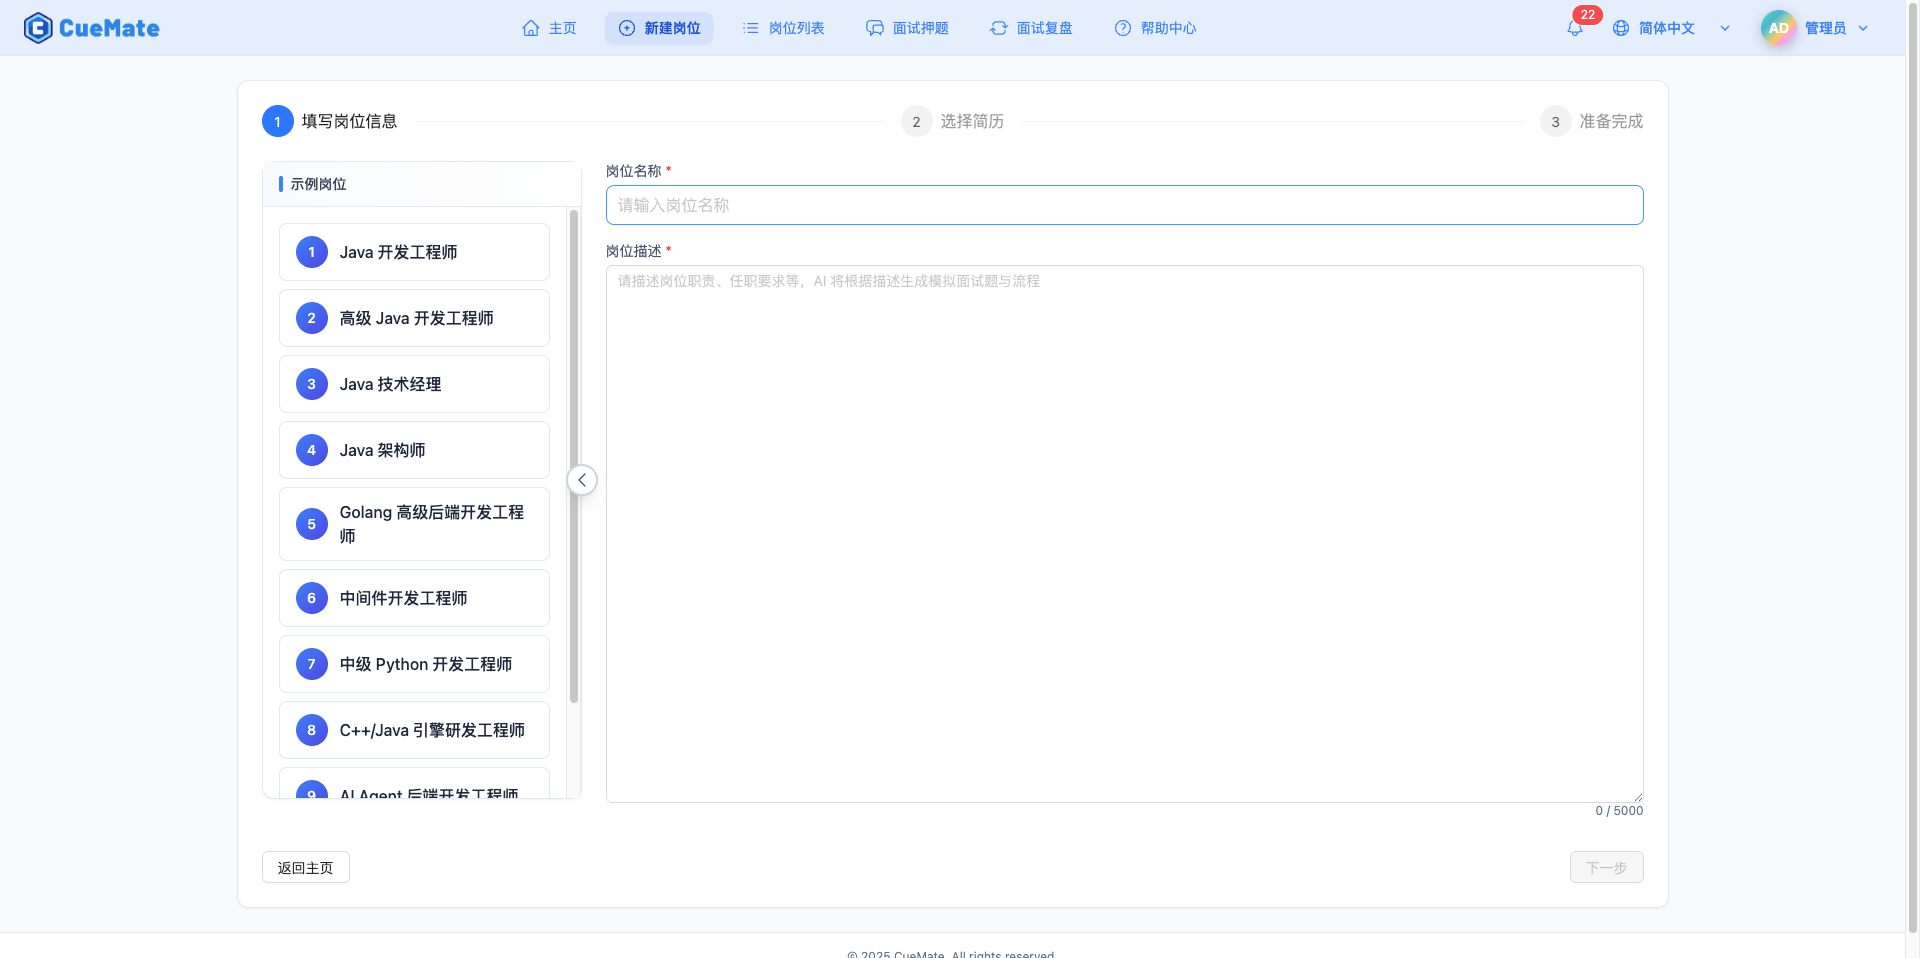
1.2 Fill in Position Title
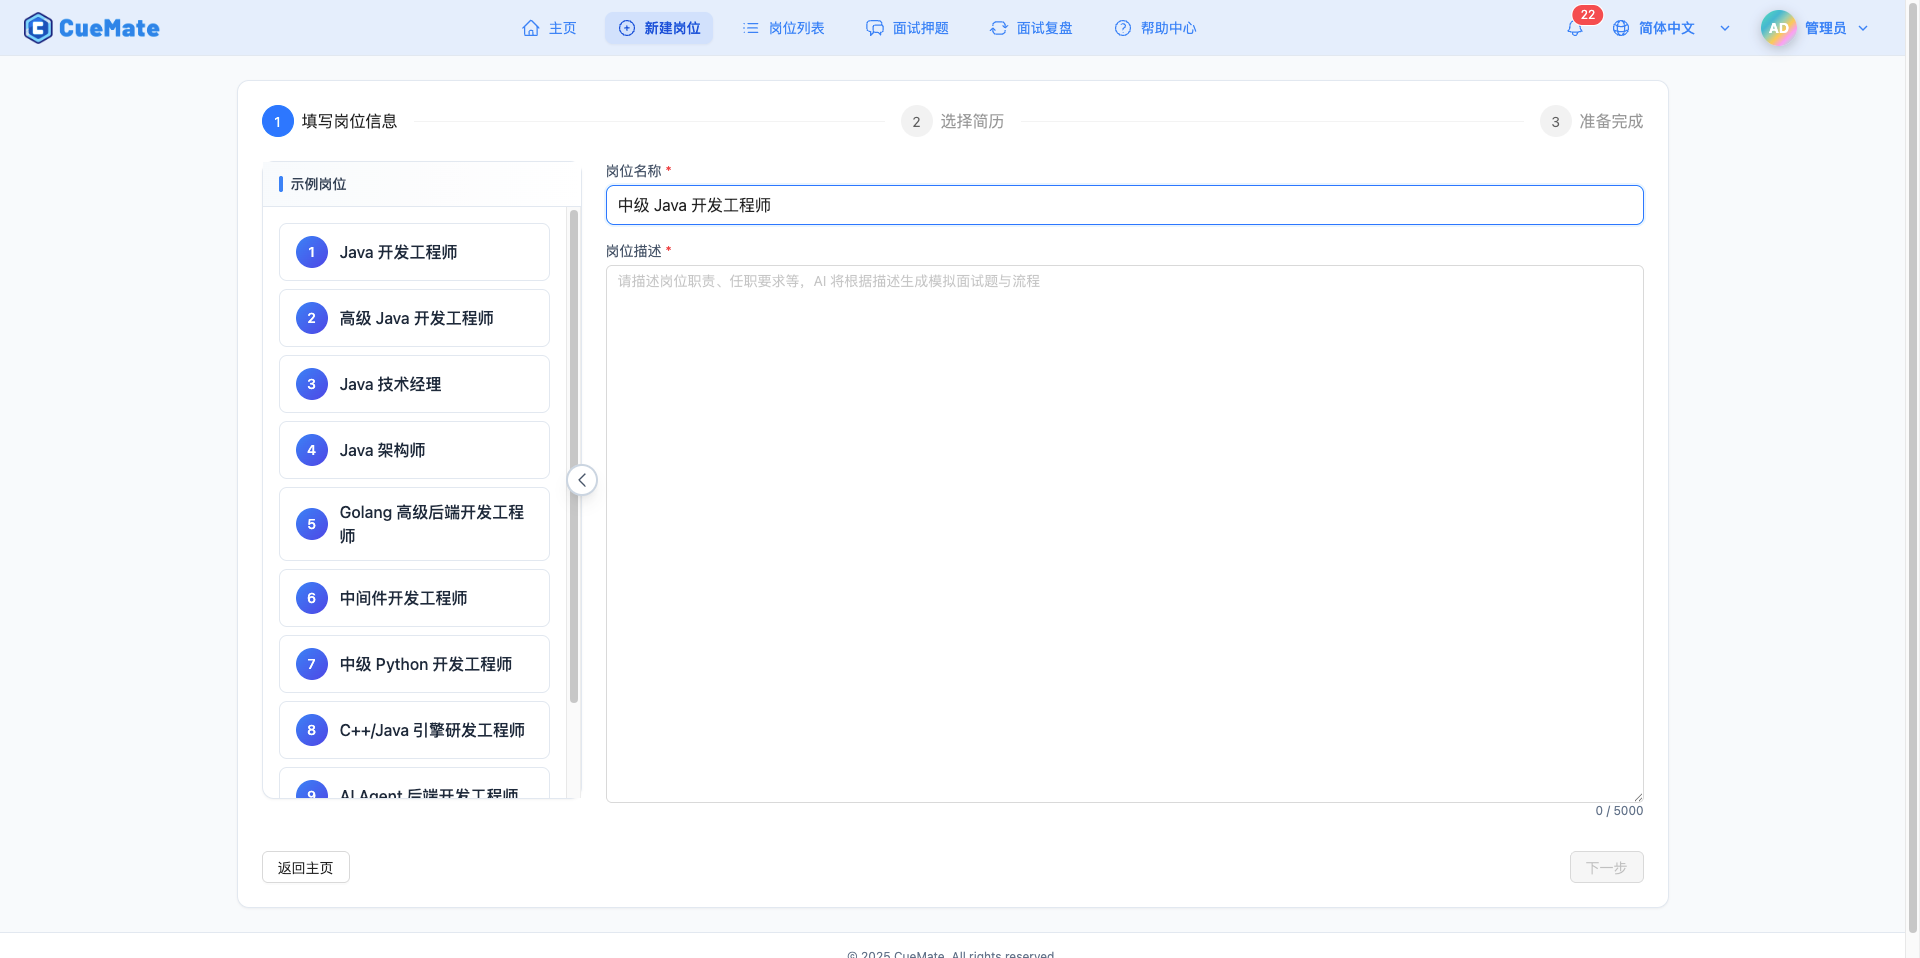
Enter the name of the interview position in the "Position Title" input field (you can also click on example positions on the left to auto-fill default values).
Note: The position title should be concise and clear, such as "Frontend Developer", "Java Backend Engineer", "Product Manager", etc. This title will be displayed in position lists, interview training, and other places.
1.3 Fill in Position Description (JD)
Fill in the detailed job description in the "Position Description (JD)" text area (you can also click on example positions on the left to auto-fill default values).
NOTE
Importance of Position Description:
- Generate Interview Questions: During mock interviews, the system generates targeted interview questions based on the skill requirements and job responsibilities in the JD
- AI Answer Suggestions: During interview training, AI provides more accurate answer suggestions based on the JD and resume content
- Knowledge Base Retrieval: RAG retrieval references keywords in the JD to improve answer relevance
Recommended Content:
- Job responsibilities and duties
- Technical stack requirements (programming languages, frameworks, tools)
- Years of experience required
- Education requirements
- Bonus skills, etc.
Example:
Job Responsibilities:
1. Participate in high-level design and be responsible for detailed design, complete core code
2. Independently complete module design, coding, testing, and documentation according to development standards
3. Transform business requirements into technical implementations, able to develop based on distributed architecture
4. Independently solve development challenges, good at learning and summarizing, and conduct knowledge sharing
5. Support daily maintenance and training for internal management and operation systems

Requirements:
1. Bachelor's degree or above, computer-related major, 5+ years of development experience
2. Proficient in Java, design patterns, and component technologies; familiar with Spring/Hibernate/MyBatis
3. Familiar with MongoDB/Redis/MySQL; Spring Cloud or Spring Cloud Alibaba experience preferred
4. Sensitive to new technologies, able to quickly tackle technical challenges
5. Self-driven with strong communication and cross-team collaboration skills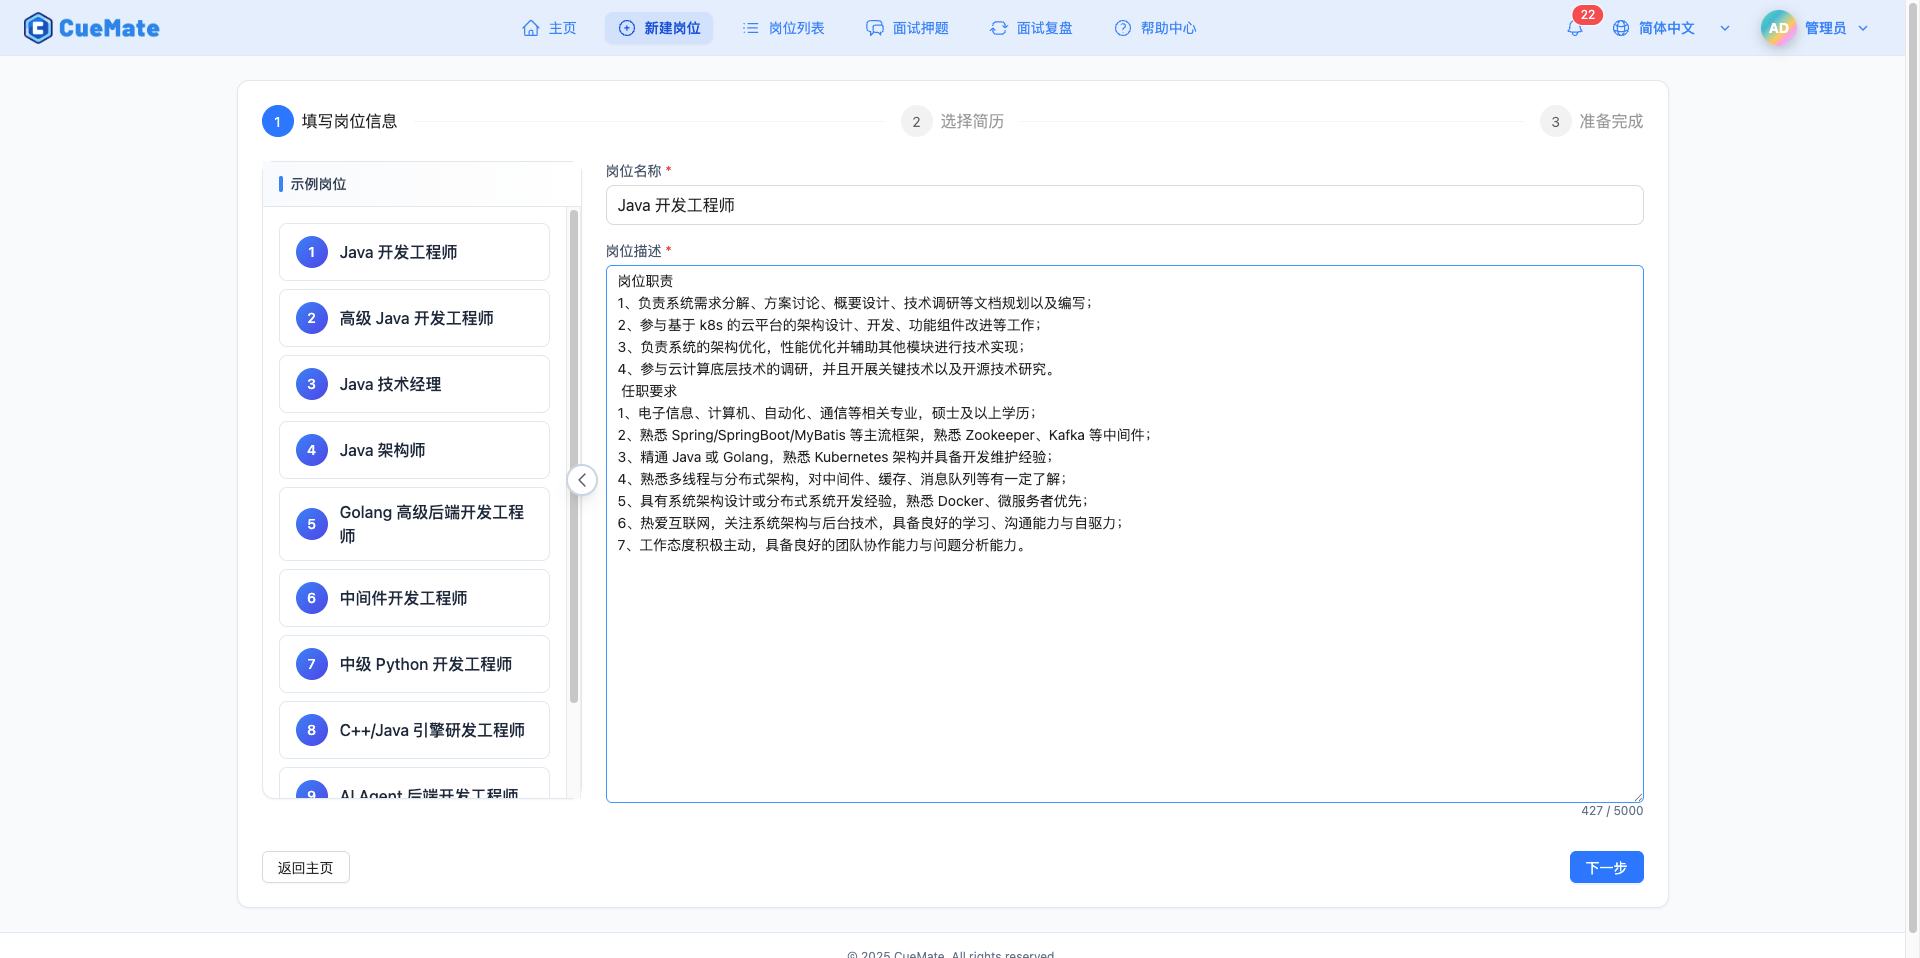
1.4 View Example Positions (Optional)
The right sidebar provides example positions for reference.
Note: The sidebar is expanded by default, showing preset position examples. If screen space is limited, you can click the collapse button to hide the sidebar and get more editing space.

1.5 Proceed to Next Step
After filling in the position information, click the "Next" button in the bottom right corner to enter the resume upload interface.
2. Upload Resume
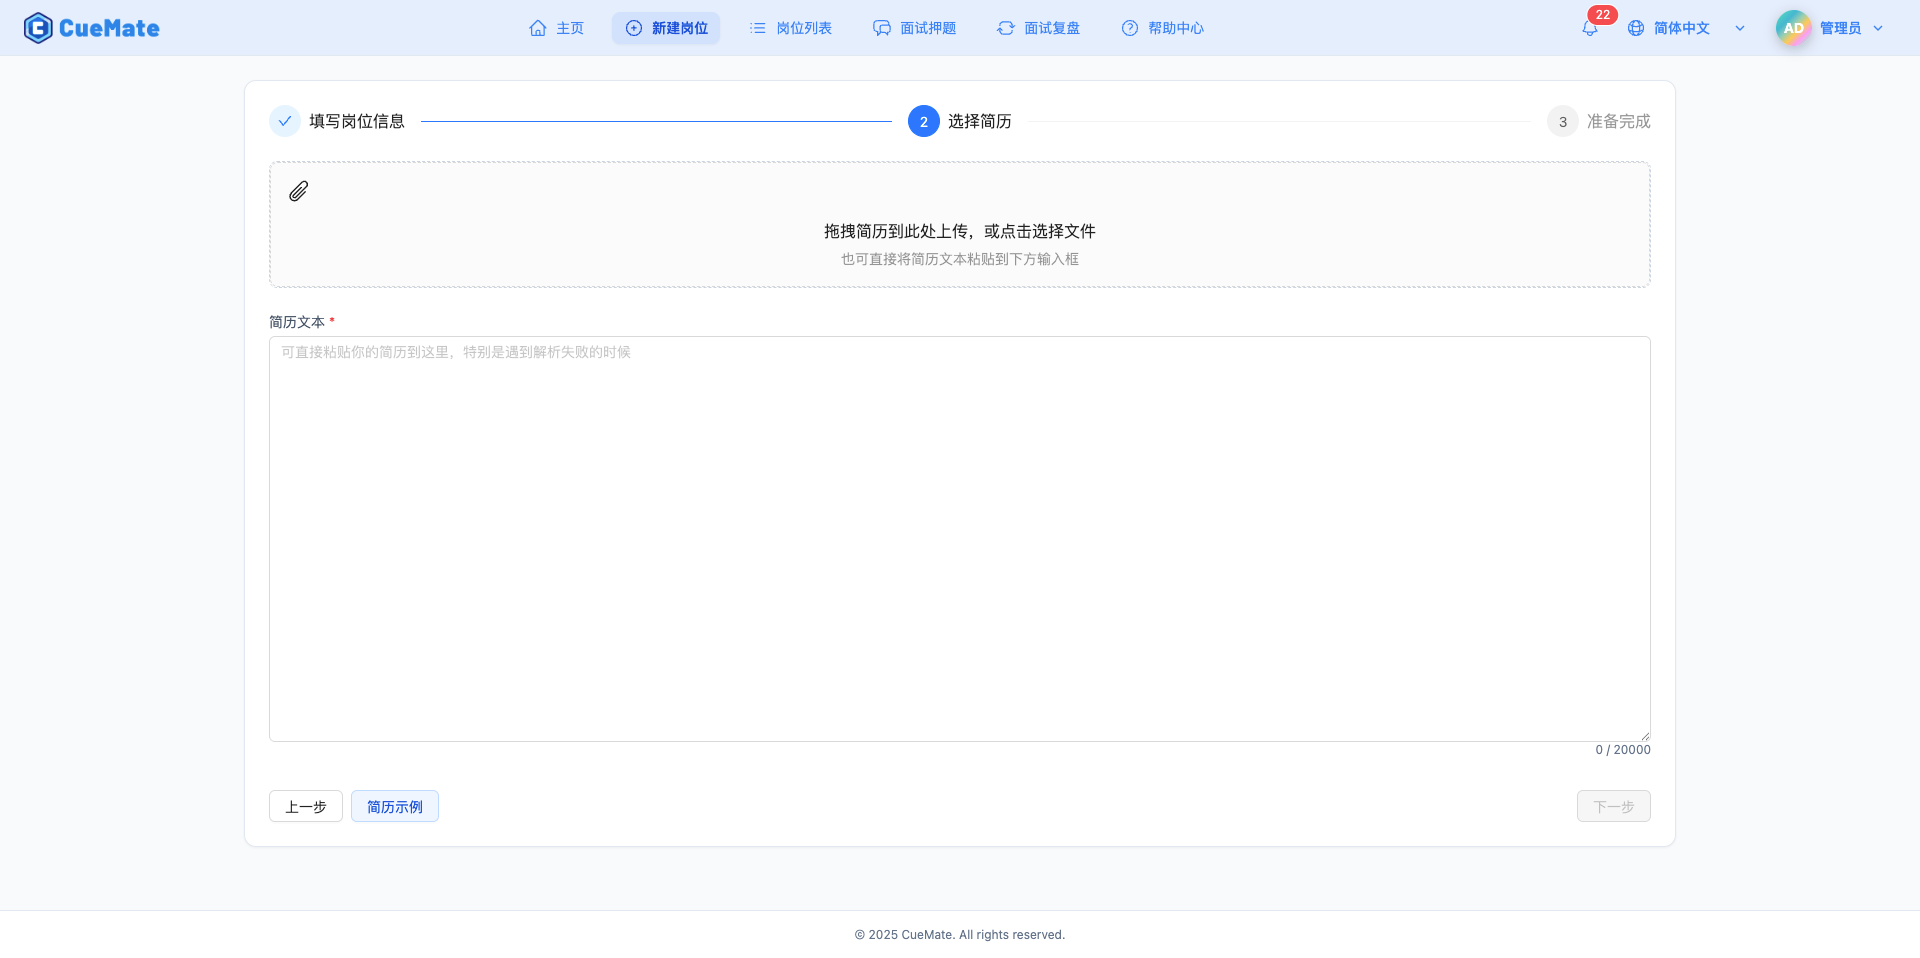
2.1 Choose Upload Method
After entering Step 2, you can choose from two ways to provide resume content.
NOTE
Upload Resume File:
- Supported Formats: PDF, DOCX (old DOC format not supported)
- File Size: Maximum 10MB
- Auto Extraction: System automatically extracts text content from files (may have formatting issues, manual paste recommended for accurate recognition)
- Use Case: Already have a resume file, quick import
Manual Input (Paste) Content:
- Use Case: No resume file, or pasting custom content
- Flexibility: Can input only interview-relevant key content
2.2 Upload Resume File
Click or drag a file to the upload area to select a resume file.
File Upload Process:
- Select local resume file
- System uploads file to server
- Call text extraction API to parse PDF/Word content
- Display extracted text in editing area
Text Extraction Note: The system uses professional document parsing libraries that can accurately extract text content from most resume files. If the extraction result is not ideal, you can manually edit and correct it.
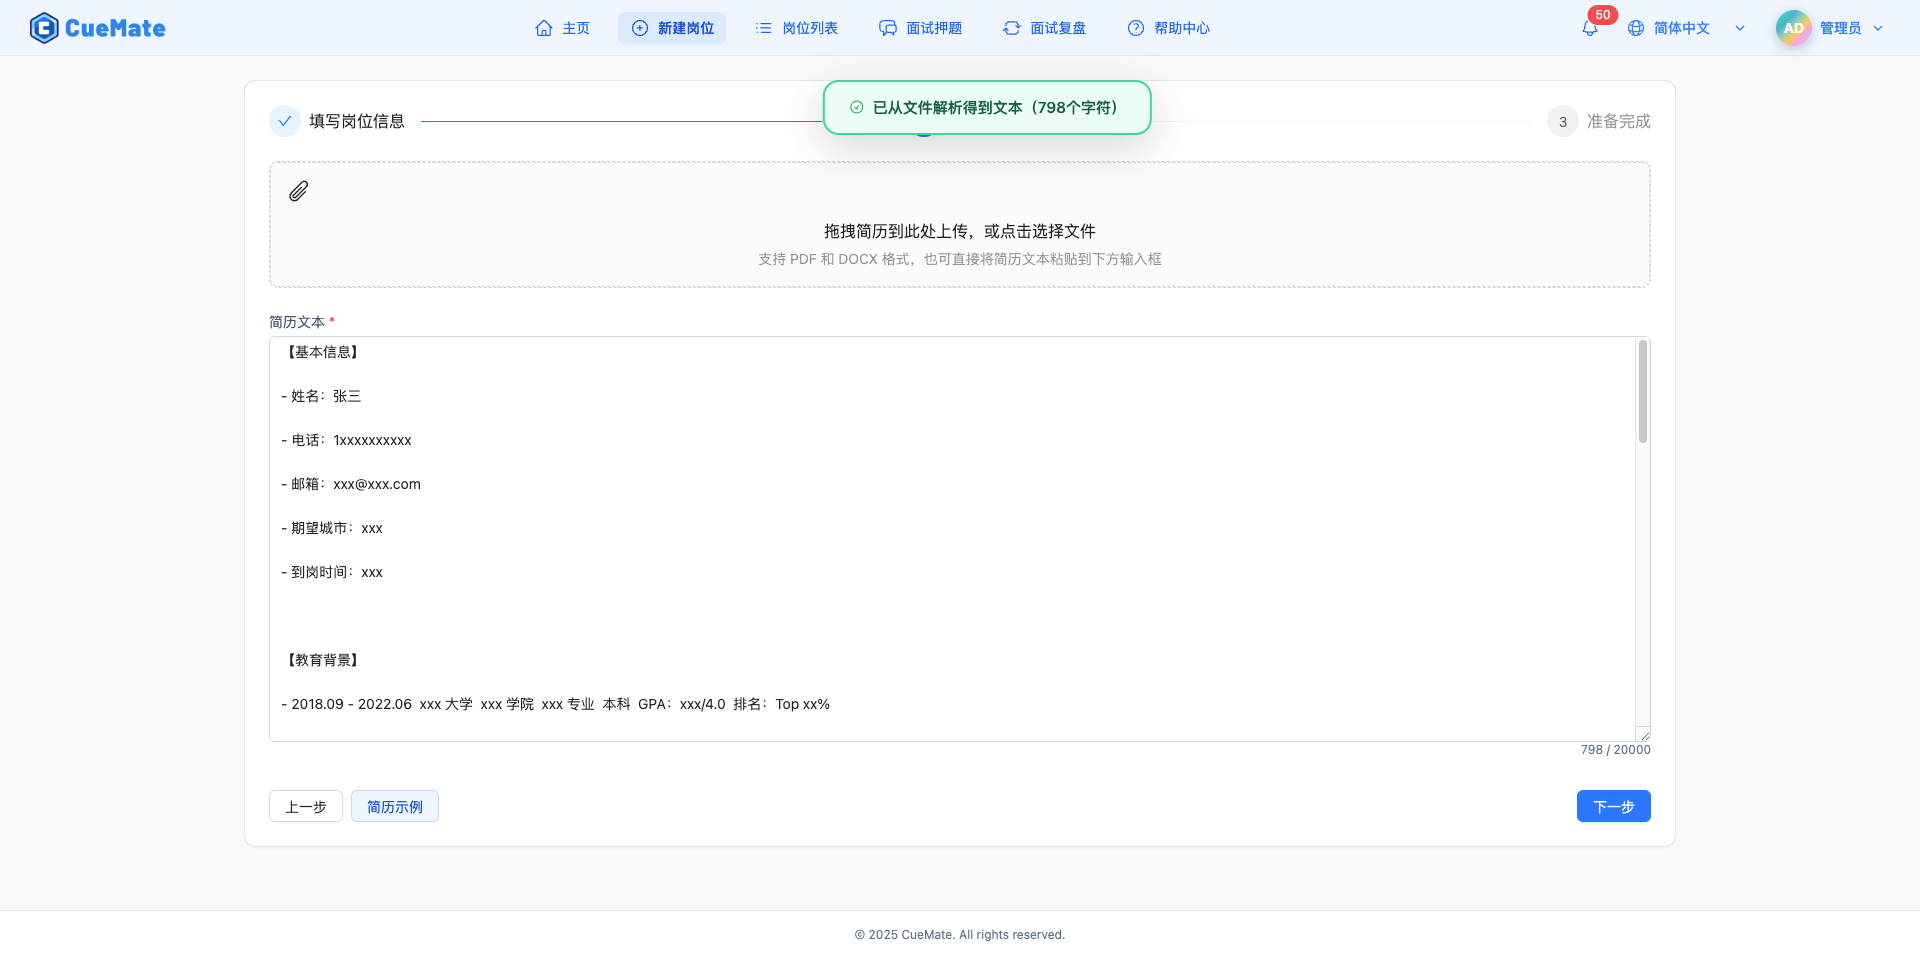
2.3 Edit Resume Content
After successful file upload, the extracted text will be displayed in the editing area for manual modification.
NOTE
Importance of Resume Content:
- Match Analysis: System compares resume and JD to analyze skill match
- Personalized Suggestions: AI provides answer suggestions more aligned with personal background based on project experience in resume
- Weakness Identification: Identify knowledge points that need extra preparation by comparing JD requirements with resume content
Recommended Content to Keep:
- Technical stack and tools (relevant to the position)
- Project experience and responsibility descriptions
- Education and years of experience
- Key achievements and highlights
Content That Can Be Removed:
- Personal contact information
- Photo information (cannot be displayed as text)
- Outdated skills
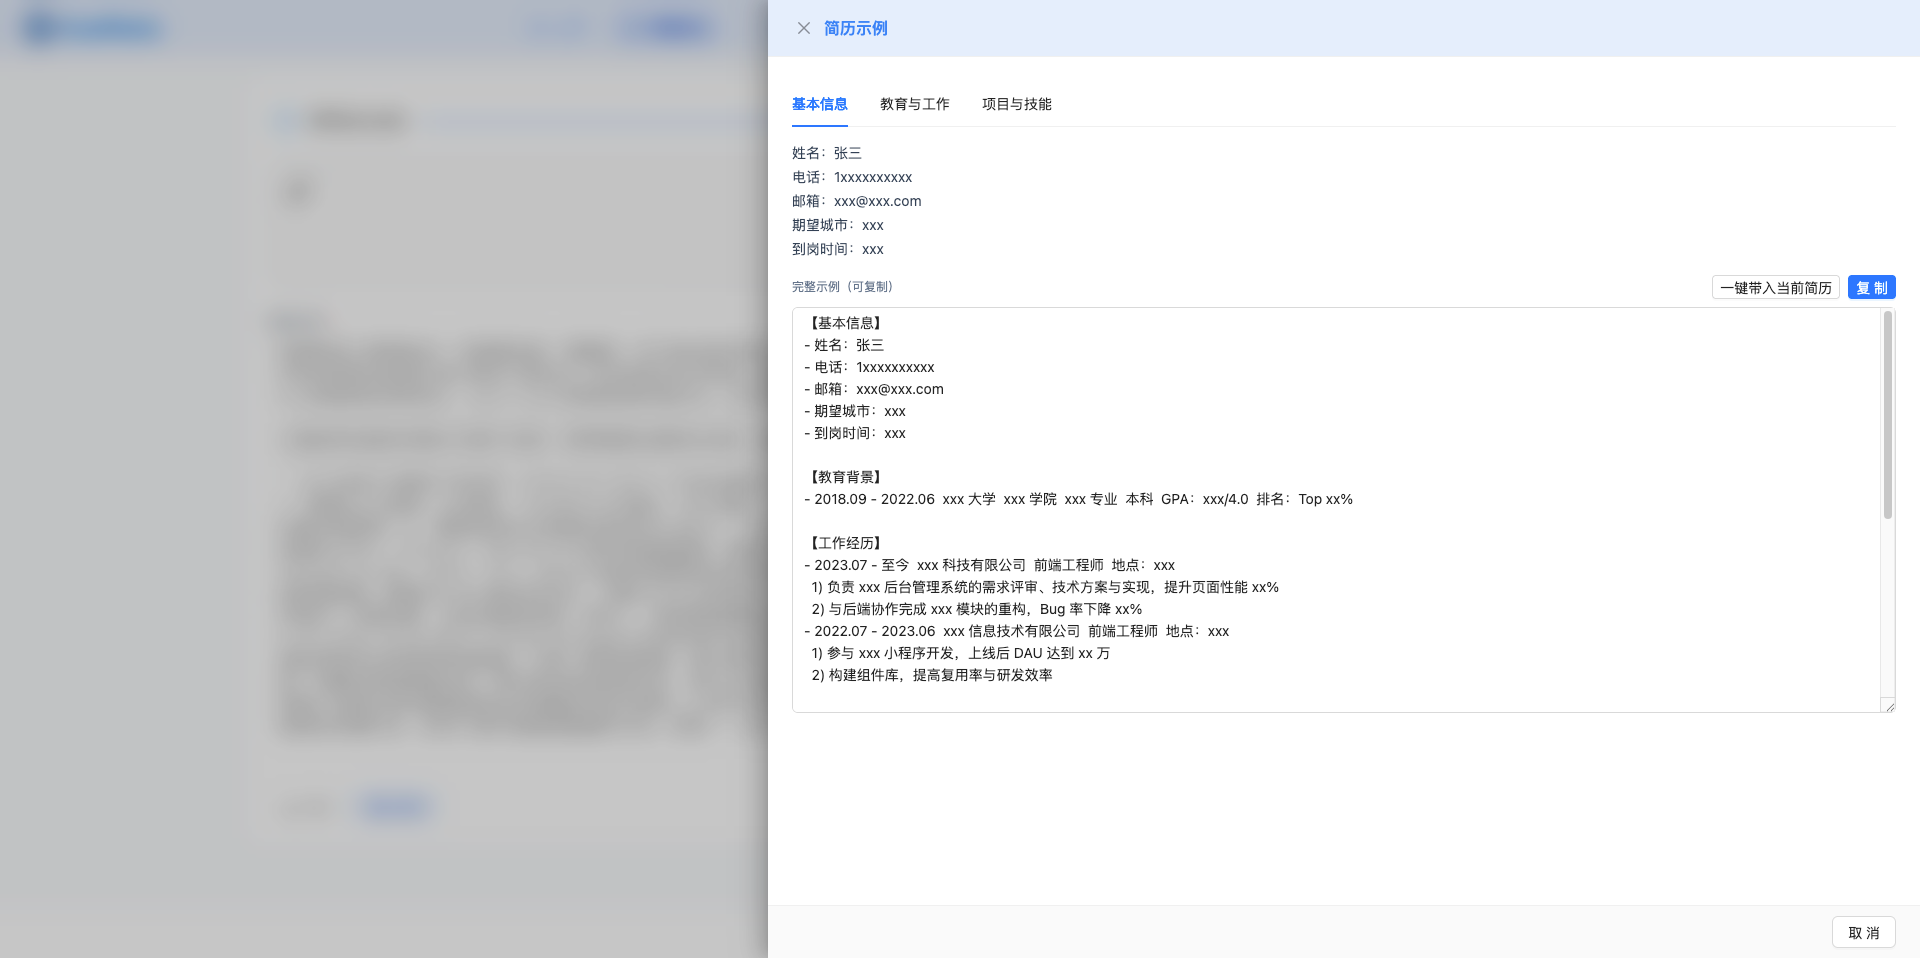
2.4 View Resume Example (Optional)
Click the "View Resume Example" button on the right to see a resume format reference.
Note: The example resume appears as a drawer, showing standard resume structure and content. Referencing the example can help you organize your resume and highlight key information.
2.5 Proceed to Next Step
After editing resume content, click the "Next" button in the bottom right corner.
Note: If you need to modify position information, you can click "Previous" to go back.
3. Creation Complete
3.1 View Creation Progress
After clicking "Next", the system begins creating the position.
Creation Process:
- Save position information to database
- Save resume content to database
- Mark vector sync status as not synced
- Return creation result
Progress Display: A progress bar animation is shown during creation, usually completing in 1-2 seconds.
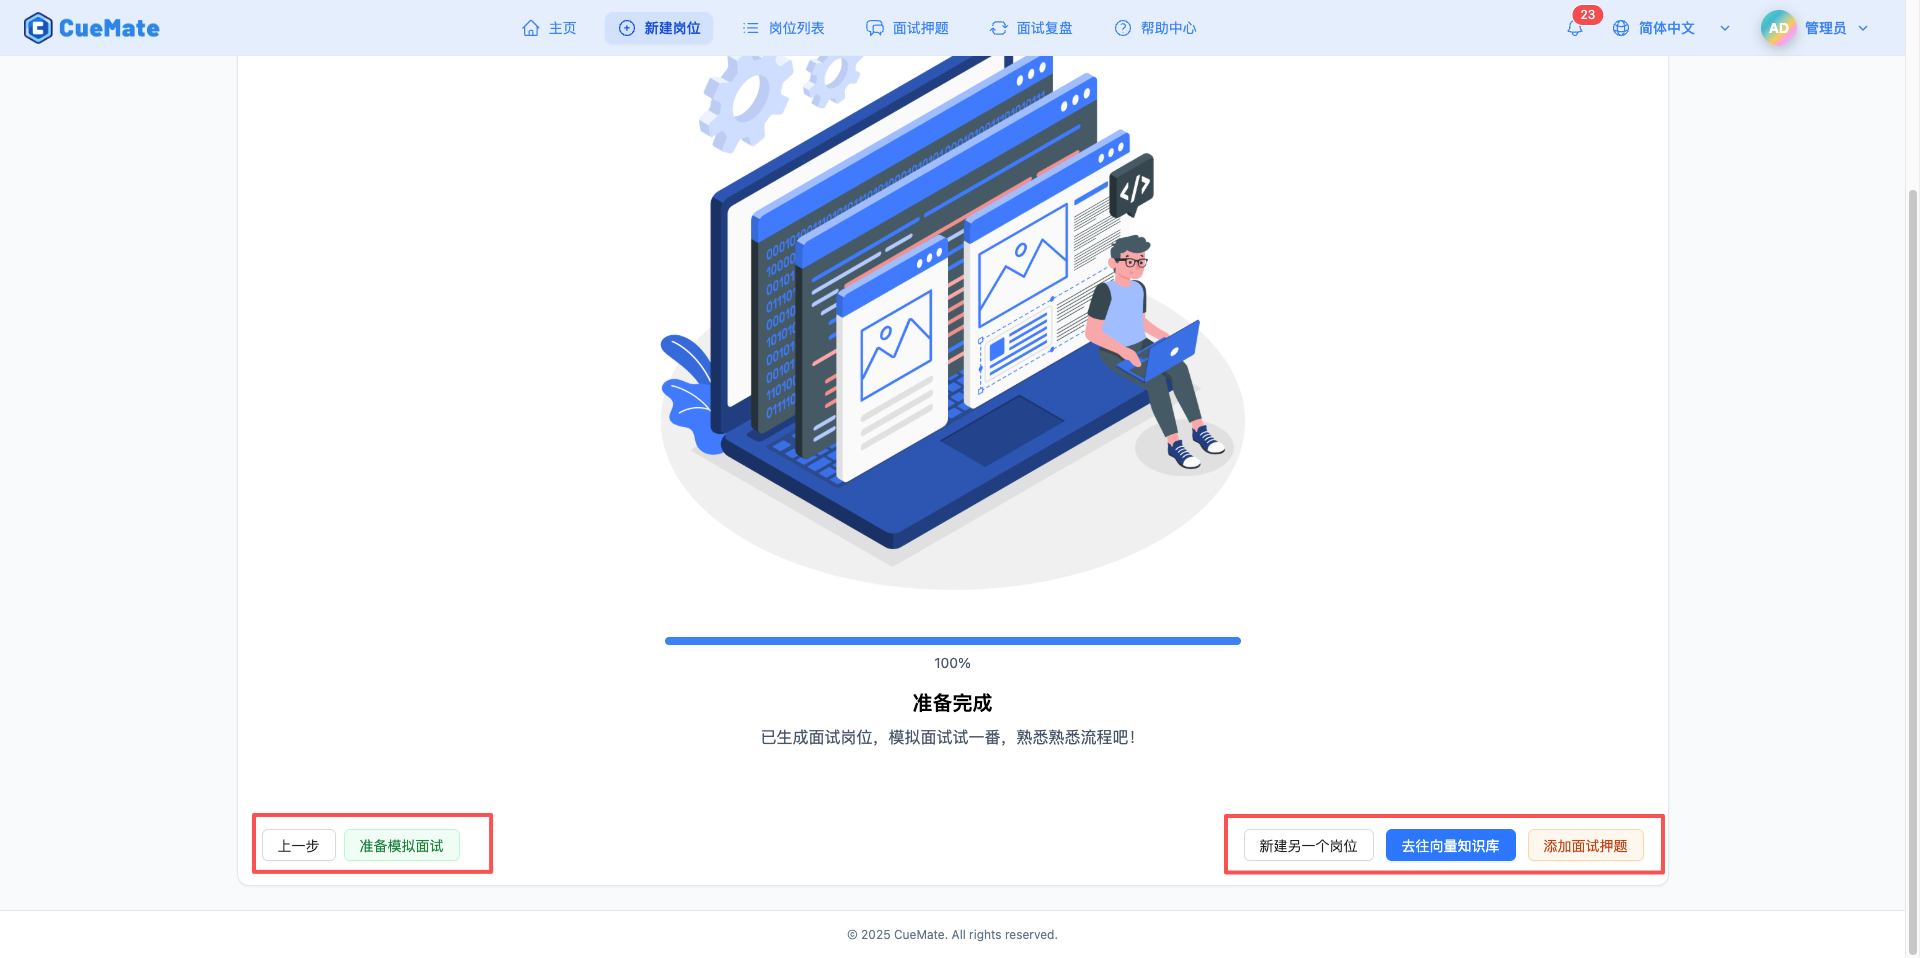
3.2 Creation Successful
After successful position creation, a success message is displayed.
IMPORTANT
Sync Note: The position has been saved to the database and can be used immediately. At this point, position data has not been synced to the vector database. If you need to use RAG retrieval, go to the Vector Knowledge Base page to sync manually.

3.3 Choose Next Action
After successful creation, 5 quick action buttons are provided at the bottom of the page:
Left Buttons:
- Previous: Return to resume editing page to modify the just-created position information
- Prepare Mock Interview: Jump directly to Home page to start AI mock interview training
Right Buttons:
- Create Another Position: Return to Step 1 to continue creating more interview positions
- Go to Vector Knowledge Base: Jump to Vector Knowledge Base page to sync position data and enable RAG retrieval
- Add Interview Questions: Jump to Interview Questions page to add needed interview questions for this position
Related Pages
- Position List - Manage created positions
- Interview Questions - Create interview questions
- Vector Knowledge Base - View vector database