Quick Start
Get started with CueMate in 5 minutes and begin your first interview training.
1. Overview
CueMate is an open-source intelligent voice interview assistant - an AI-driven real-time interview training tool focused on helping job seekers improve interview skills and performance through systematic mock interview training and preparation. This guide will help you quickly complete the initial setup and start training.
2. Preparation
2.1 Launch CueMate
Search for the CueMate app icon in Launchpad and single-click to open the application.

After launching the CueMate desktop app, a floating control bar will appear at the top of the screen. Click the rightmost button (main application window button) on the control bar to open the main application window.
Steps:
- Ensure CueMate desktop app is running (CueMate icon appears in top status bar)
- Find the CueMate floating control bar at the top of the screen
- Click the main application window button on the right side of the control bar

If this is your first time using the app, the login interface will appear after startup:
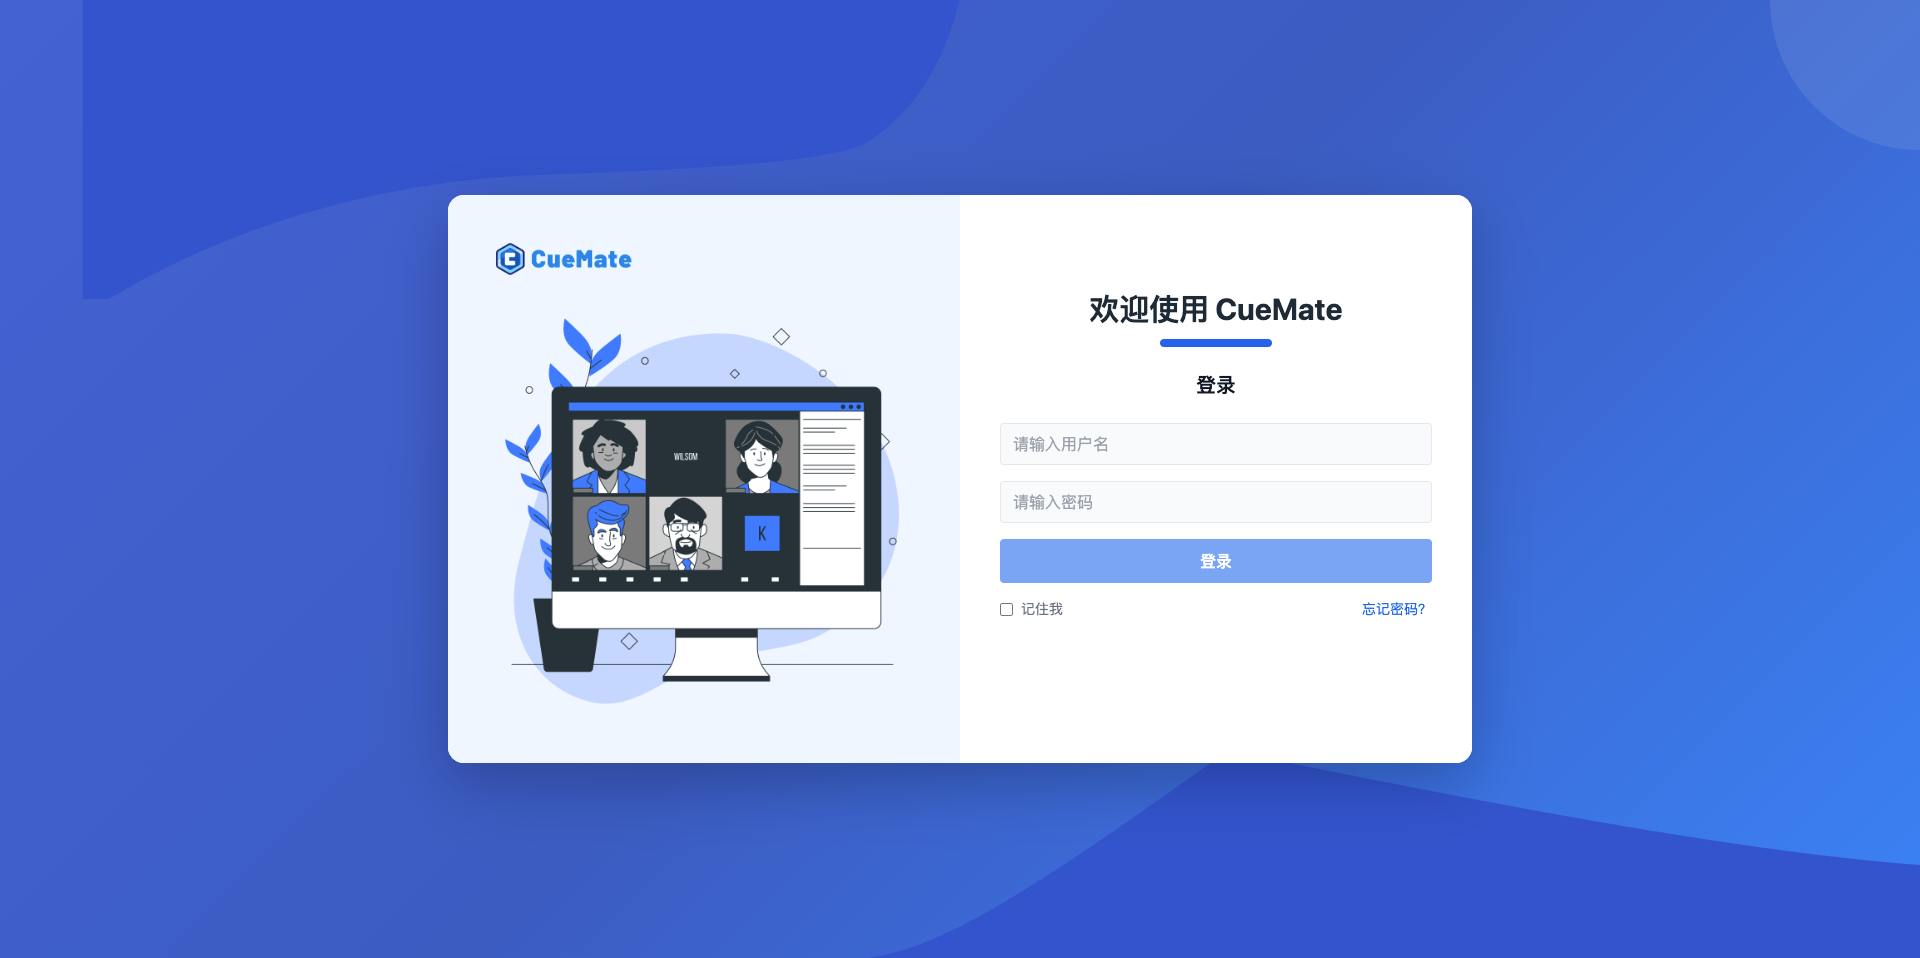
Built-in Account Information:
- Username:
admin - Password:
cuemate
Enter the above account information on the login interface and click the Login button to enter the system.
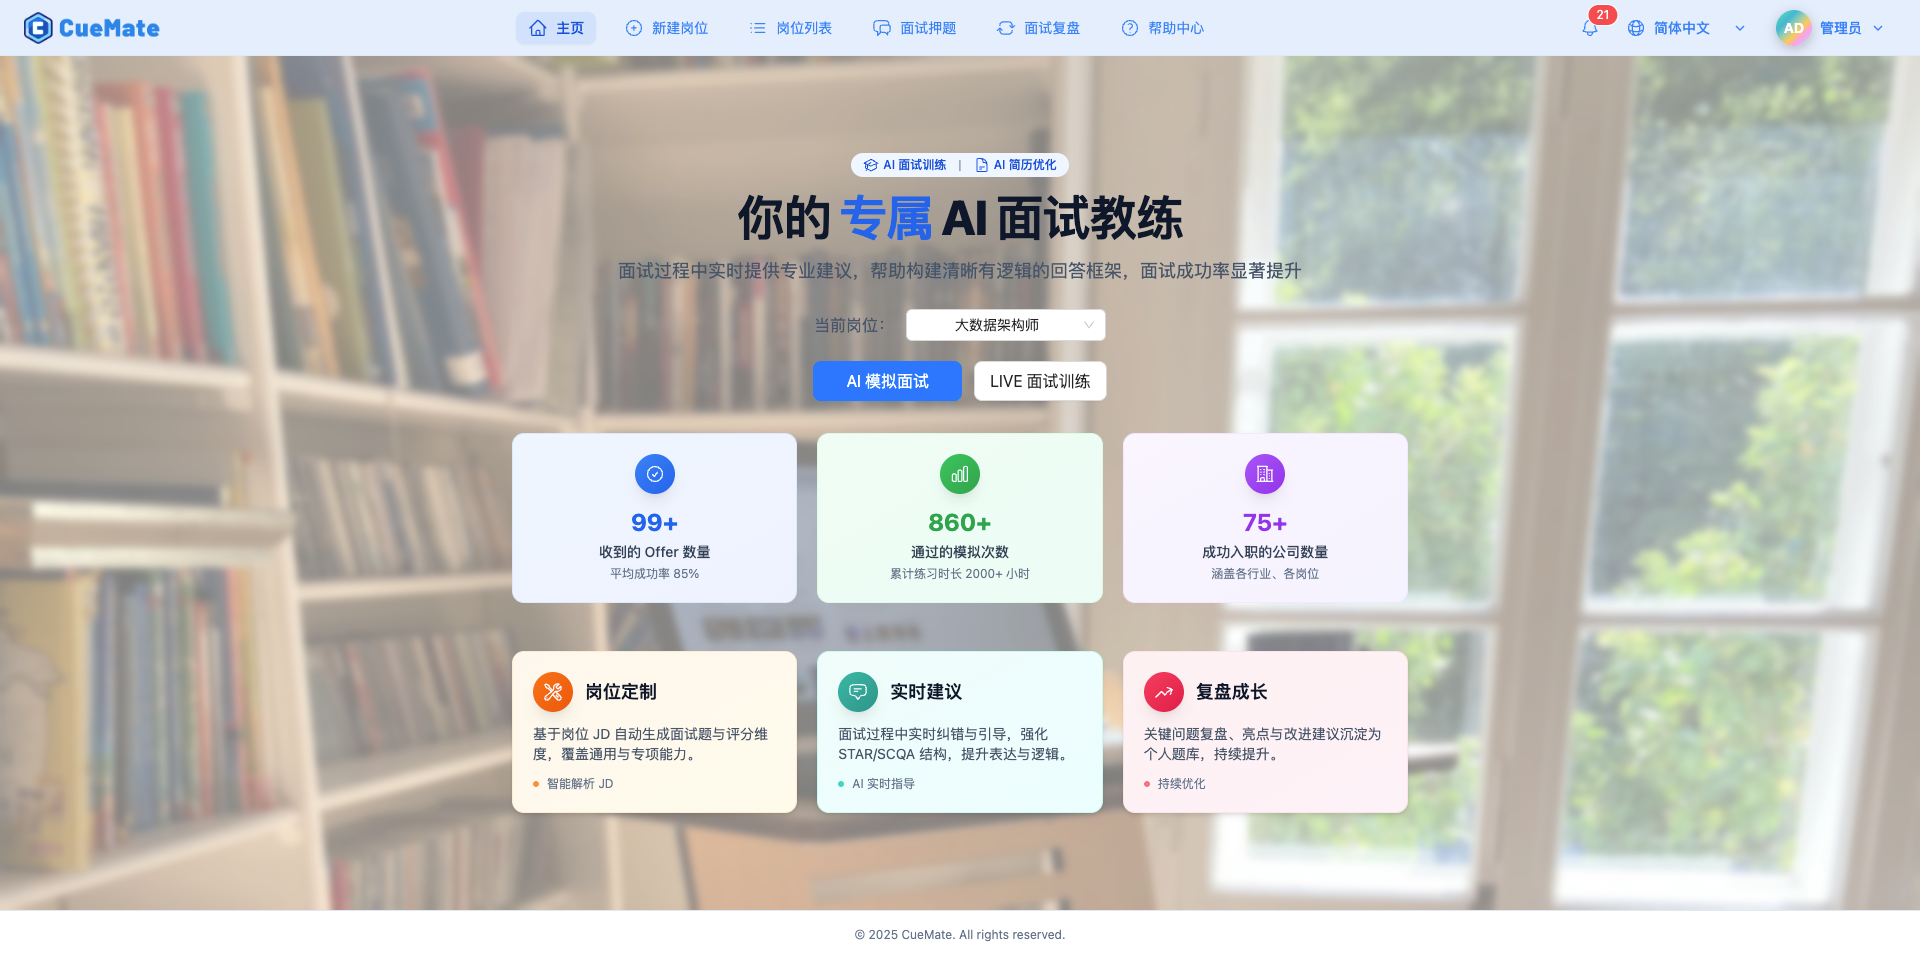
After opening, the home page interface is displayed by default:
2.2 Configure AI Model (Required)
Interview training requires AI models to provide intelligent answers. At least one model must be configured.
NOTE
Why is configuration needed?
The AI model is CueMate's "brain", responsible for:
- Understanding your answers
- Providing real-time suggestions
- Generating reference answers
- Scoring and feedback
How to Configure? Go to the Model Settings page and configure an API Key for a model:
Configuration Steps:
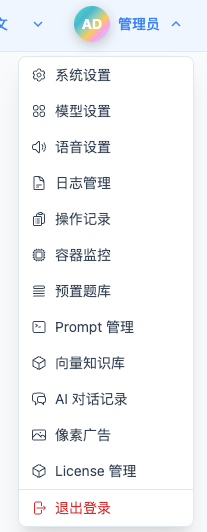
- Click avatar in top right corner > Model Settings
Click "Model Settings" in the top dropdown menu to enter the model management page.
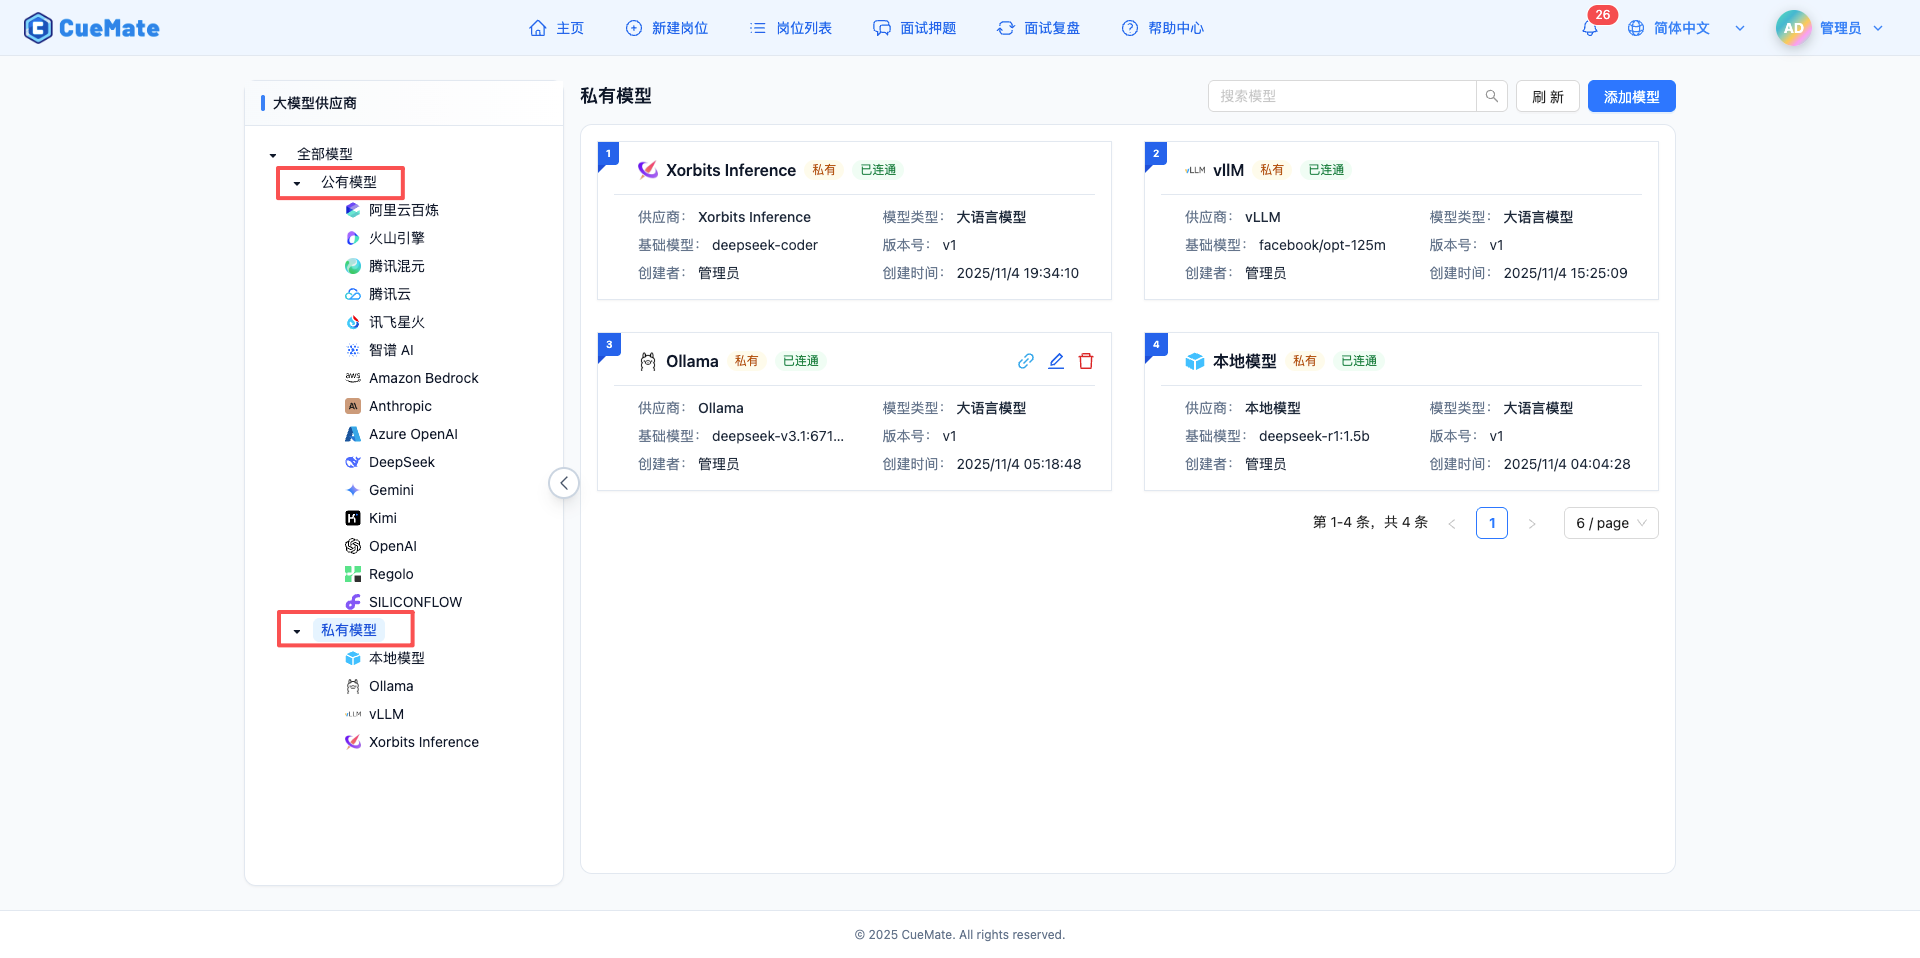
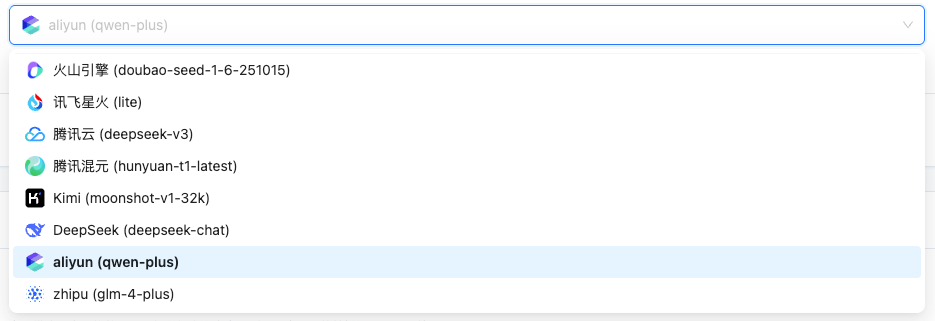
- Select a provider (e.g., Zhipu AI)
- Enter API Key
- Click "Test Connection"
- Save configuration
Models are displayed as cards on the right, each card containing:
- Number and provider icon
- Model name and type tag
- Connection status (green "Connected" / red "Unavailable")
- Detailed info (provider, base model, version, creator, time)
Responsive Layout
- Large screens: 2-column cards
- Small screens: 1-column cards
Tip: API Keys can be obtained from each provider's official website. New registrations usually include free credits.
For detailed configuration tutorials, see the Model Settings page.
2.3 Voice Recognition Settings (Optional)
Voice recognition settings configure microphone and speaker devices to ensure audio devices work properly during interview training.
NOTE
Why is it optional?
Voice recognition settings can be configured before or during the interview. If not configured now, the system will prompt you to configure during interview training.
How to Configure?
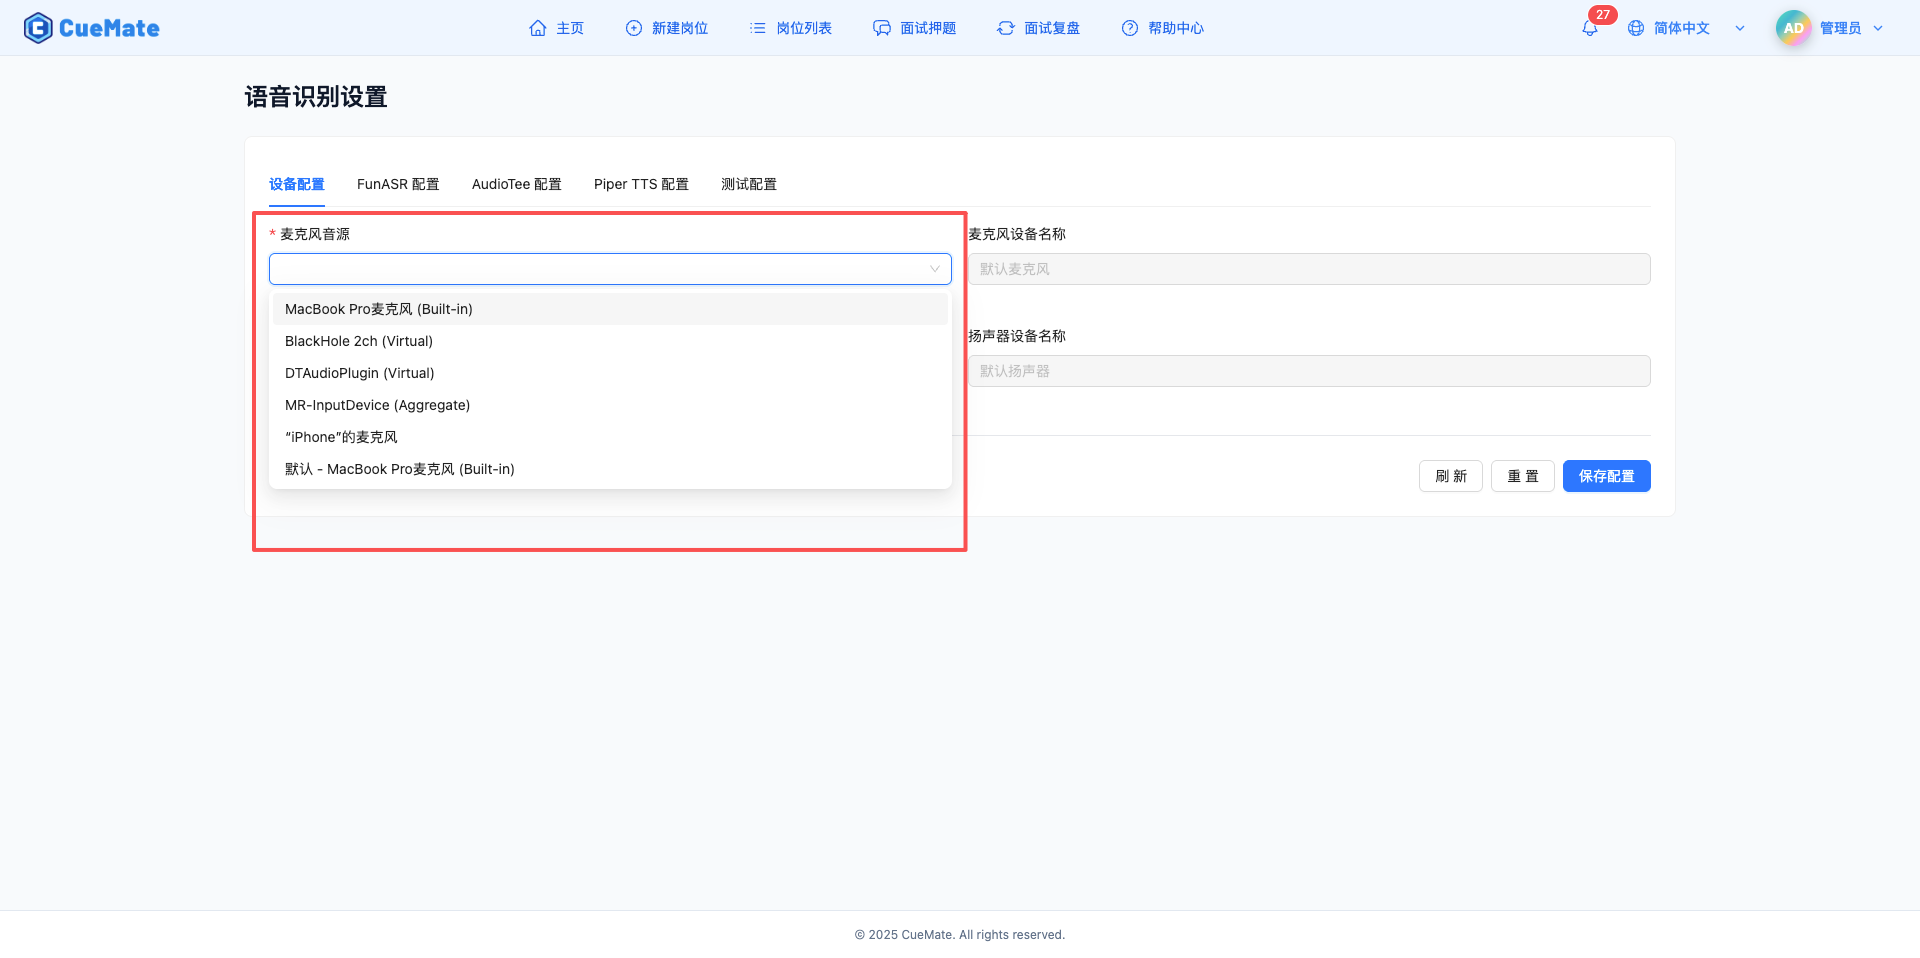
Click top dropdown menu > Voice Settings
In the "Device Configuration" tab:
- Select microphone device (for recognizing "interviewee" voice input)
- Select speaker device (for recognizing "interviewer" voice input)
Click save
Configuration Suggestions:
- Microphone: Prefer built-in computer microphone, simple and convenient
- Speaker: Prefer built-in computer speaker, no extra devices needed
- In noisy environments, consider headphones with better noise cancellation
Tip: You can test audio devices during interview training using the Voice Test feature.
For detailed configuration, see the Voice Settings page.
2.4 System Settings (Required)
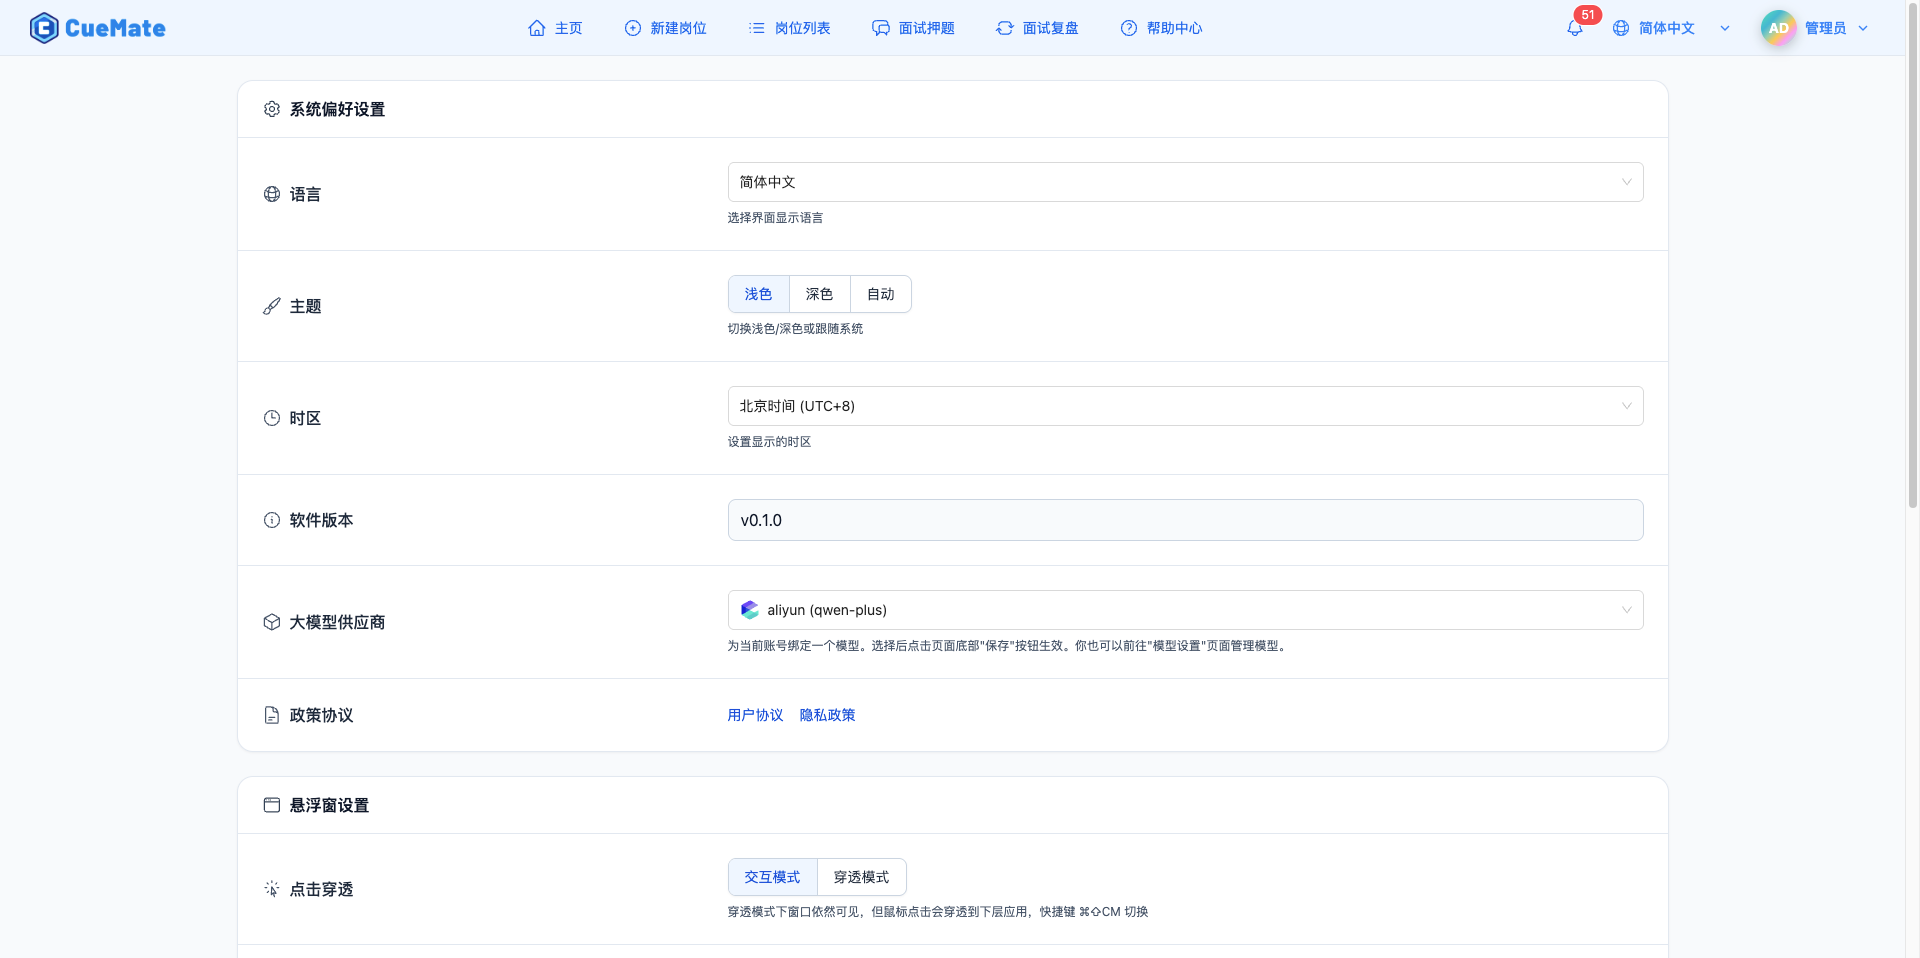
System settings configure basic parameters like interface language, theme, timezone, and default model.
How to Configure?
- Click top dropdown menu > System Settings
- Configure the following parameters (changes are saved automatically, no need to click save button):
- Language: Select interface display language (Simplified Chinese/Traditional Chinese/English)
- Theme: Select interface theme (Light/Dark/Auto)
- Timezone: Select display timezone (Beijing Time/Hong Kong Time/Japan Time, etc.)
- LLM Provider: Select default LLM model from dropdown
Configuration Suggestions:
- Language settings affect AI response language and TTS voice language
- Theme is recommended to be set to "Auto" to switch automatically based on ambient light
- Select a configured model as the default LLM provider *
Tip: System preferences (language, theme, timezone, LLM model) and floating window settings take effect immediately and are saved automatically. Only account information (username, email) requires clicking the "Save Settings" button after modification.
For detailed configuration, see the System Settings page.
2.5 Import License (For Subscription Users)
License is used to activate CueMate's subscription features, including preset question banks and other premium features.
NOTE
Is License import required?
- Open source users: No License needed, core features are fully available
- Subscription users: Need to import License to use preset question banks and other subscription features
How to Import License?
Click top dropdown menu > License Management
Click the "Upload License.key File" area and select the local .key file
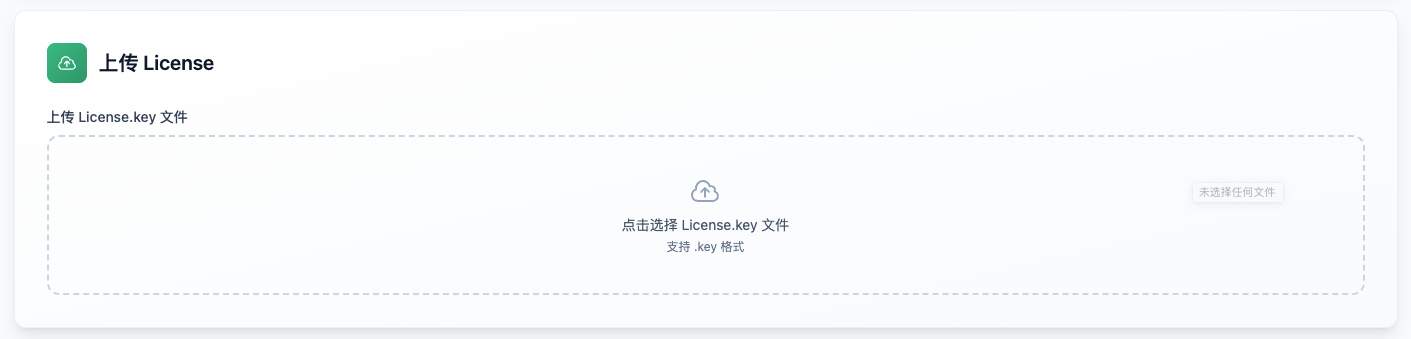
- Wait for upload to complete, system automatically verifies and activates
Subscription Feature: Preset Question Bank
After activating License, you can use the preset question bank feature:
- Massive question bank: Covers common interview questions for various technical positions
- Continuous updates: Question bank content is regularly updated to keep up with industry trends
- One-click import: Click "Import Preset Questions" on the License Management page

Tip: Open source users can manually add interview questions to the question bank, the functionality is equally powerful.
For detailed instructions, see the License Management page.
3. Step One: Create Position
Create an interview position to tell the AI what position you're interviewing for.
NOTE
Why create a position?
Position information helps AI:
- Match relevant interview questions
- Adjust question difficulty
- Generate targeted suggestions
- Evaluate answer quality
Quick Create:
- Click top navigation Create Position
- Fill in basic position information:
Example:
Position Name: Java Developer
Work Experience: 3-5 years
Required Skills: Spring/SpringBoot/MyBatis
Job Description: Responsible for system requirement decomposition, solution discussion, outline design, technical research and other document planning and writing...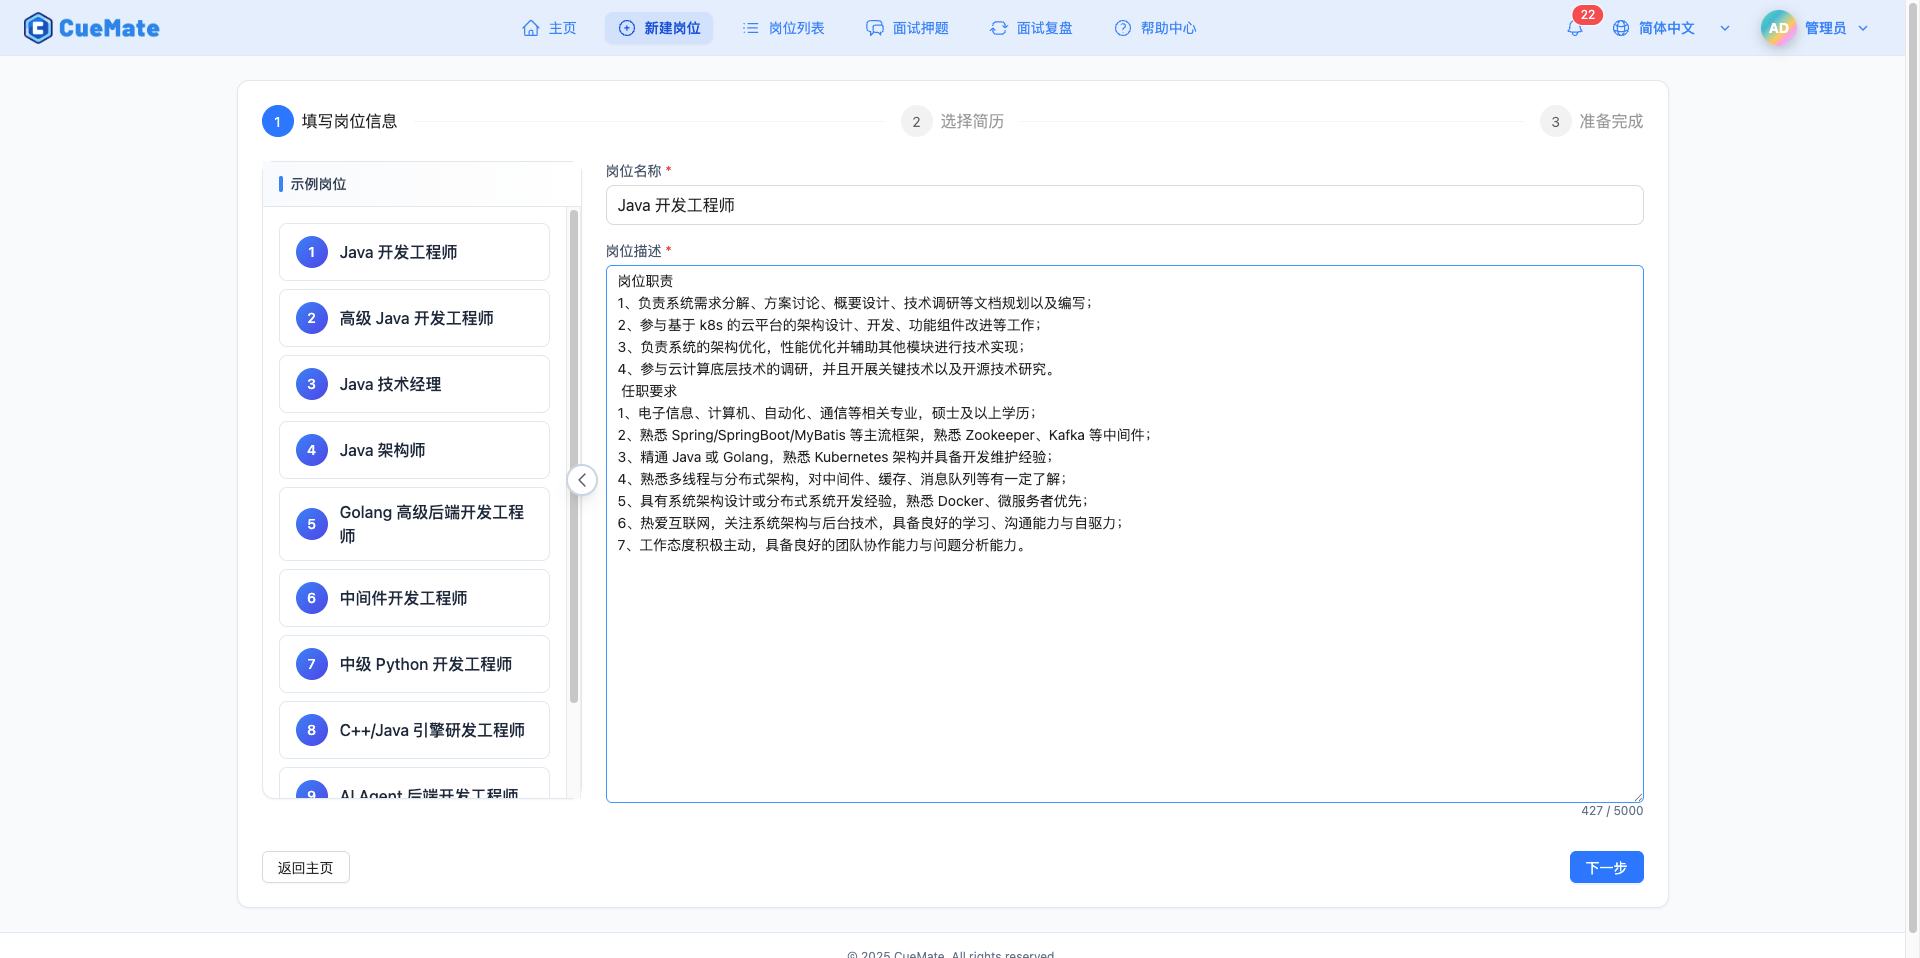
- Fill in basic resume information (Optional: upload resume, AI will automatically extract information)
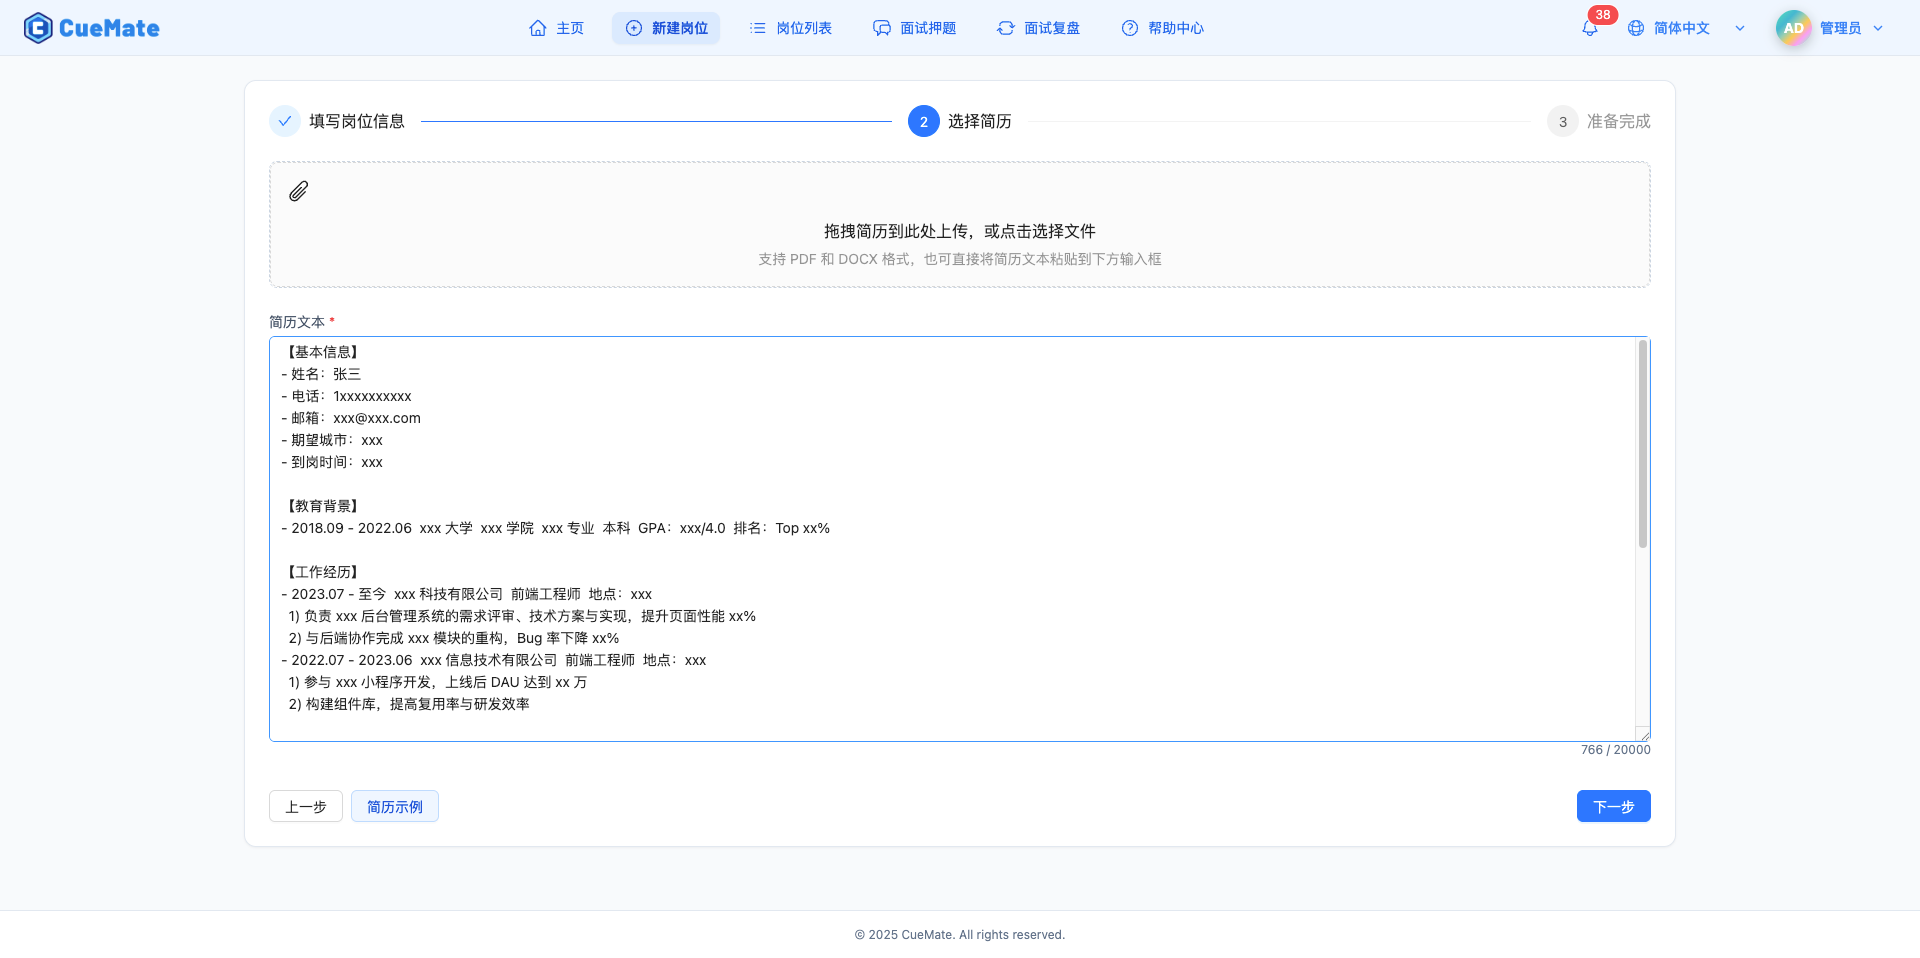
- Click next to auto-save
Tip: The more detailed the position information, the more precise the AI-recommended questions.
For detailed instructions, see the Create Position page.
4. Step Two: Add Interview Questions
Interview questions are the core content of interview training. Preparing questions in advance allows AI to provide more accurate answer suggestions.
NOTE
Why add interview questions?
Interview questions help you:
- Prepare for common interview questions specifically
- AI retrieves relevant answers from question bank for more accurate responses
- Systematically organize knowledge points
- Practice weak areas repeatedly
How to Add Interview Questions?
- Click top navigation > Interview Questions
- Select the newly created position on the left
- Click the "Create New Question" button
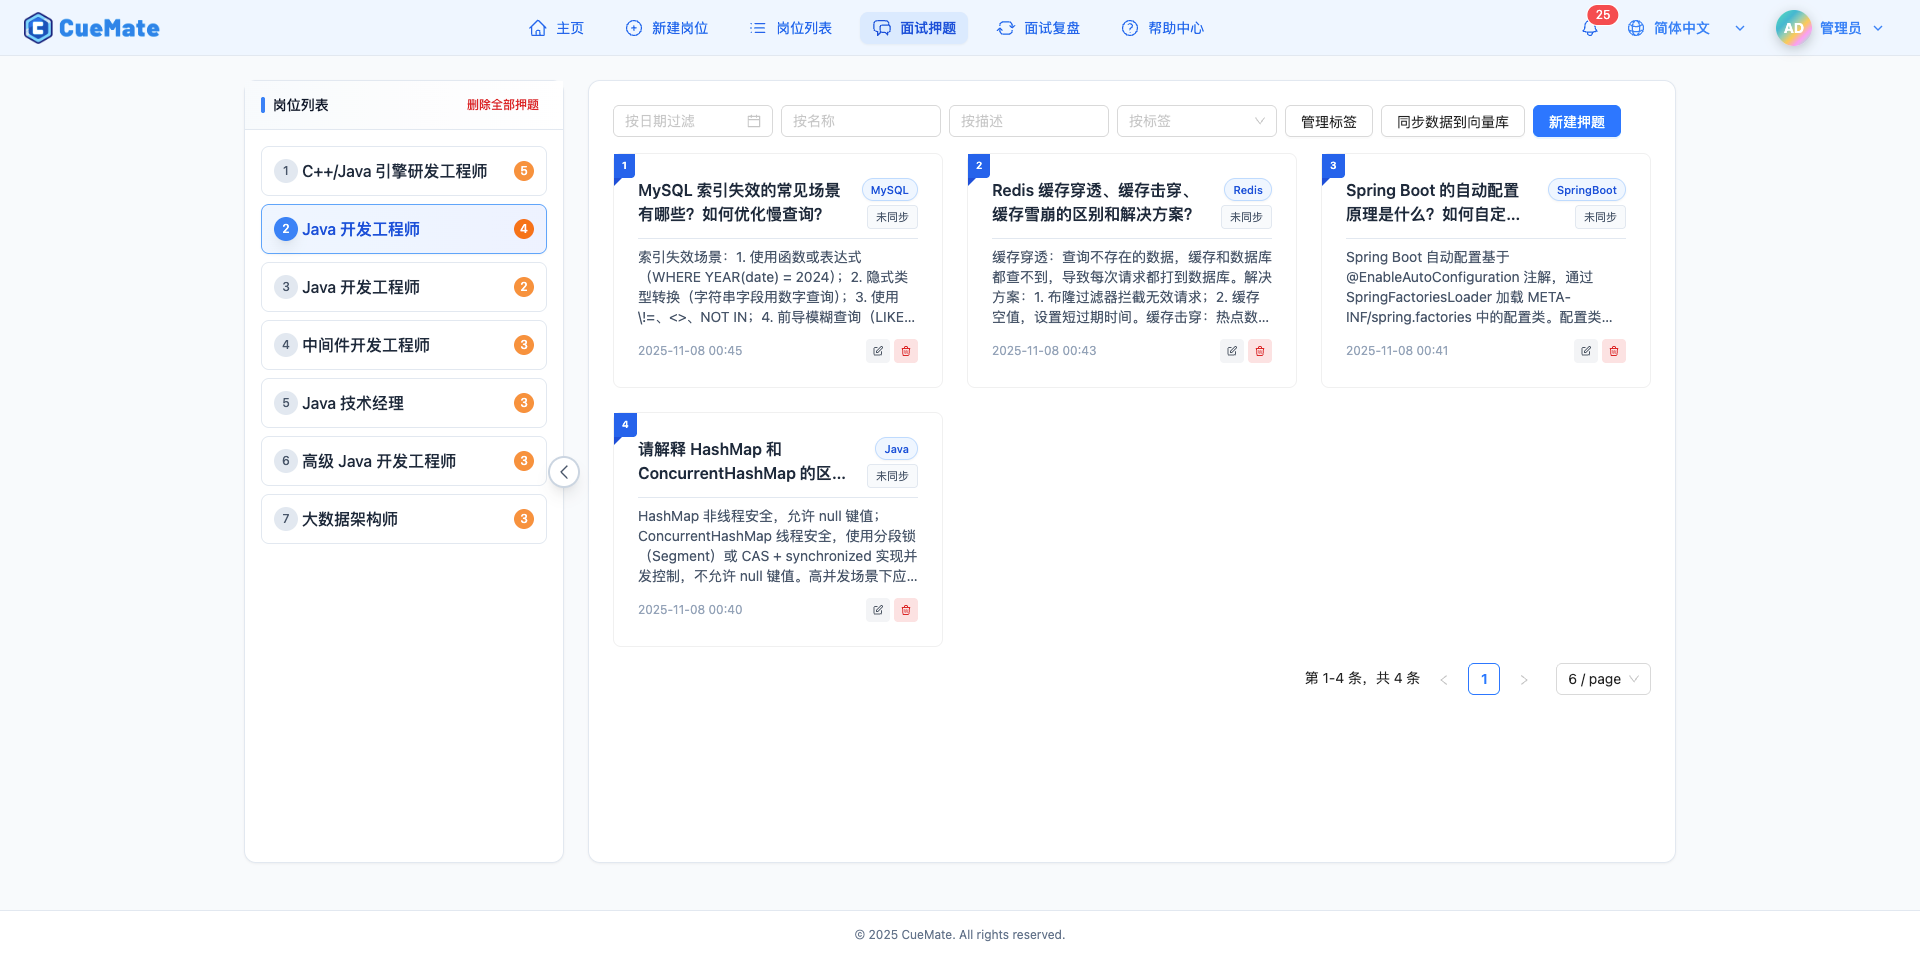
- Fill in question information:
- Question Title: Concise and clear question (e.g., "Explain Spring Boot auto-configuration principle")
- Question Tag: Select or create tags (e.g., Java, SpringBoot)
- Question Description: Detailed question content and reference answer
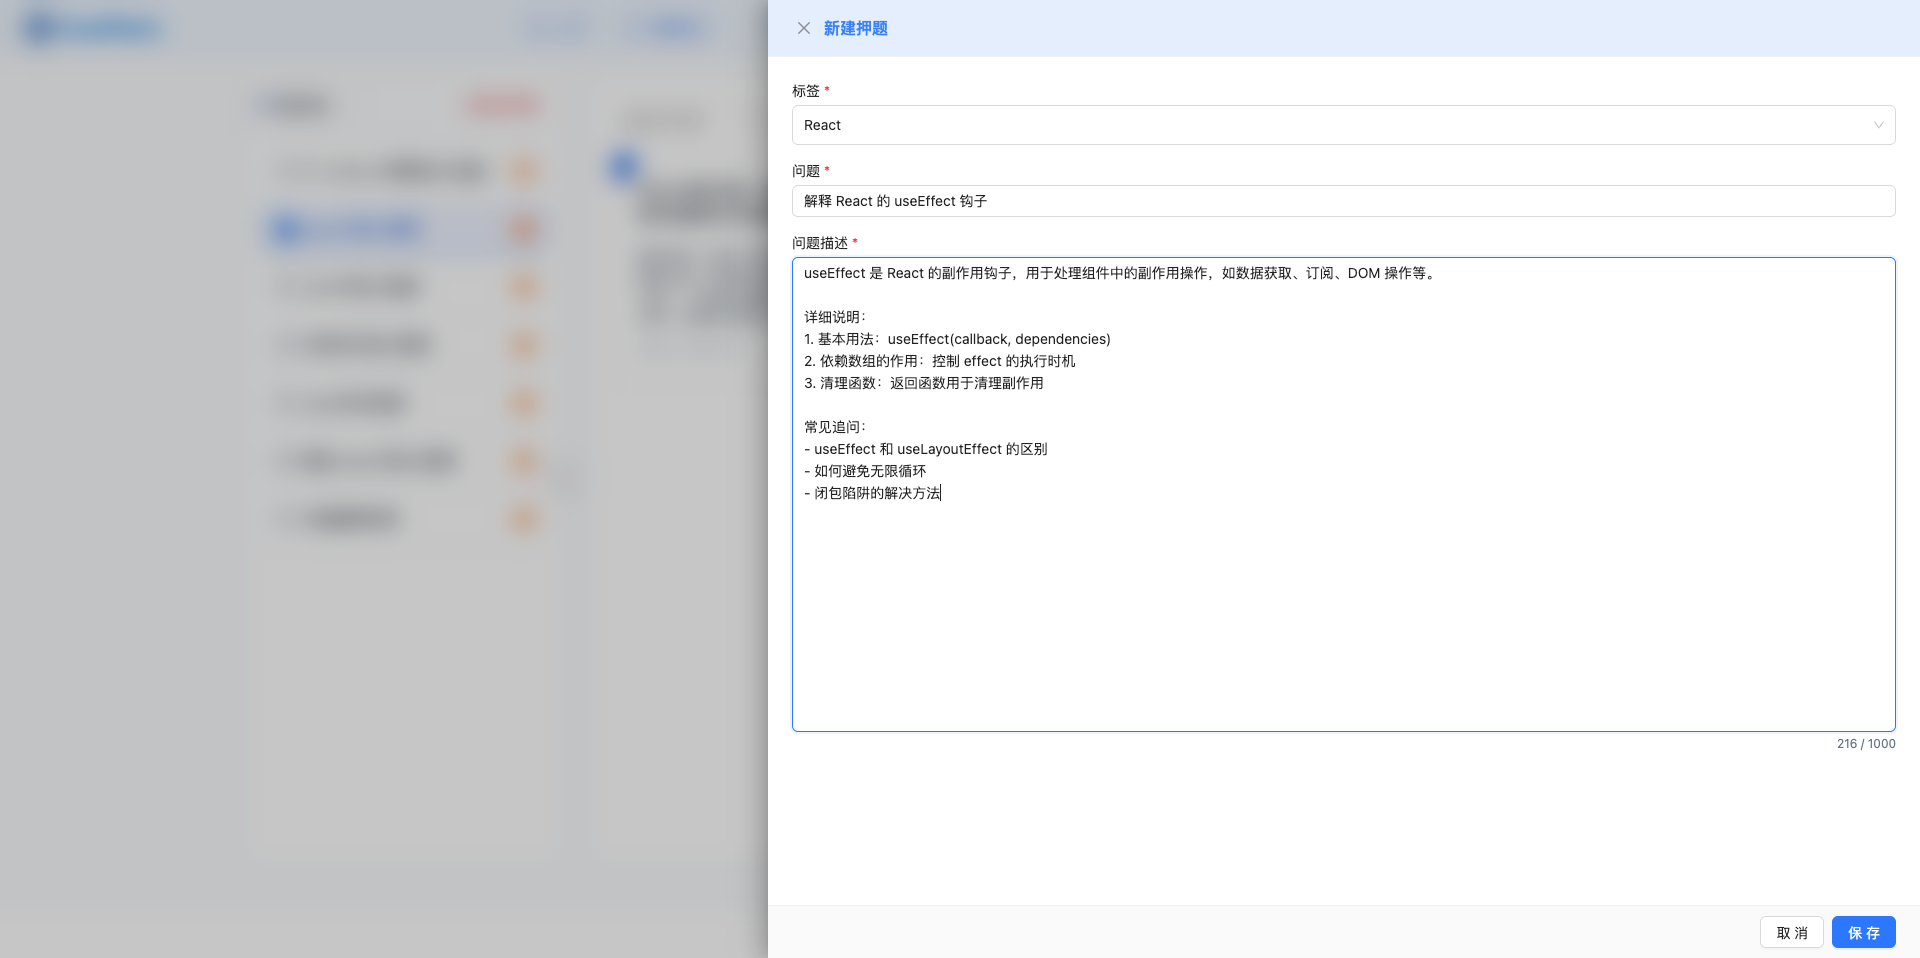
- Click "Create" to save question, automatically "Sync to Vector DB"
- Manually click "Sync to Vector DB" to sync questions to RAG retrieval system (optional)
Question Source Suggestions:
- Collect high-frequency interview questions for this position from job sites
- Reference technical blogs and interview experience sharing
- Organize your own past interview experiences
- Subscription users can use preset question bank (one-click import in License Management)
Tip: The more questions with more detail, the more accurate AI answer suggestions. Recommend preparing 20-50+ questions per position.
For detailed instructions, see the Interview Questions page.
5. Step Three: Test Voice Recognition
Ensure microphone and speaker work properly and voice recognition is accurate.
IMPORTANT
Why test?
CueMate recognizes your answers through voice recognition. Voice recognition quality directly affects:
- Whether AI can correctly understand your answers
- Whether scoring is accurate
- Whether training experience is smooth
5.1 System Permission Authorization
Before starting the test, you need to grant CueMate necessary system permissions.
IMPORTANT
Voice test feature requires the following system permissions:
- Microphone permission: For microphone audio capture (microphone test)
- Screen Recording & System Audio permission: For system audio capture (speaker test)
Please follow the steps below to complete authorization, otherwise the test feature will not work properly.
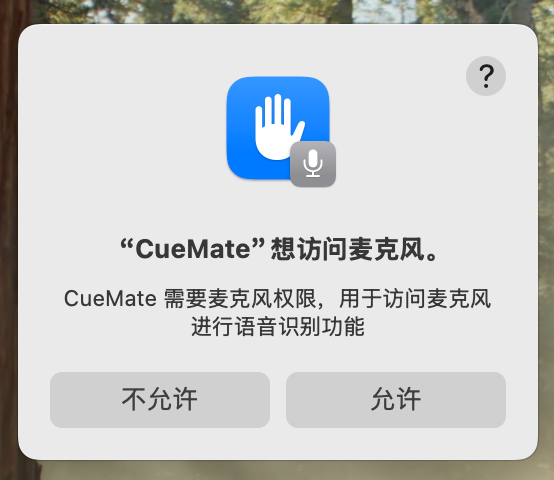
Microphone Permission Authorization
When using the microphone feature for the first time, the system will automatically pop up an authorization prompt. Please click "Allow" to grant CueMate access to the microphone.
If you accidentally clicked "Don't Allow" or closed the authorization window:
- Open "System Preferences > Privacy & Security"
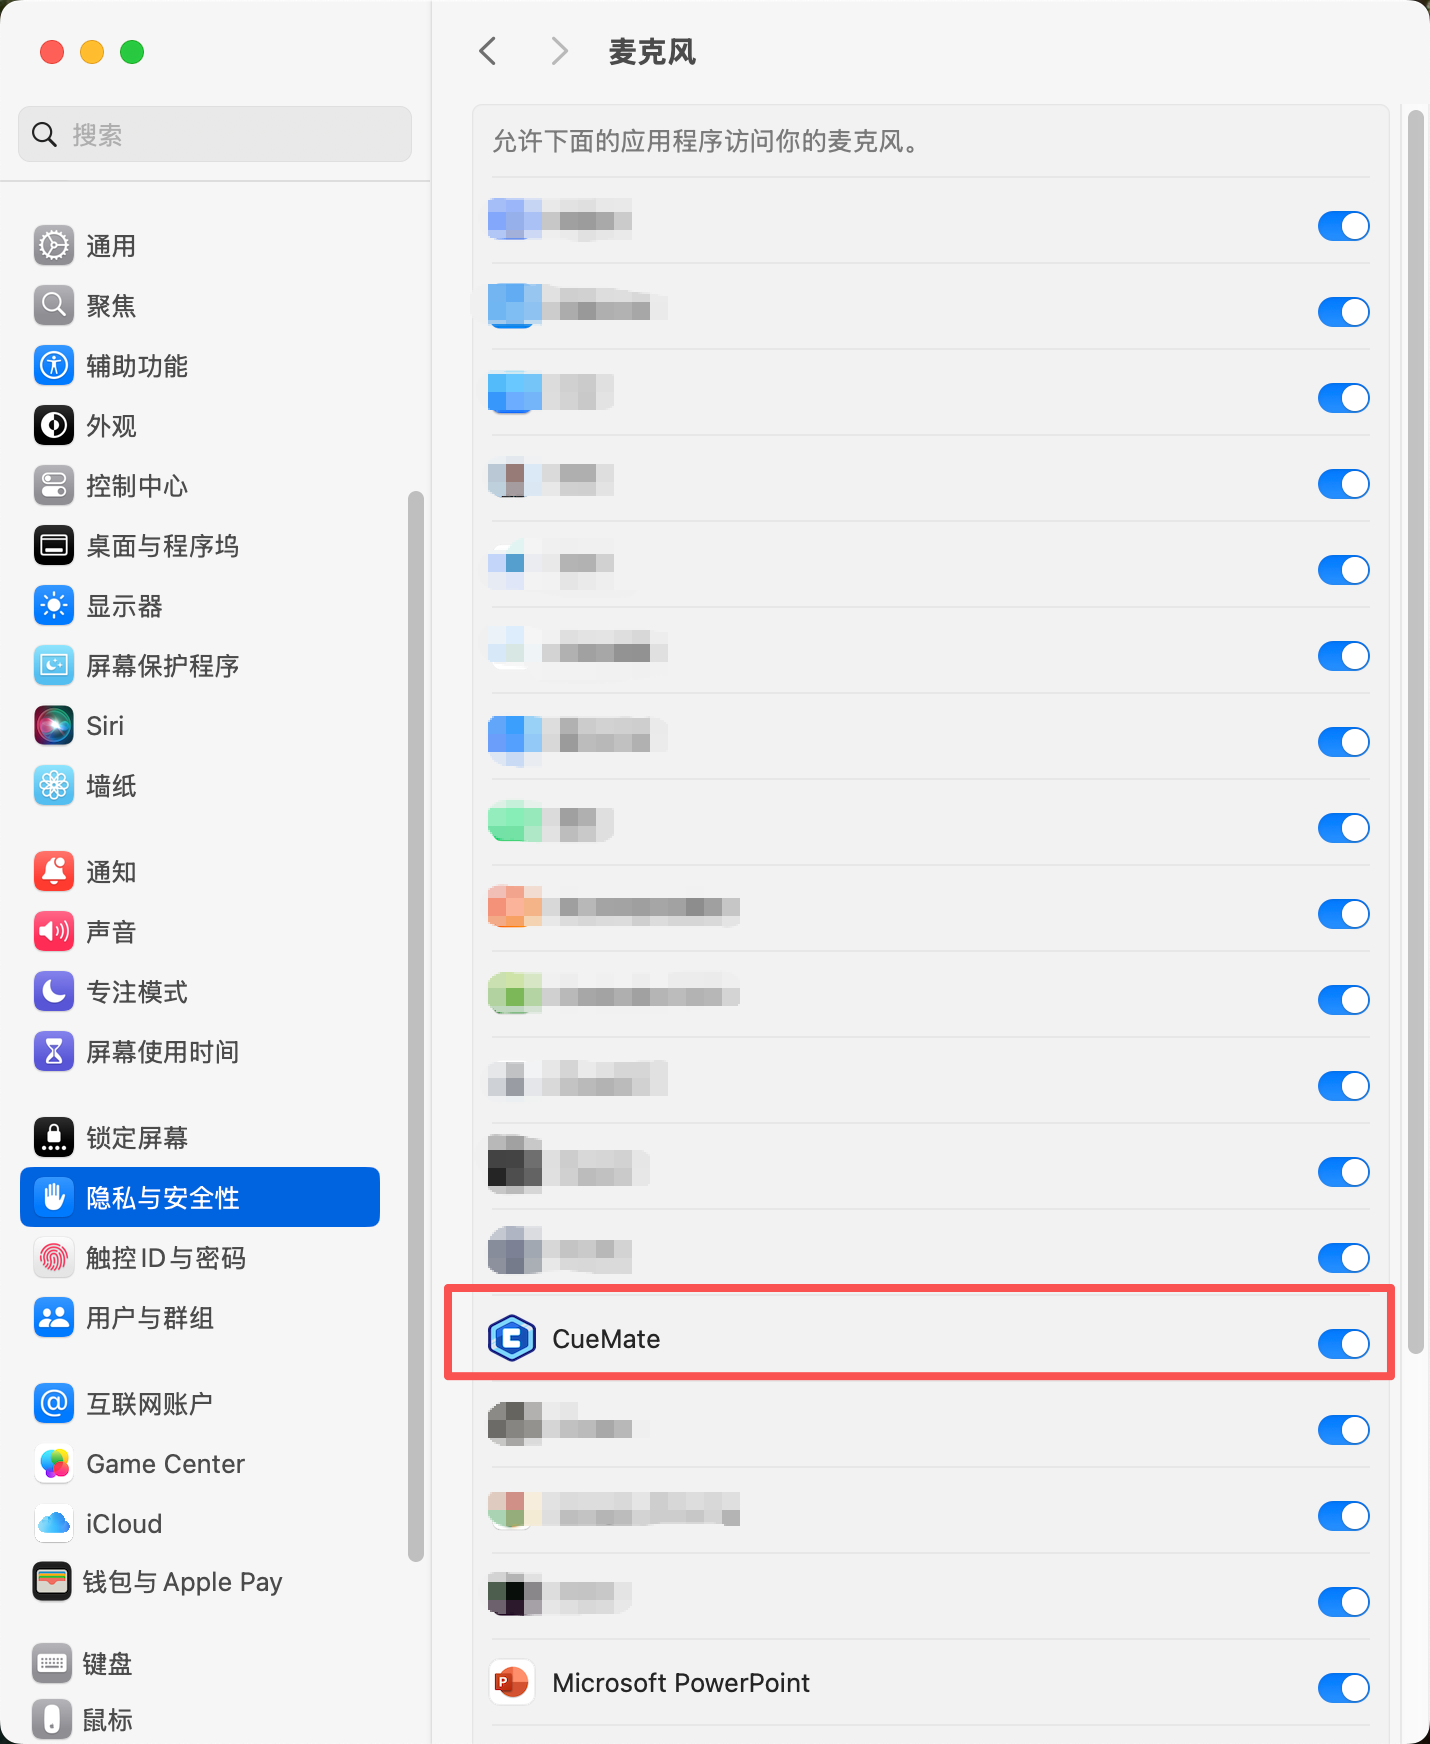
- Find and click "Microphone" in the left menu
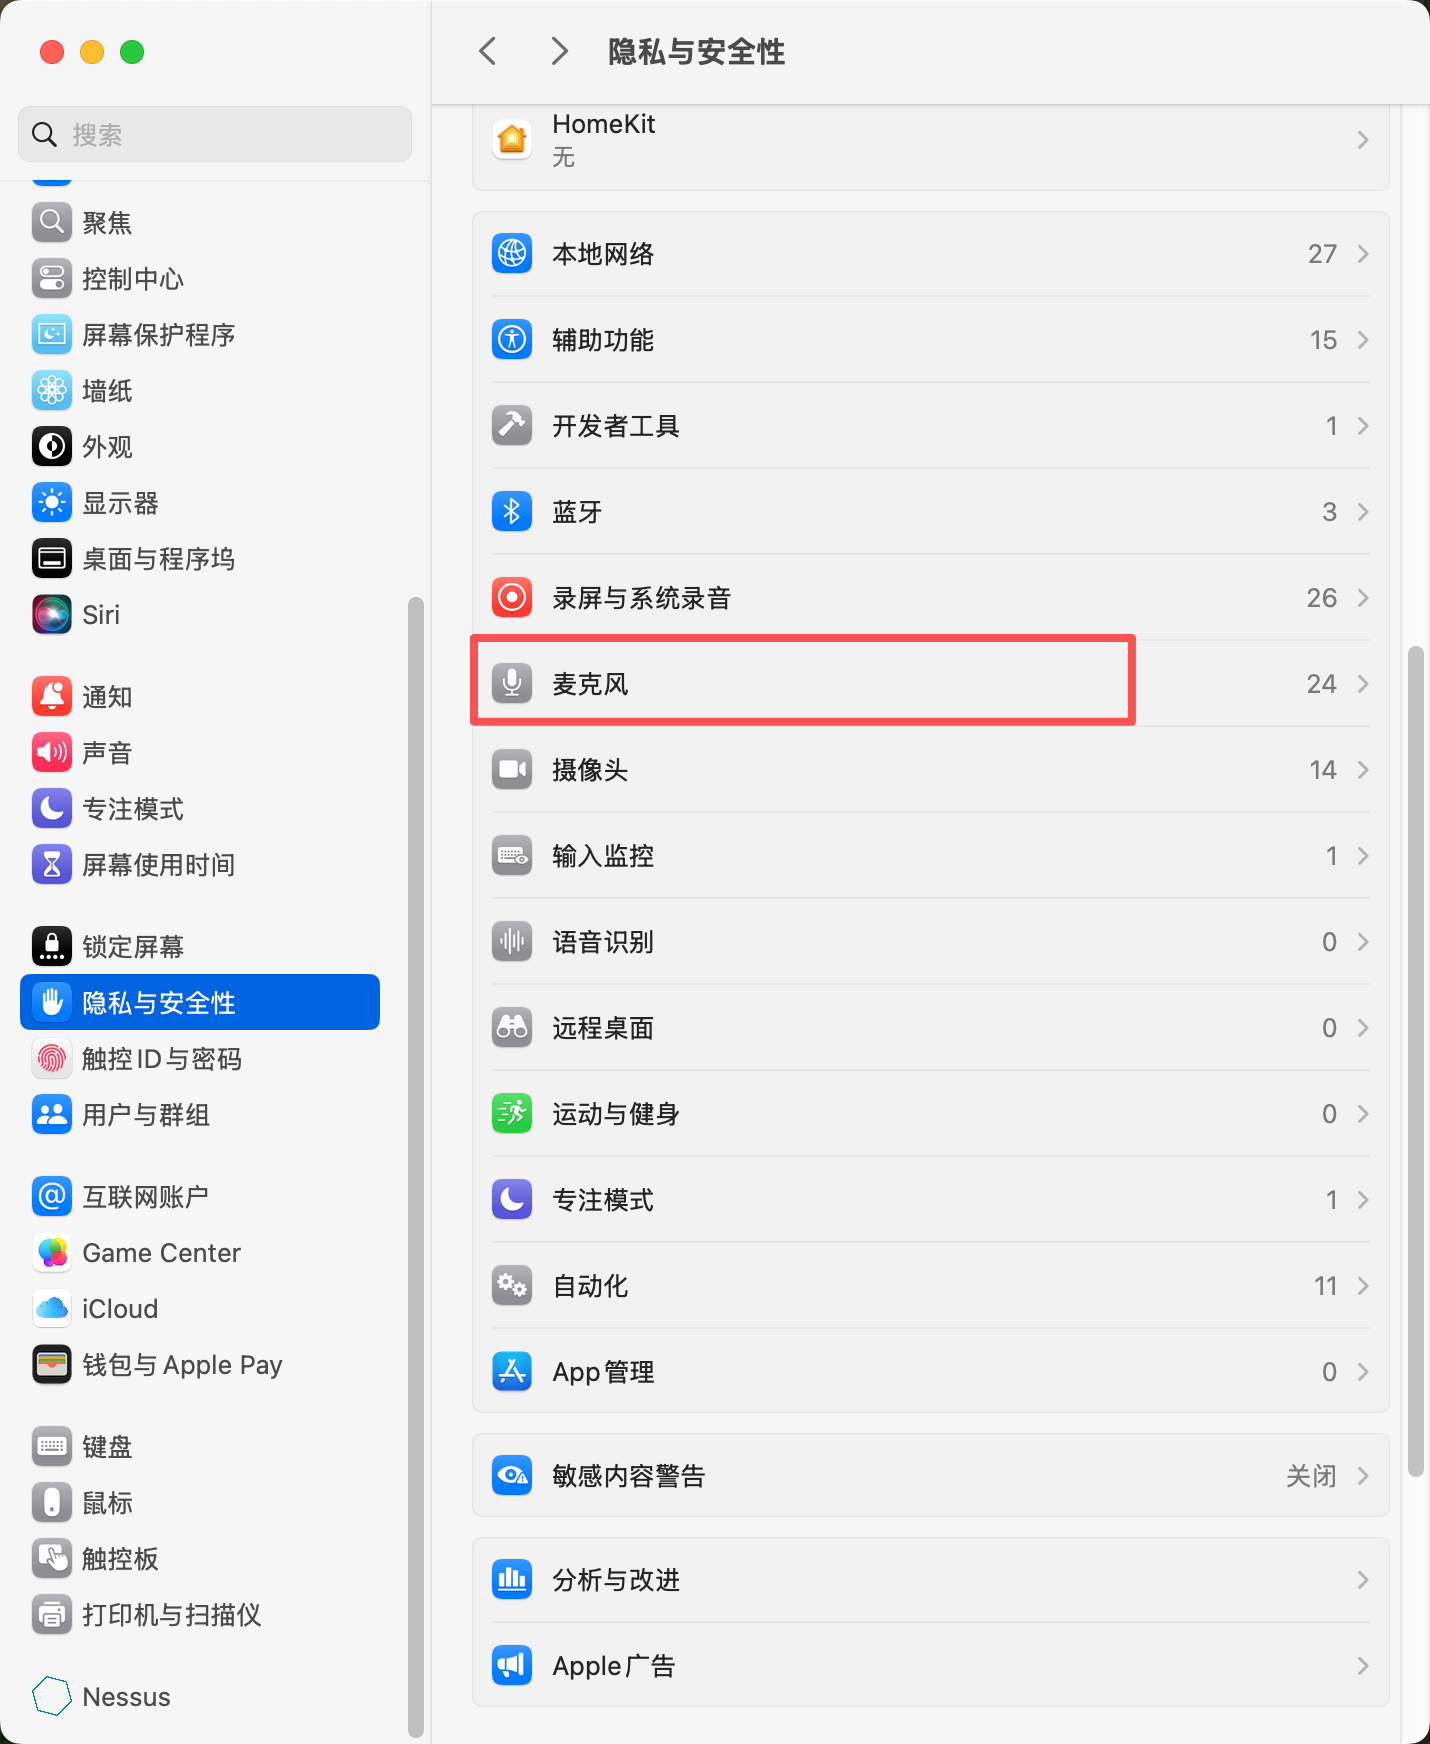
- Find CueMate in the right application list and toggle the switch to enable microphone permission
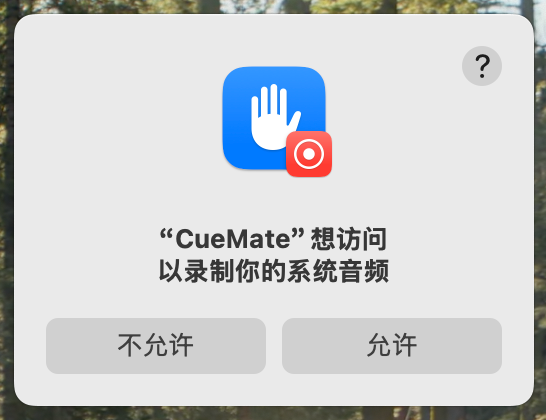
Speaker Permission Authorization
Speaker testing requires macOS system audio capture feature (AudioTee), which needs "Screen Recording & System Audio" permission to work properly.
When using the speaker test feature for the first time, the system will automatically pop up an authorization prompt. Please click "Allow" to grant CueMate access to system audio.
If you accidentally clicked "Don't Allow" or closed the authorization window:
- Open "System Preferences > Privacy & Security"
- Find and click "Screen Recording & System Audio" in the left menu

- Find CueMate in the right application list and toggle the switch to enable system audio capture permission
- If CueMate is not in the list, click the "+" button at the bottom to manually add it
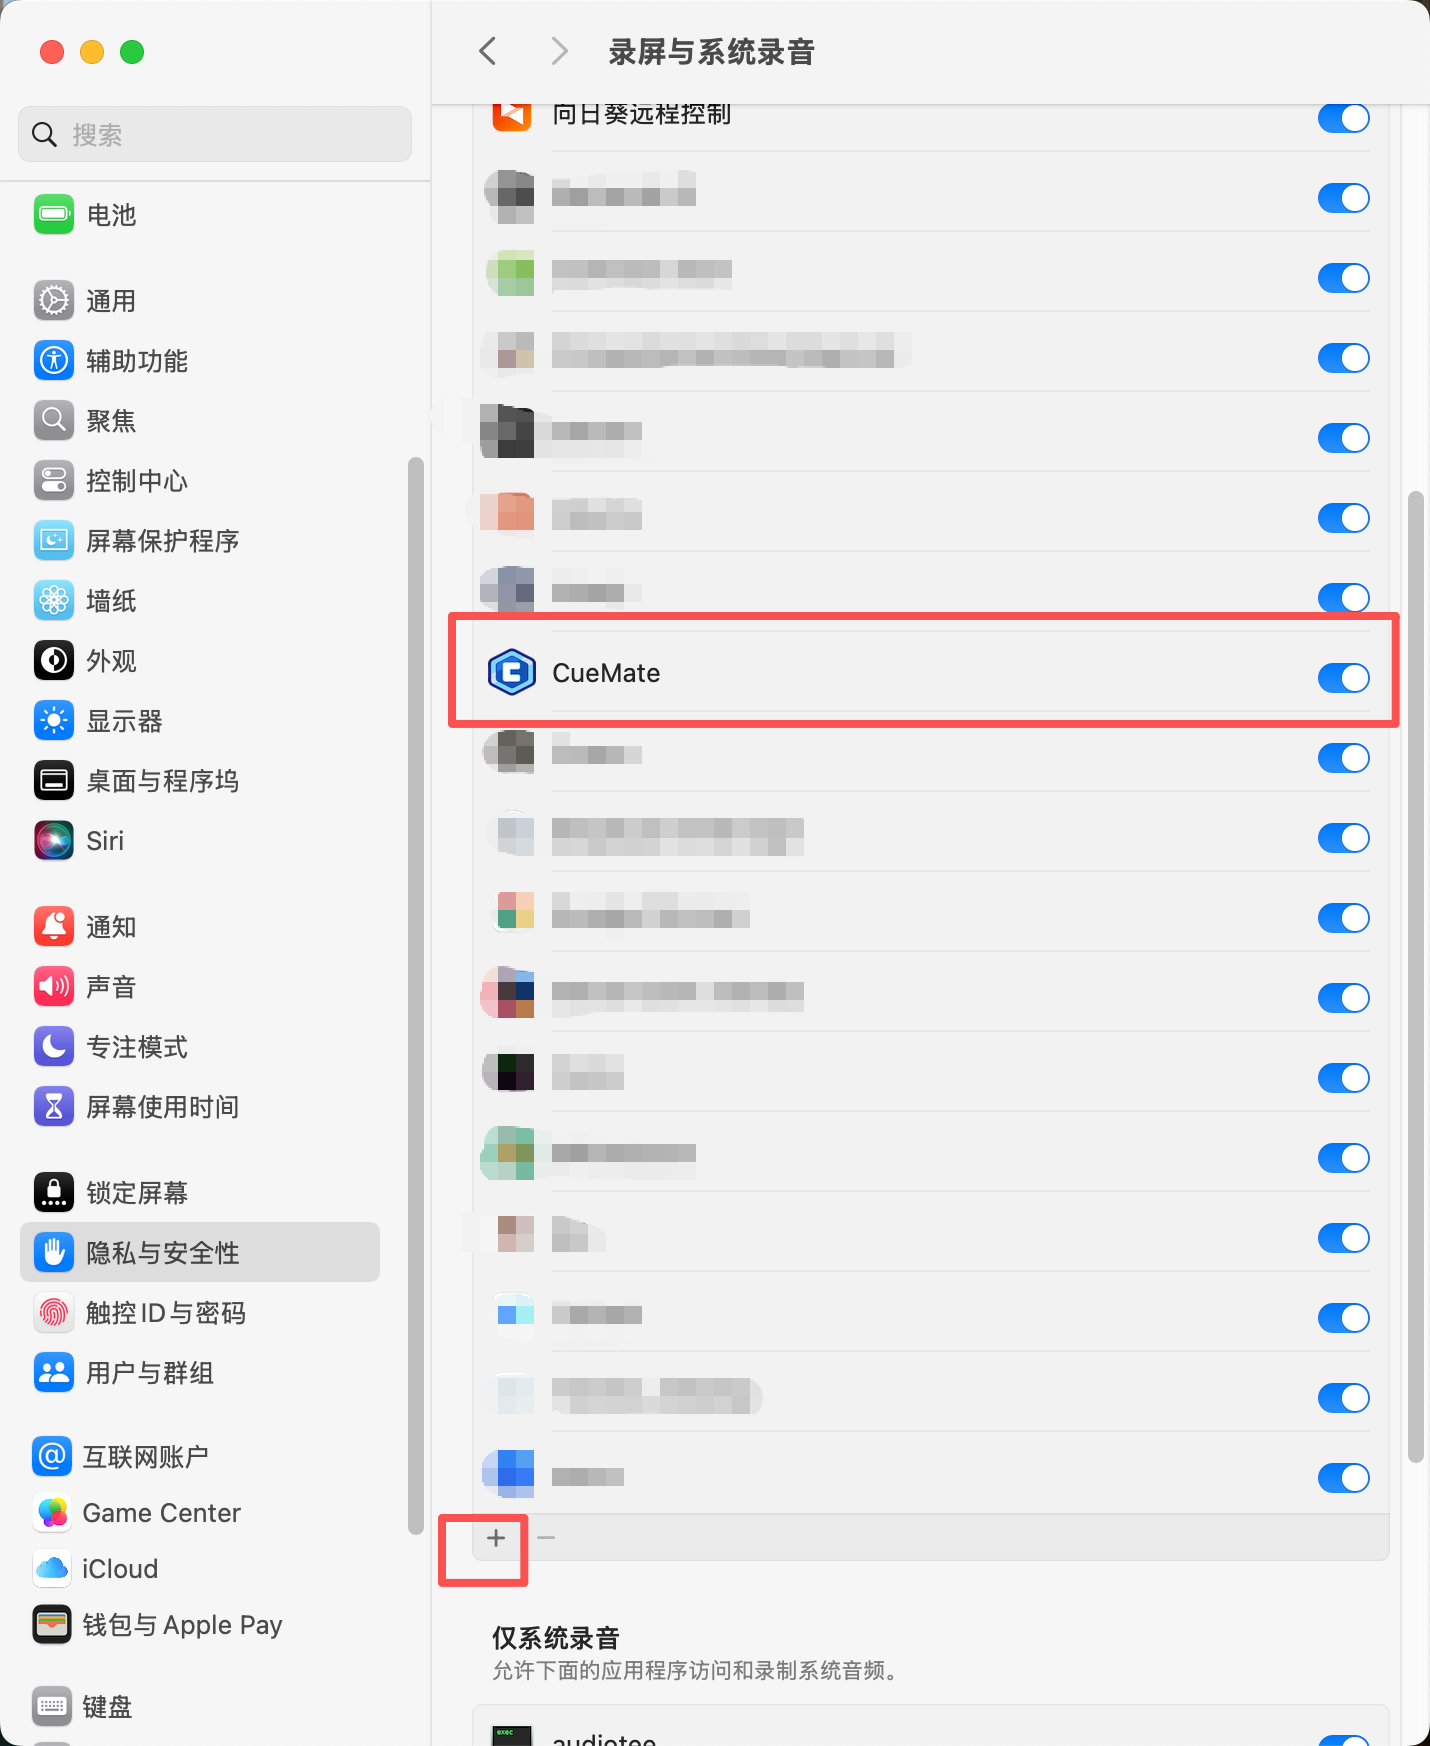
Note: "Screen Recording & System Audio" permission is only used for system audio capture. CueMate will not record your screen content.
5.2 Open Voice Test Page
Click the "Voice Recognition" button (microphone icon) on the floating control bar to open the interview function window.
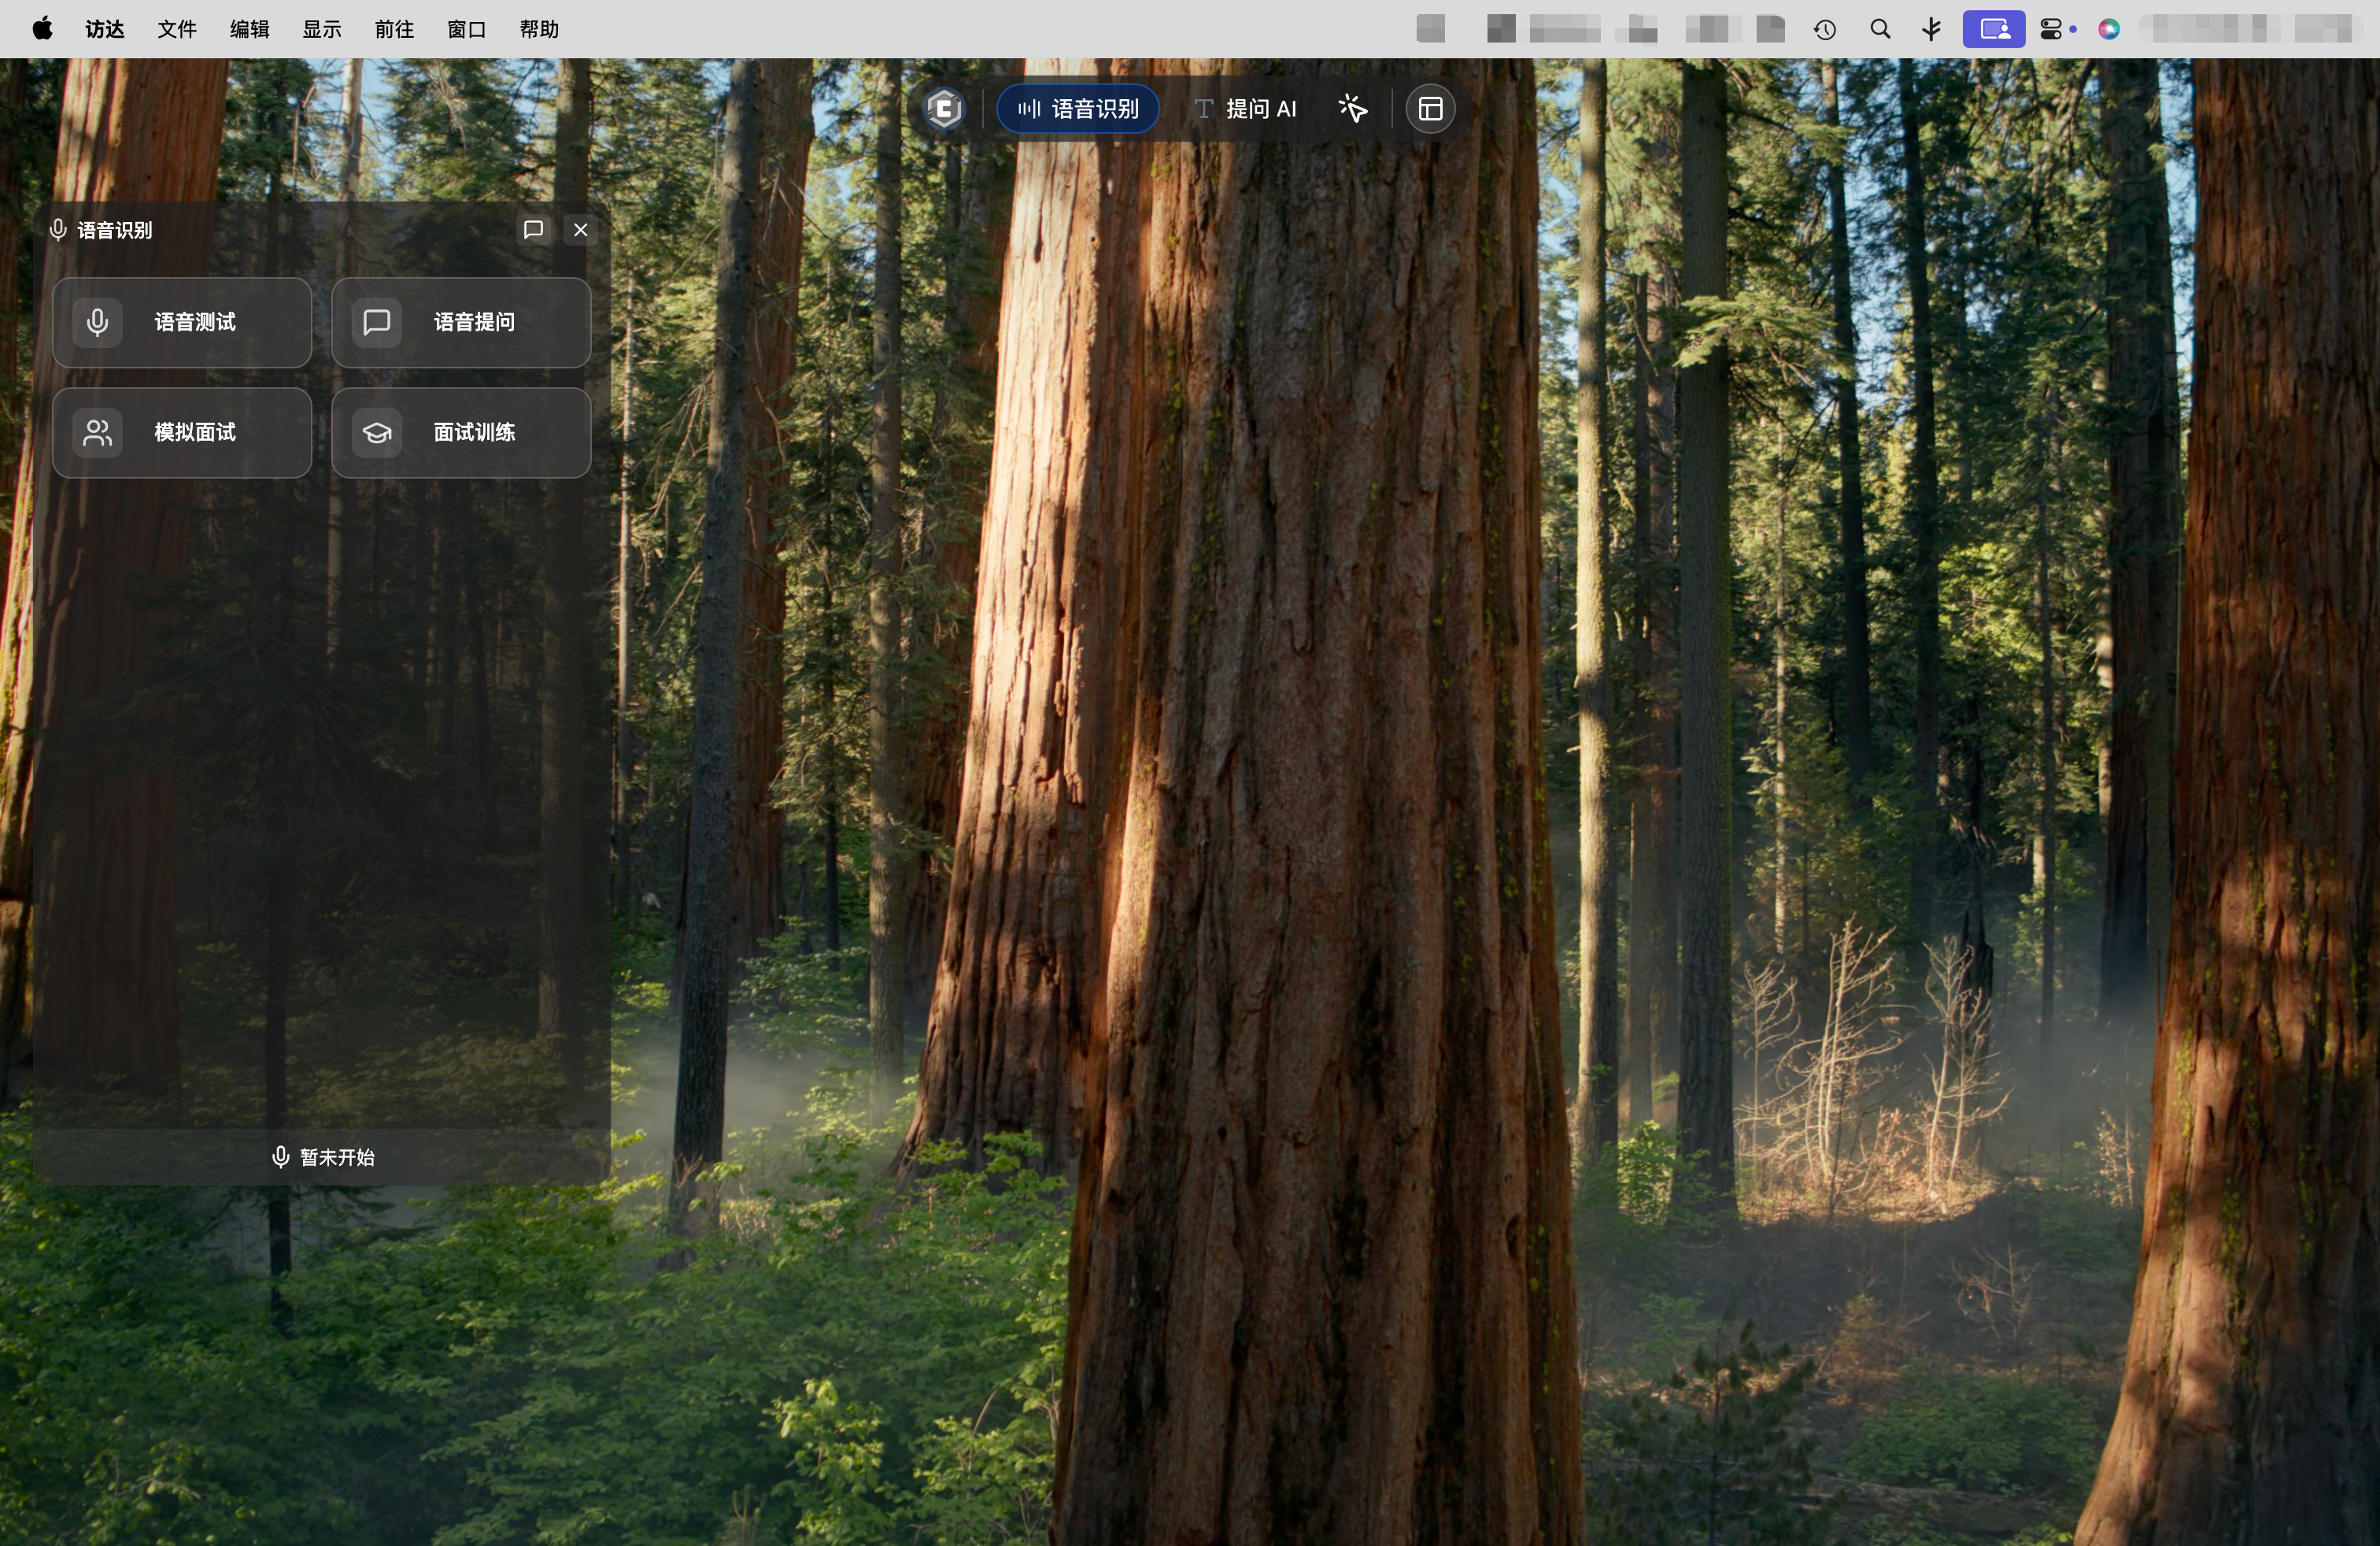
At the top of the interview function window, click the "Voice Test" tab to enter the voice test page.
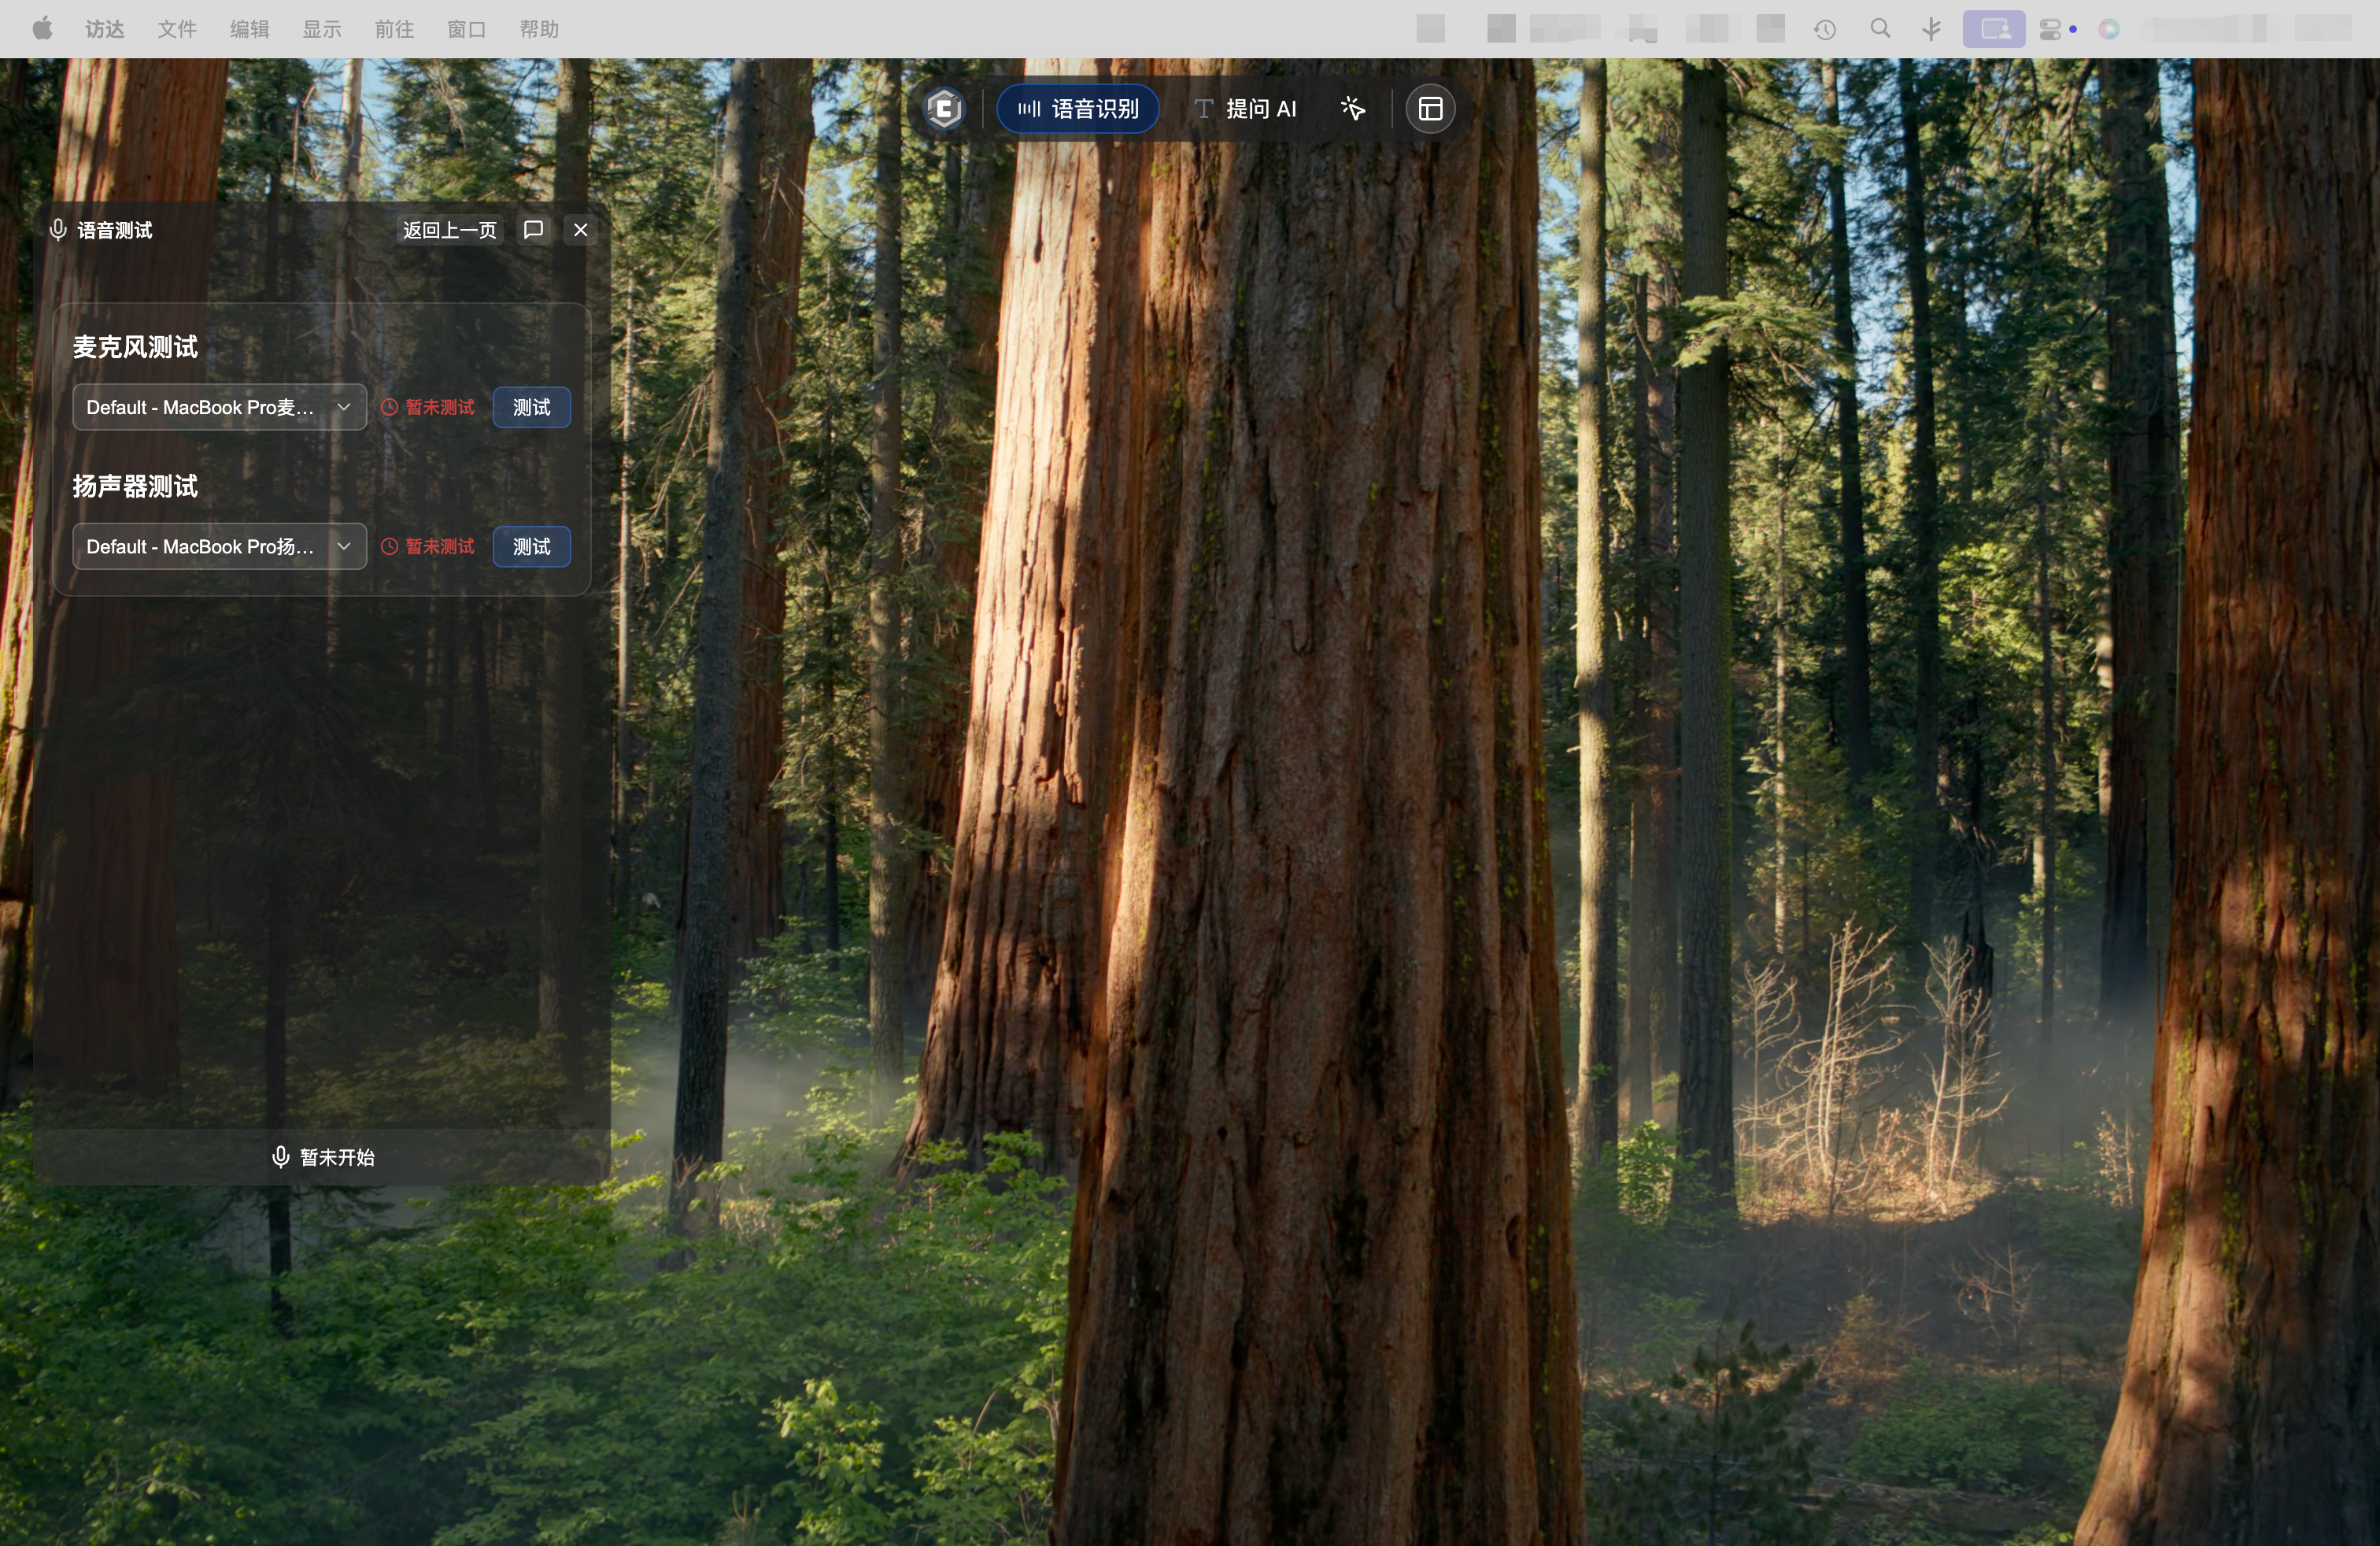
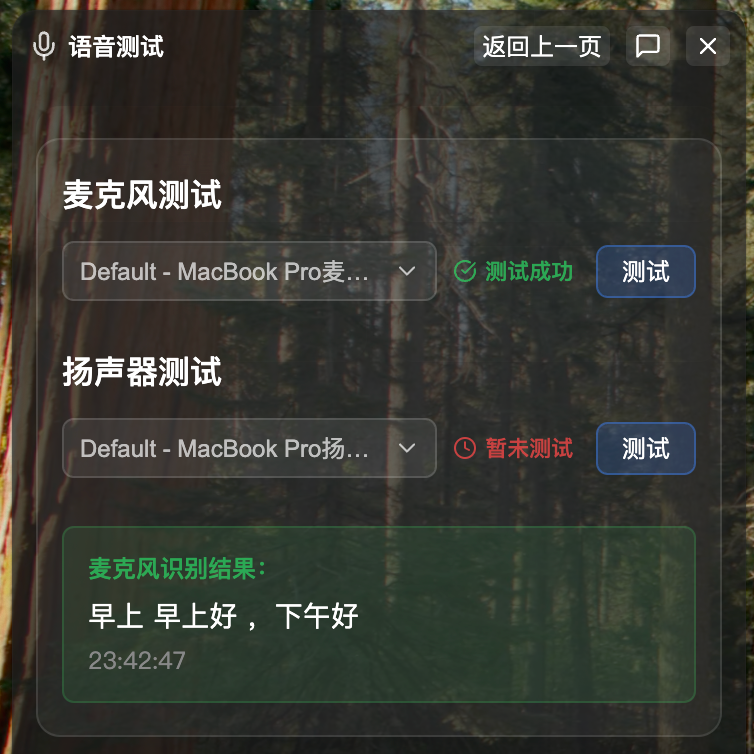
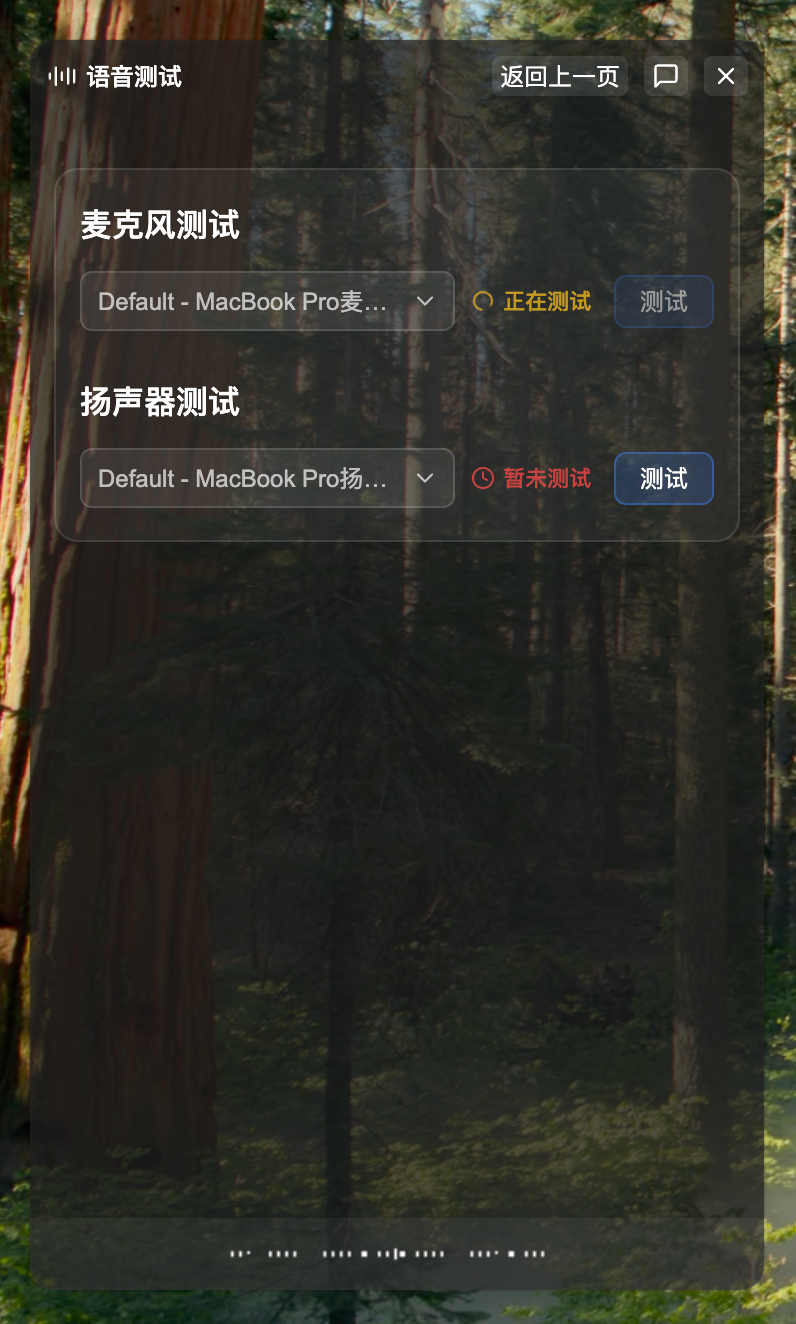
5.3 Microphone Test
Steps:
- Select your microphone device from the "Microphone Device" dropdown
- Click the "Test" button (blue button)
- Clearly speak a complete sentence into the microphone (5-30 characters, e.g., "Today's weather is really nice")
- The system will display recognized text in real-time
- Test ends automatically, showing success or failure status
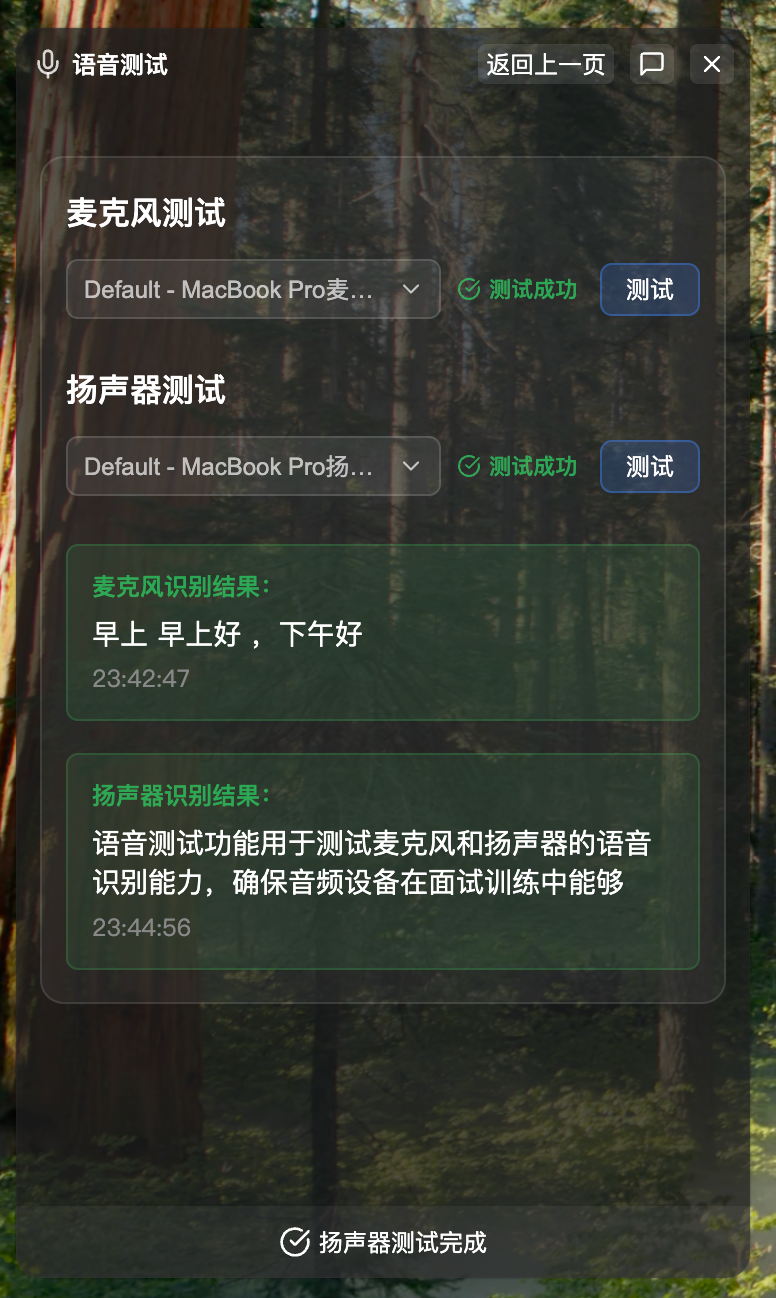
Test Success:
- Displays green checkmark
- Shows recognized text content
- Displays test duration
Test Failure:
- Displays red X mark
- Shows error reason
- Common errors: permission not granted, service not started
5.4 Speaker Test
Speaker testing actually tests system audio capture capability, used to recognize interviewer voice during interview training.
Steps:
- Select your speaker device from the "Speaker Device" dropdown
- Click the "Test" button (blue button)
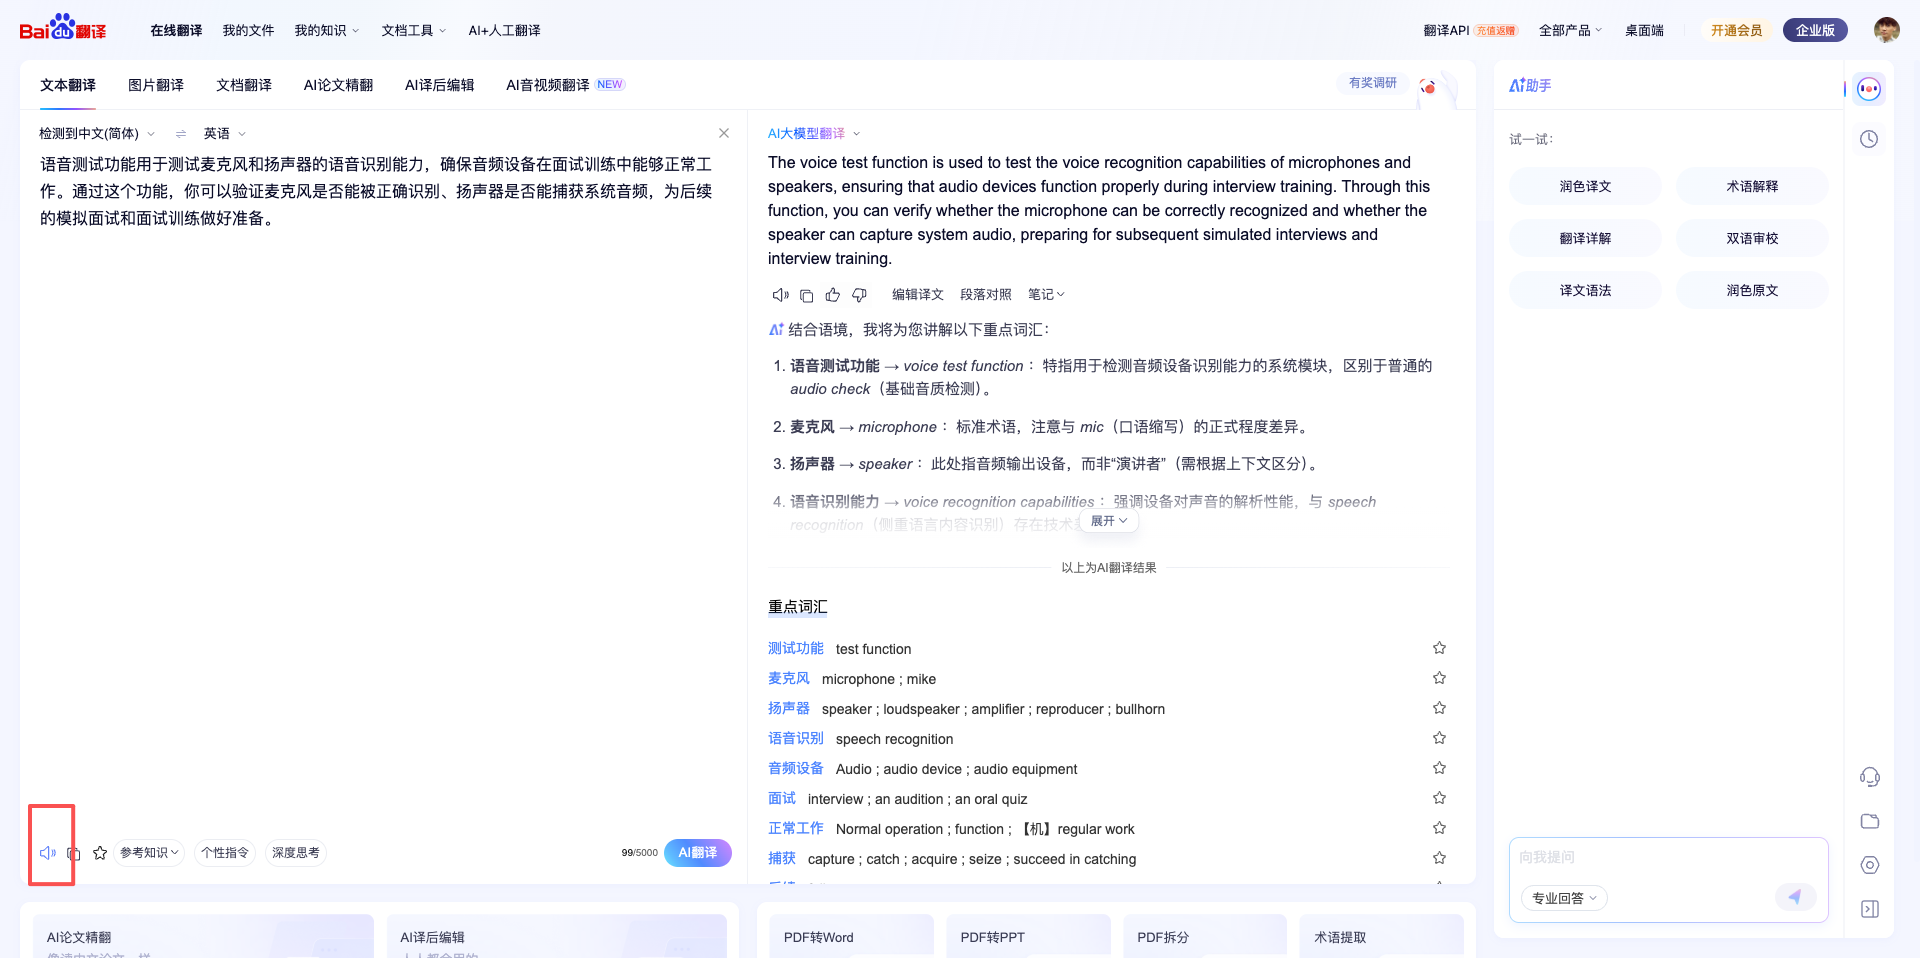
- Play audio or video containing speech
Recommended Test Method:
Open Baidu Translate page, paste some text, and click the voice play button:
Or use Google Translate page:
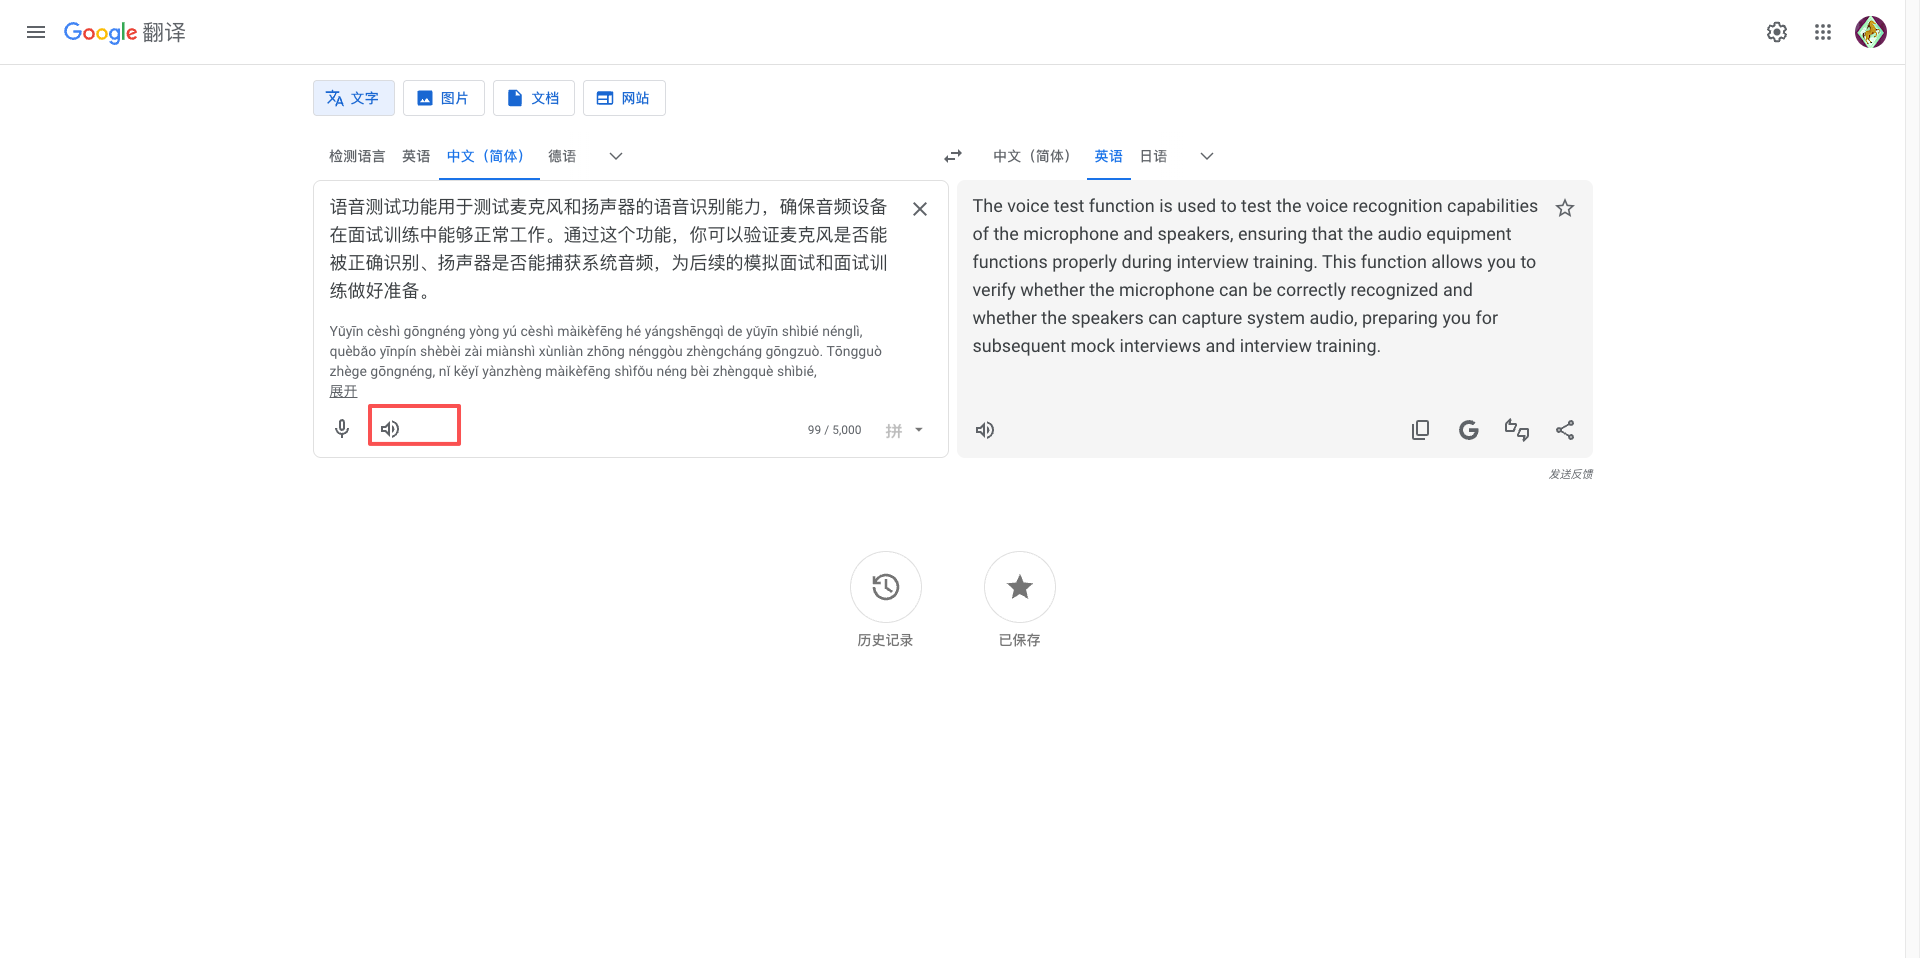
- The system will display recognized text in real-time
- Test ends automatically, showing success or failure status
5.5 Test Suggestions
Microphone Test:
- Keep moderate microphone distance (10-30 cm)
- Speak clearly at moderate speed
- Choose a quiet environment, avoid noise interference
Speaker Test:
- Play clear Chinese or English voice content
- Moderate volume, not muted or too loud
- Ensure audio content contains complete sentences
Tip: If test fails, check system permission settings and ensure cuemate-asr service is running normally. For detailed instructions, see the Voice Test page.
6. Step Four: Start Interview Training
Everything is ready, start your first interview training!
6.1 Select Training Mode
CueMate offers two training modes:
1. Mock Interview (Recommended for beginners)
- Complete interview process
- AI plays the interviewer
- Multiple questions in sequence
- Full report generated at the end
2. Interview Questions (Targeted practice)
- View common questions
- Select questions of interest
- Practice individually
- View reference answers
6.2 Start Mock Interview
Steps:
- Click top navigation Interview Questions
- Select the newly created position
- Click "Start Training" button
- AI will start asking questions
6.3 Answering Process
Answering Interface:
- Left: Question content
- Center: Recording button and real-time recognition
- Right: AI real-time suggestions (optional)
Answering Steps:
- Carefully read the question
- Think for 10-20 seconds to organize answer
- Click "Start Recording" (or press spacebar)
- Begin stating your answer
- Click "Stop Recording" when finished
- View AI real-time feedback
- Click "Next Question" to continue

Answering Tips:
- Make answer points clear, use bullet points
- State conclusion first, then reasons
- Combine with specific project experience
- Mind time control (2-3 minutes per question)
Tip: Don't pursue perfection in the first training. Focus on getting familiar with the process and finding your rhythm.
For detailed instructions, see the Interview Questions page.
7. Step Five: View Review Report
After the interview ends, view the detailed review report.
Review Report Contains:
- Score for each question's answer
- AI evaluation and improvement suggestions
- Reference answers and key points
- Skill proficiency analysis
- Weak knowledge points summary
How to View?
- Automatically redirects to report page after interview ends
- Or click top navigation Interview Review
- Select the interview record to view
- View detailed report
Review Focus:
- Compare your answers with reference answers
- Find missing key points
- Note unfamiliar knowledge points
- Plan improvements for next time
Tip: Review is more important than training itself. Timely review is most effective.
For detailed instructions, see the Interview Review page.
8. Step Six: Exit CueMate
Find the CueMate icon in the top menu bar. There are two ways to exit the application:
Method One: Right-click
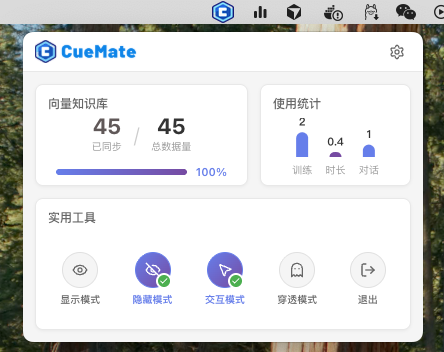
Right-click the tray icon, and in the pop-up system menu select "Exit":
- Show Mode
- Hide Mode
- Interactive Mode
- Click-through Mode
- Exit - Click this item
TIP
Click-through Mode: The window is still visible, but mouse clicks pass through to the underlying application. Suitable for viewing answers while operating other software during interviews. Shortcut Command+Shift+CM can quickly switch between interactive/click-through modes.
Method Two: Left-click
Left-click the tray icon to open the tray window, then click the "Exit" button in the utility tools area.
TIP
For more tray window features, see Tray Menu.
9. FAQ
9.1 Q: Must I configure an AI model?
A: Yes, the AI model is a core feature and must be configured. Recommend prioritizing domestic providers (Zhipu, Kimi) for more stable access.
9.2 Q: What if voice recognition is inaccurate?
A:
- Check if microphone permission is granted
- Choose a quiet environment
- Adjust microphone volume
- Enable noise reduction in Voice Settings
9.3 Q: What should I prepare for the first training?
A:
- Prepare position information
- Test voice recognition
- Choose a quiet environment
- Reserve 30-60 minutes
9.4 Q: Can I pause midway?
A: Yes. Click "Pause Training" to save progress and continue next time.
9.5 Q: Will training records be saved?
A: Yes. All training records are saved locally and can be viewed anytime in Interview Review.
10. Advanced Features
After getting familiar with the basic process, explore more features:
10.1 Optimize AI Answer Quality
Improve AI performance through:
Upload professional documents to Vector Knowledge Base
- Upload technical documents, interview notes
- AI will retrieve relevant knowledge from them
- Answers become more professional and accurate
Configure prompts in Prompt Management
- Customize AI answer style
- Adjust scoring criteria
- Optimize feedback content
Manage question bank in Preset Questions
- Import your own questions
- Add reference answers
- Classify and manage as needed
10.2 Track Learning Progress
View on Home:
- Training statistics
- Skill proficiency
- Progress curve
- Learning suggestions
10.3 System Settings
In System Settings:
- Modify personal information
- Adjust interface language
- Set theme
- Data backup
Get Help
Having problems?
- See Help Center for detailed documentation
- See FAQ for solutions
- Submit GitHub Issues
- Email nuneatonhydroplane@gmail.com
Next Steps
After completing your first training, recommend:
- Practice a few more times to get familiar with the process
- Focus training on weak knowledge points
- Review regularly, continuously improve
- Explore more advanced features
Good luck with your interviews!
Related Pages
- Create Position - Create interview positions
- Interview Questions - View question bank and train
- Interview Review - View history records
- Model Settings - Configure AI models
- Voice Settings - Voice recognition configuration